Procreate for Beginners: basic features and simple drawing tutorial
Getting Started
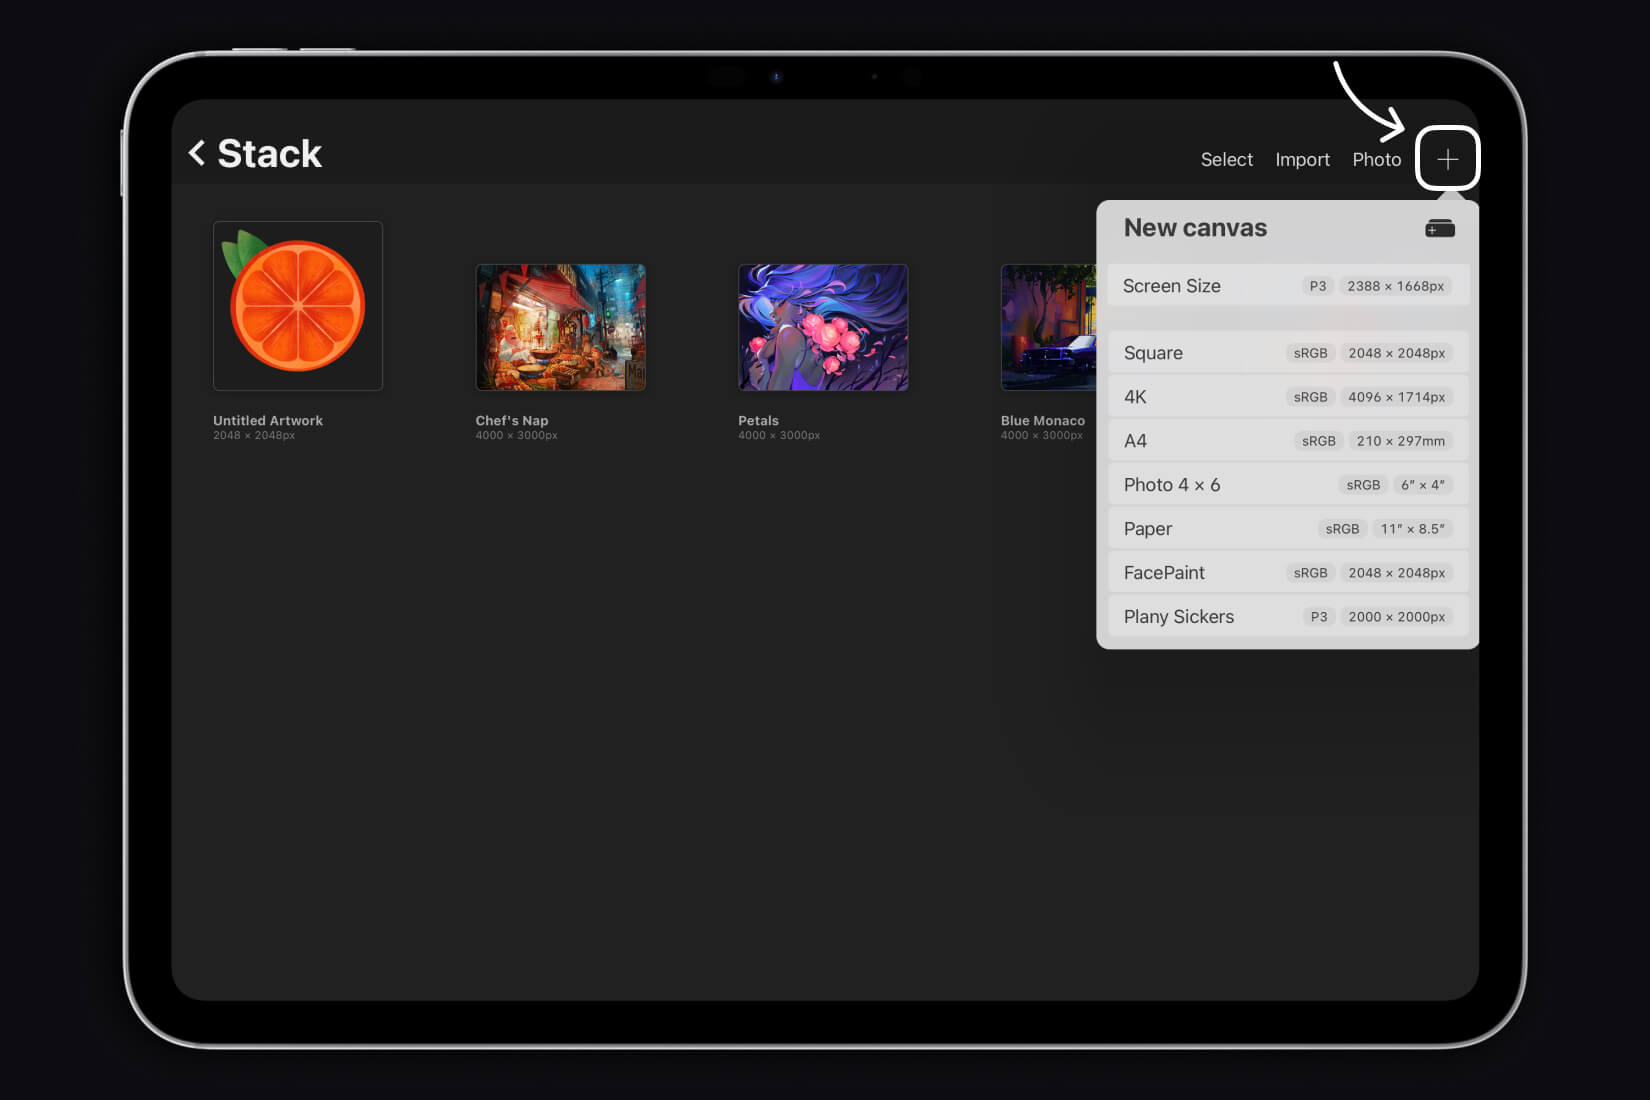
To create a canvas, use the + button. Here, you’ll find several pre-defined canvas formats, or you can create your own. You can zoom in and out of the canvas using two fingers, just like with photos. You can also rotate the canvas with two fingers.
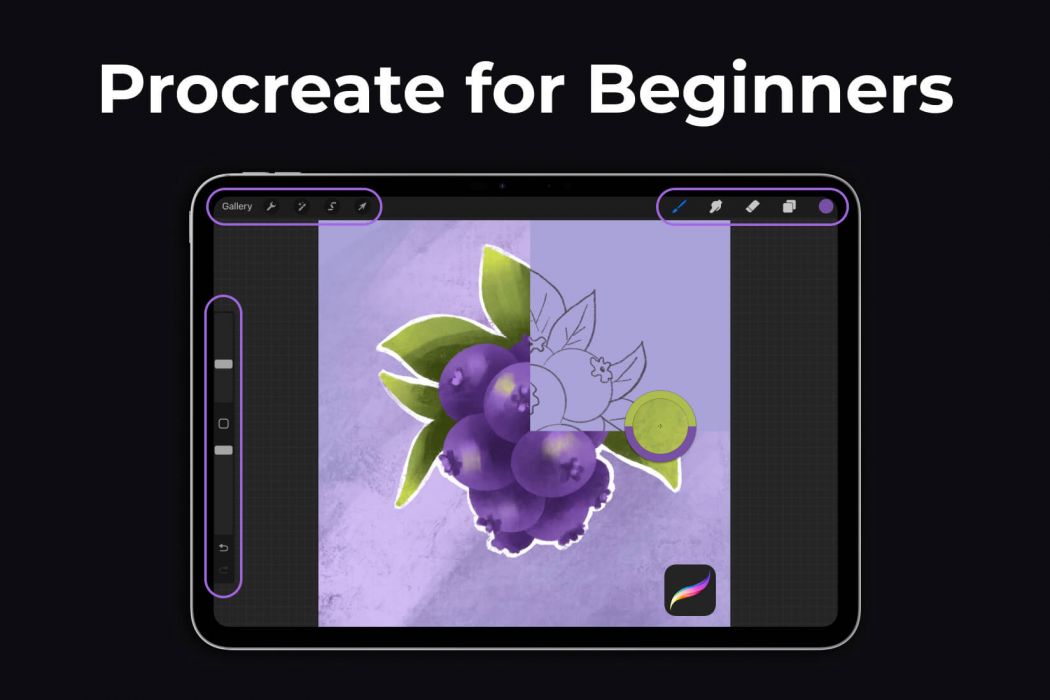
Toolbar
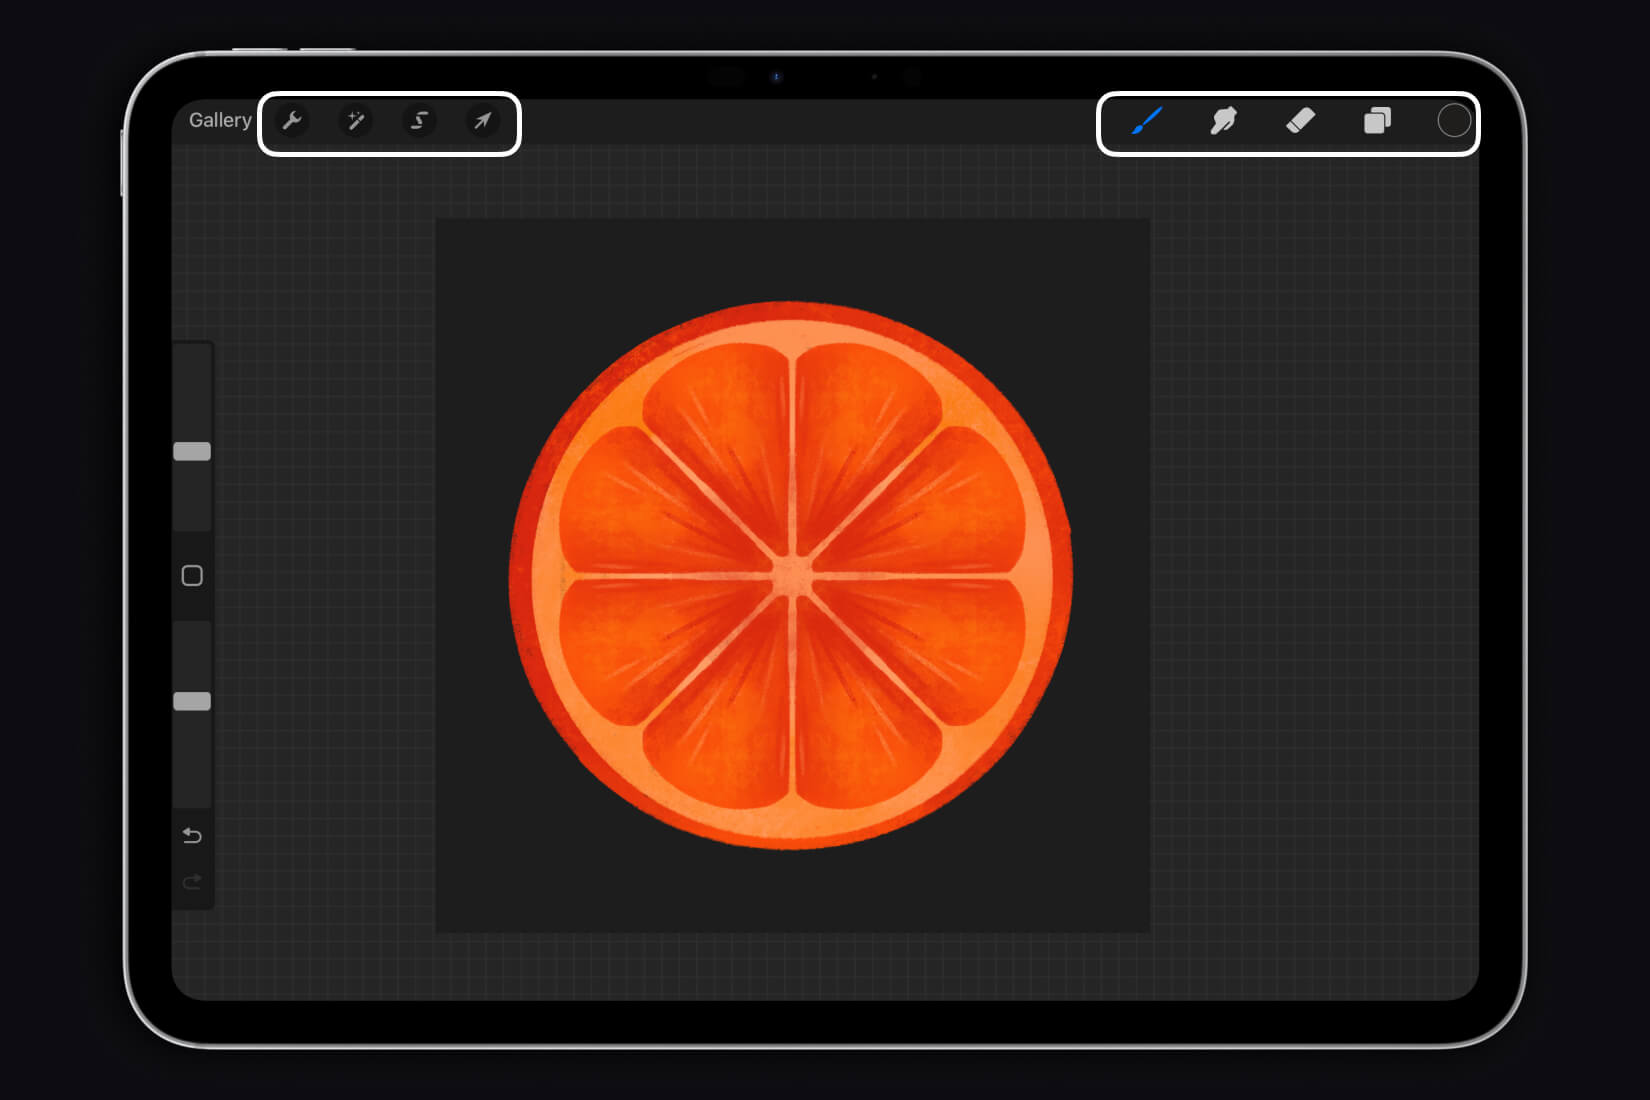
Brushes – Your main tool for working
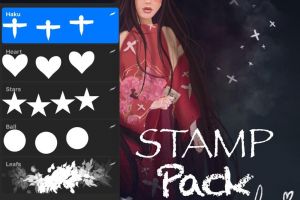
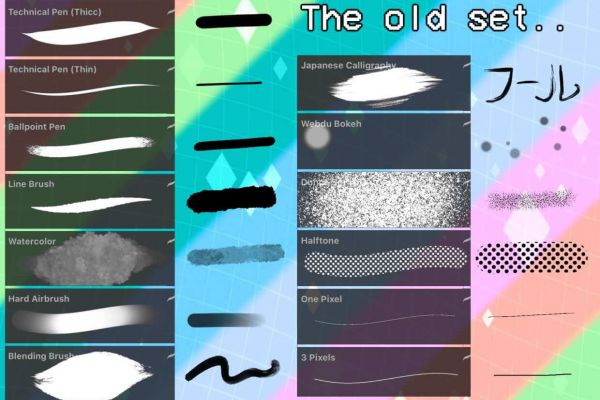
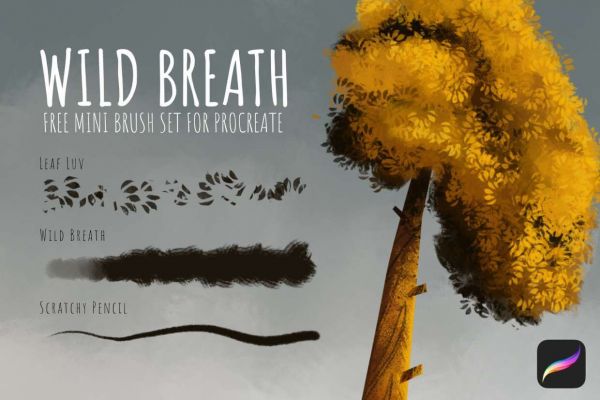
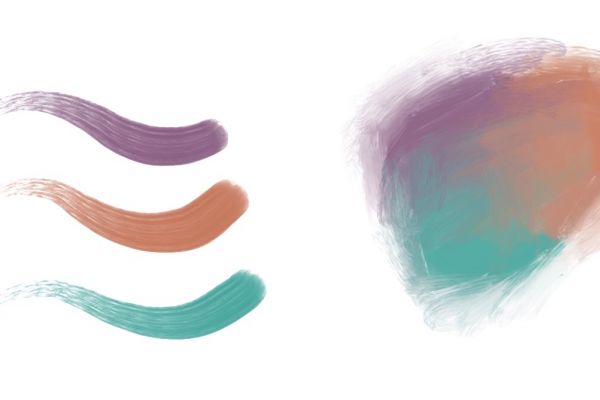
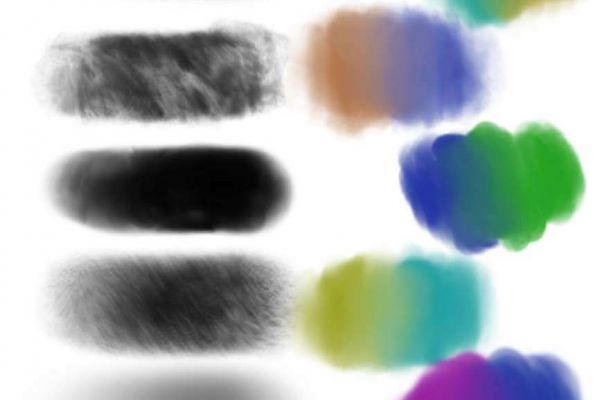
You can choose any brush you like from the ones already available in the app or upload your own. To learn how to install a brush, you can read our “How to install” section on our website. You also have the option to customize brushes according to your needs.
Smudge – Tool for blending colors
With this tool, you can blend colors and combine elements of your drawing. You can select any brush from the library for this purpose.
Eraser – Another very important tool
The eraser allows you to remove unwanted elements with high precision. It can also be customized like the brushes to achieve the desired effect.
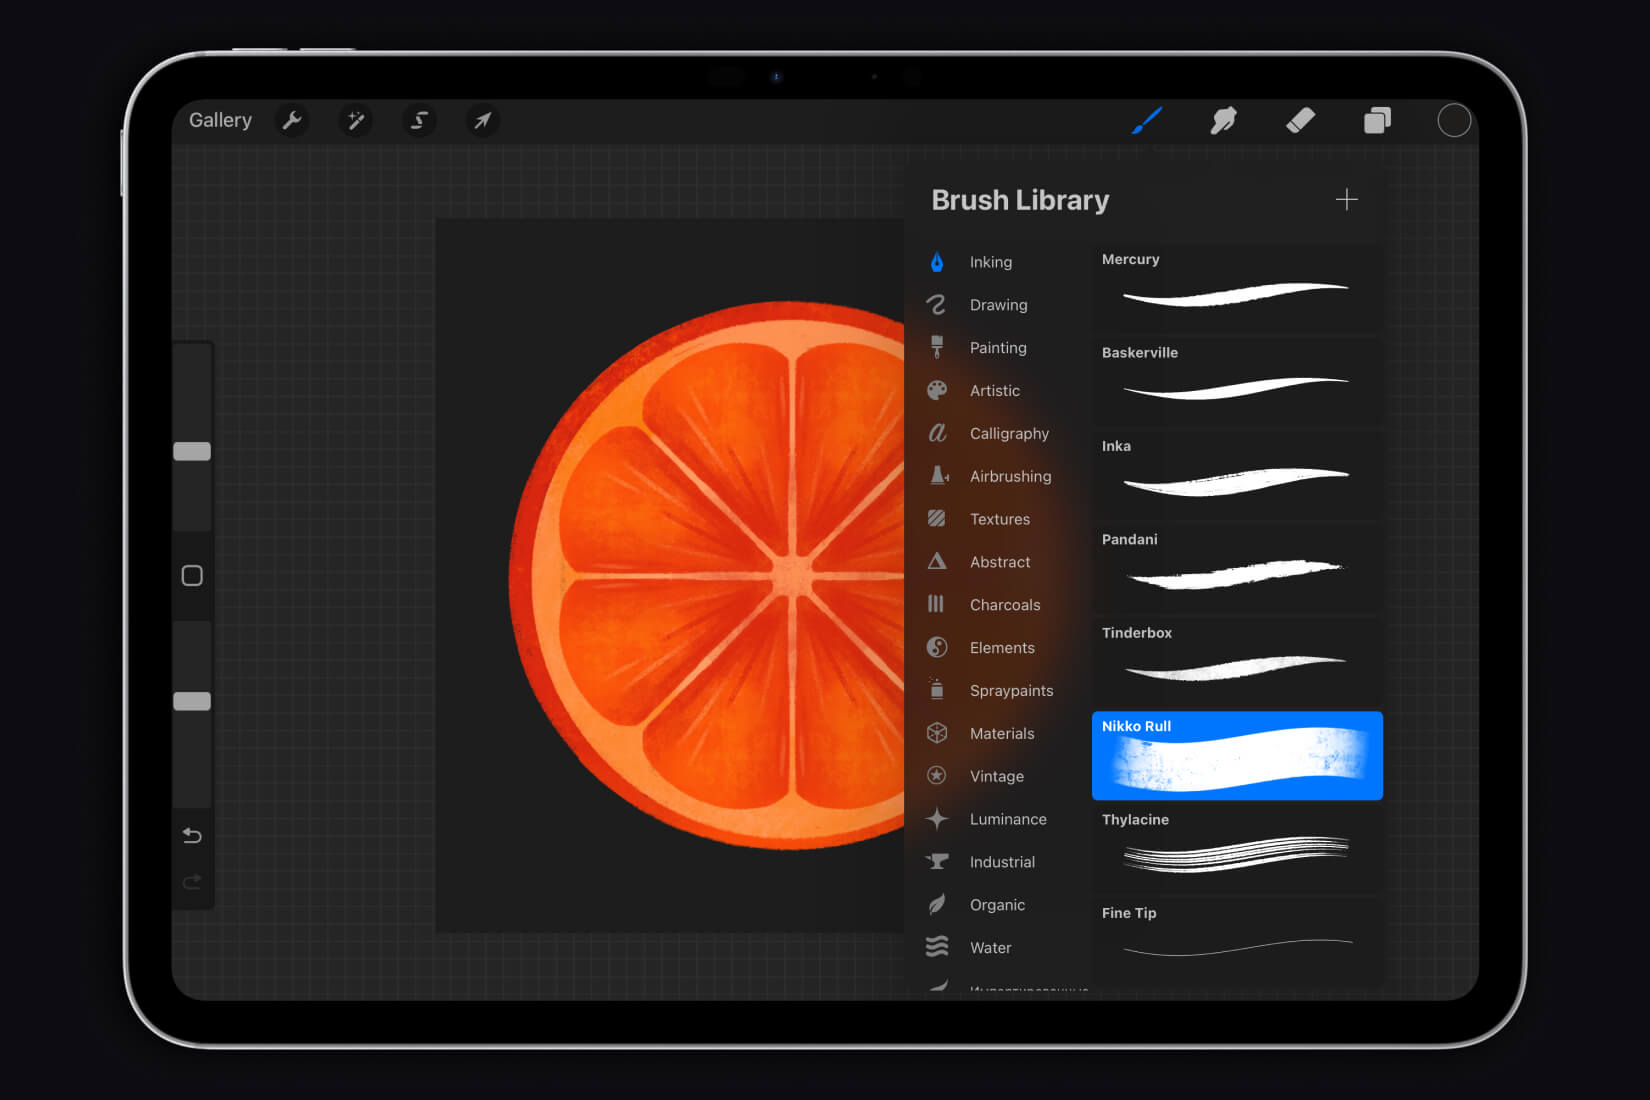
Layers – A list of working layers and switching between them
Layer management allows you to create complex compositions. You can add, delete, and edit layers to organize your work better.
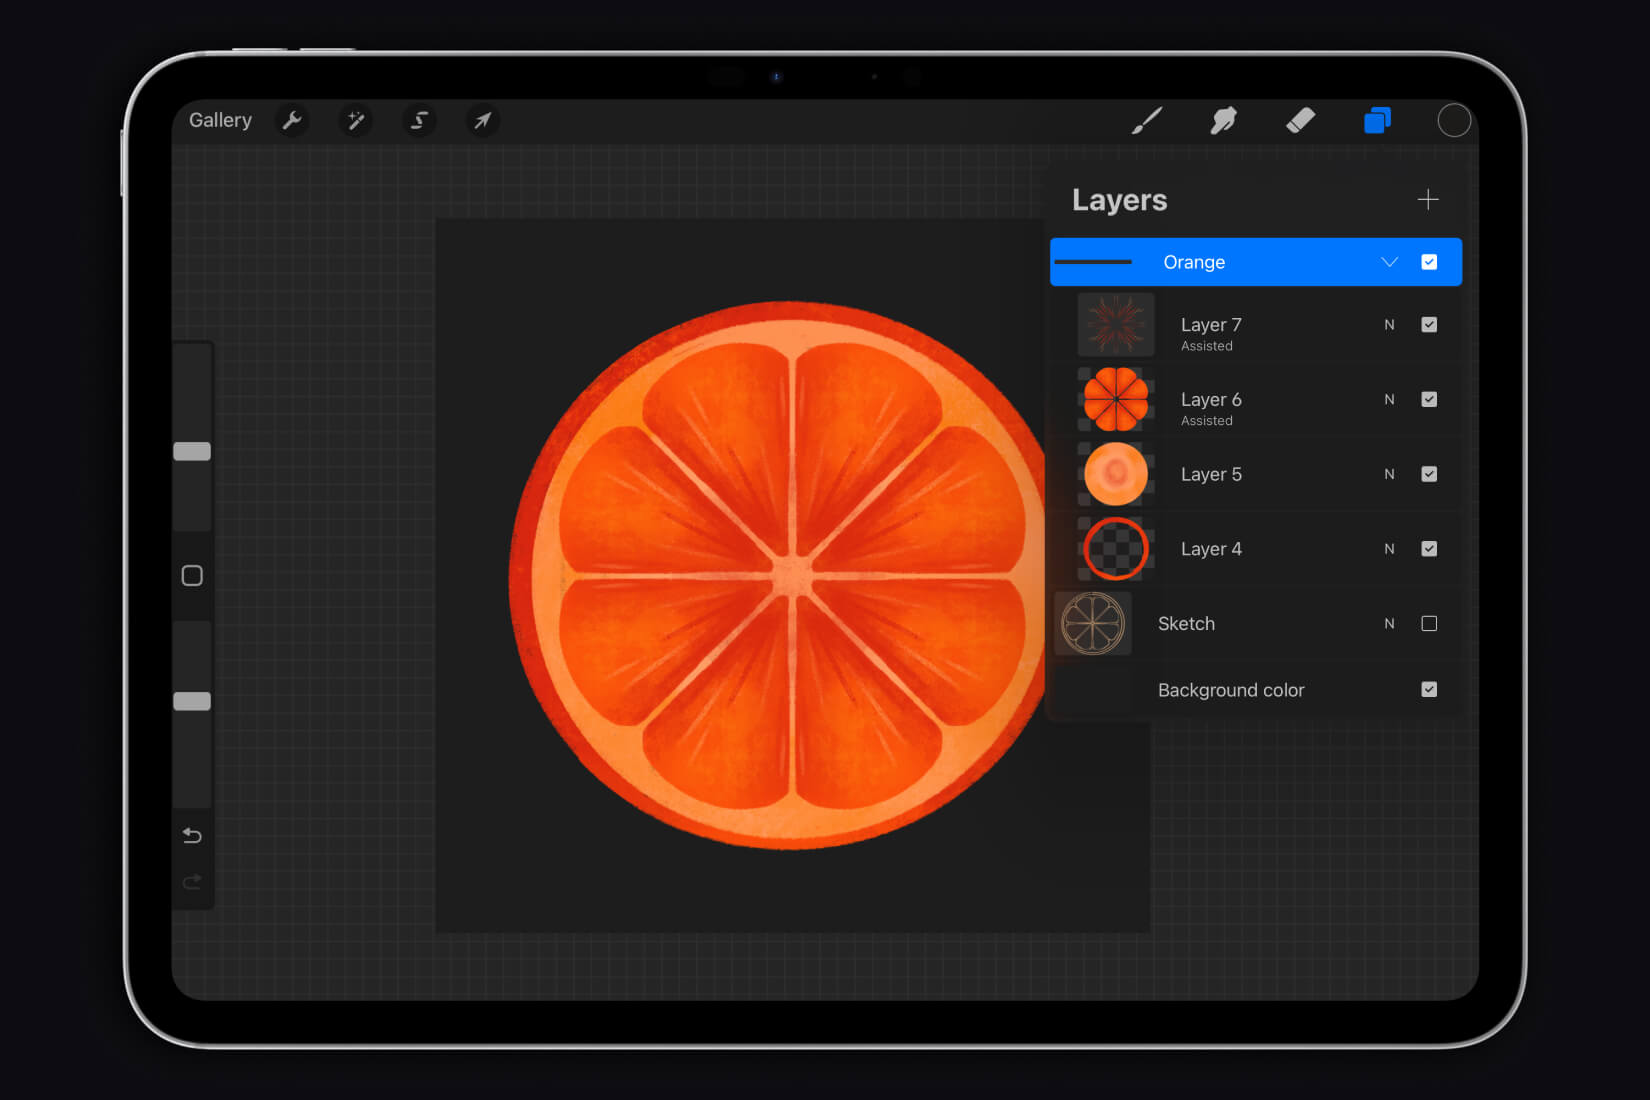
Palette – Selecting and customizing colors for your project
You can select the necessary color in various ways, including color wheels, palettes, and the eyedropper tool.
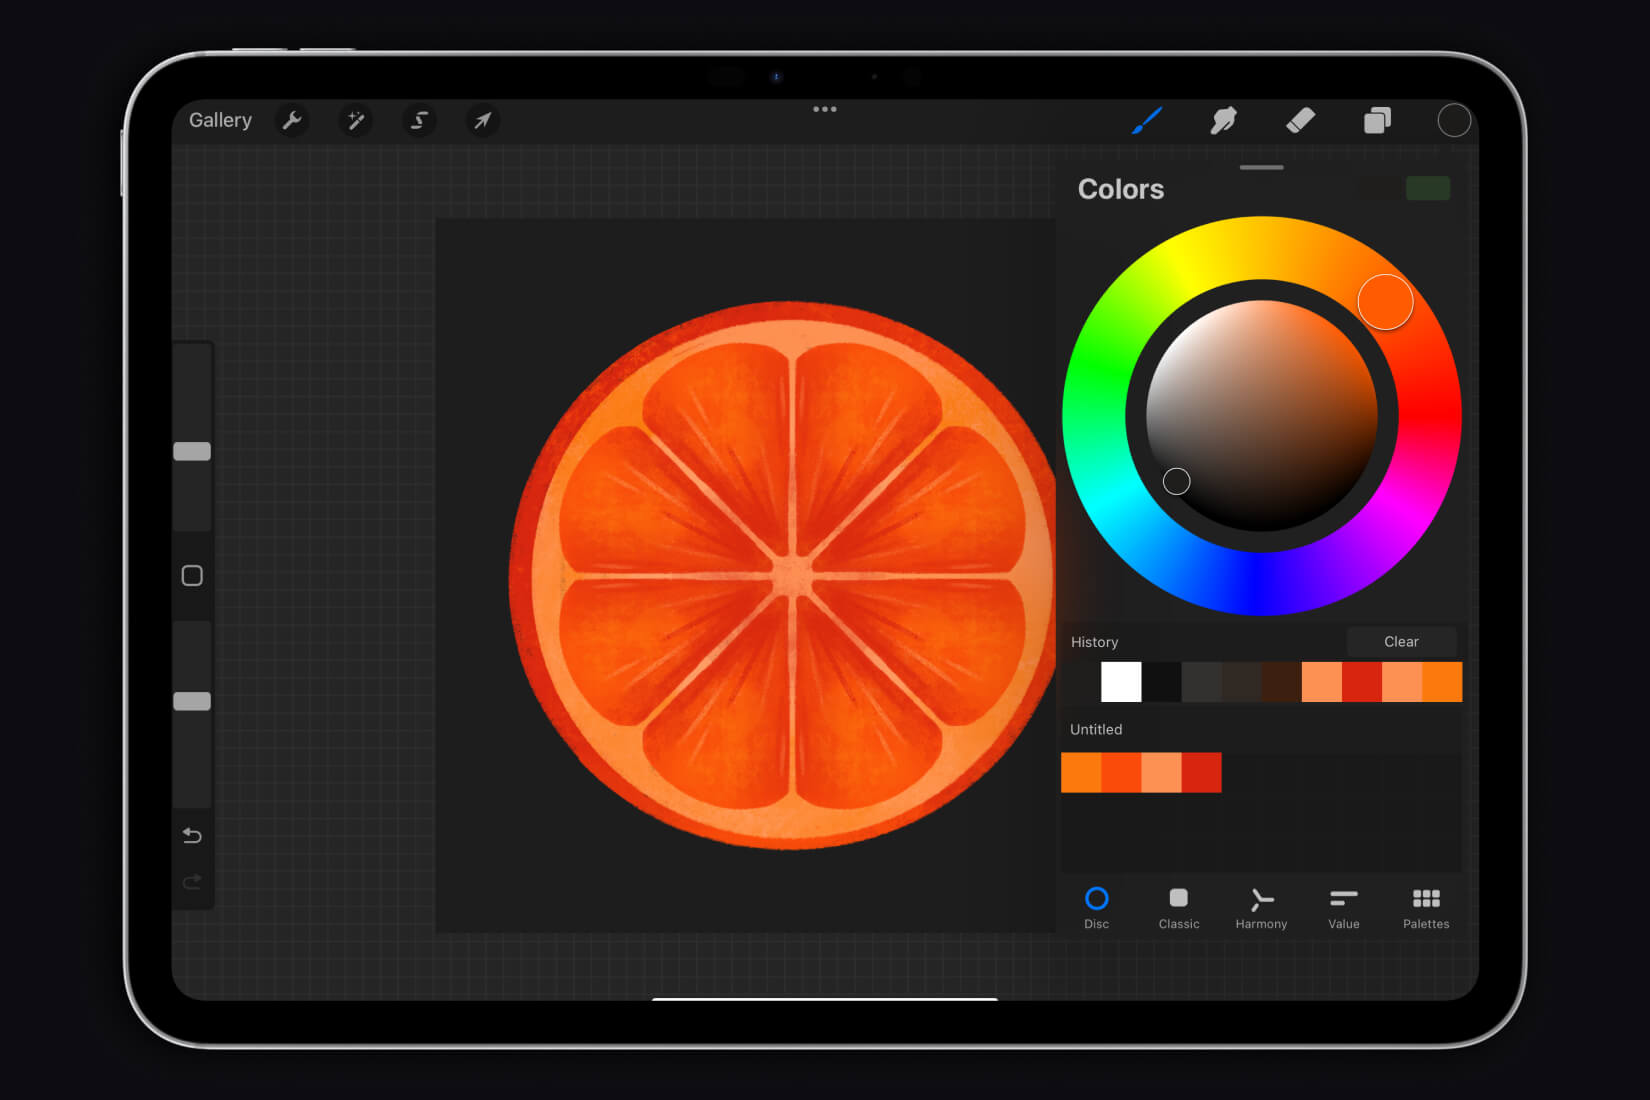
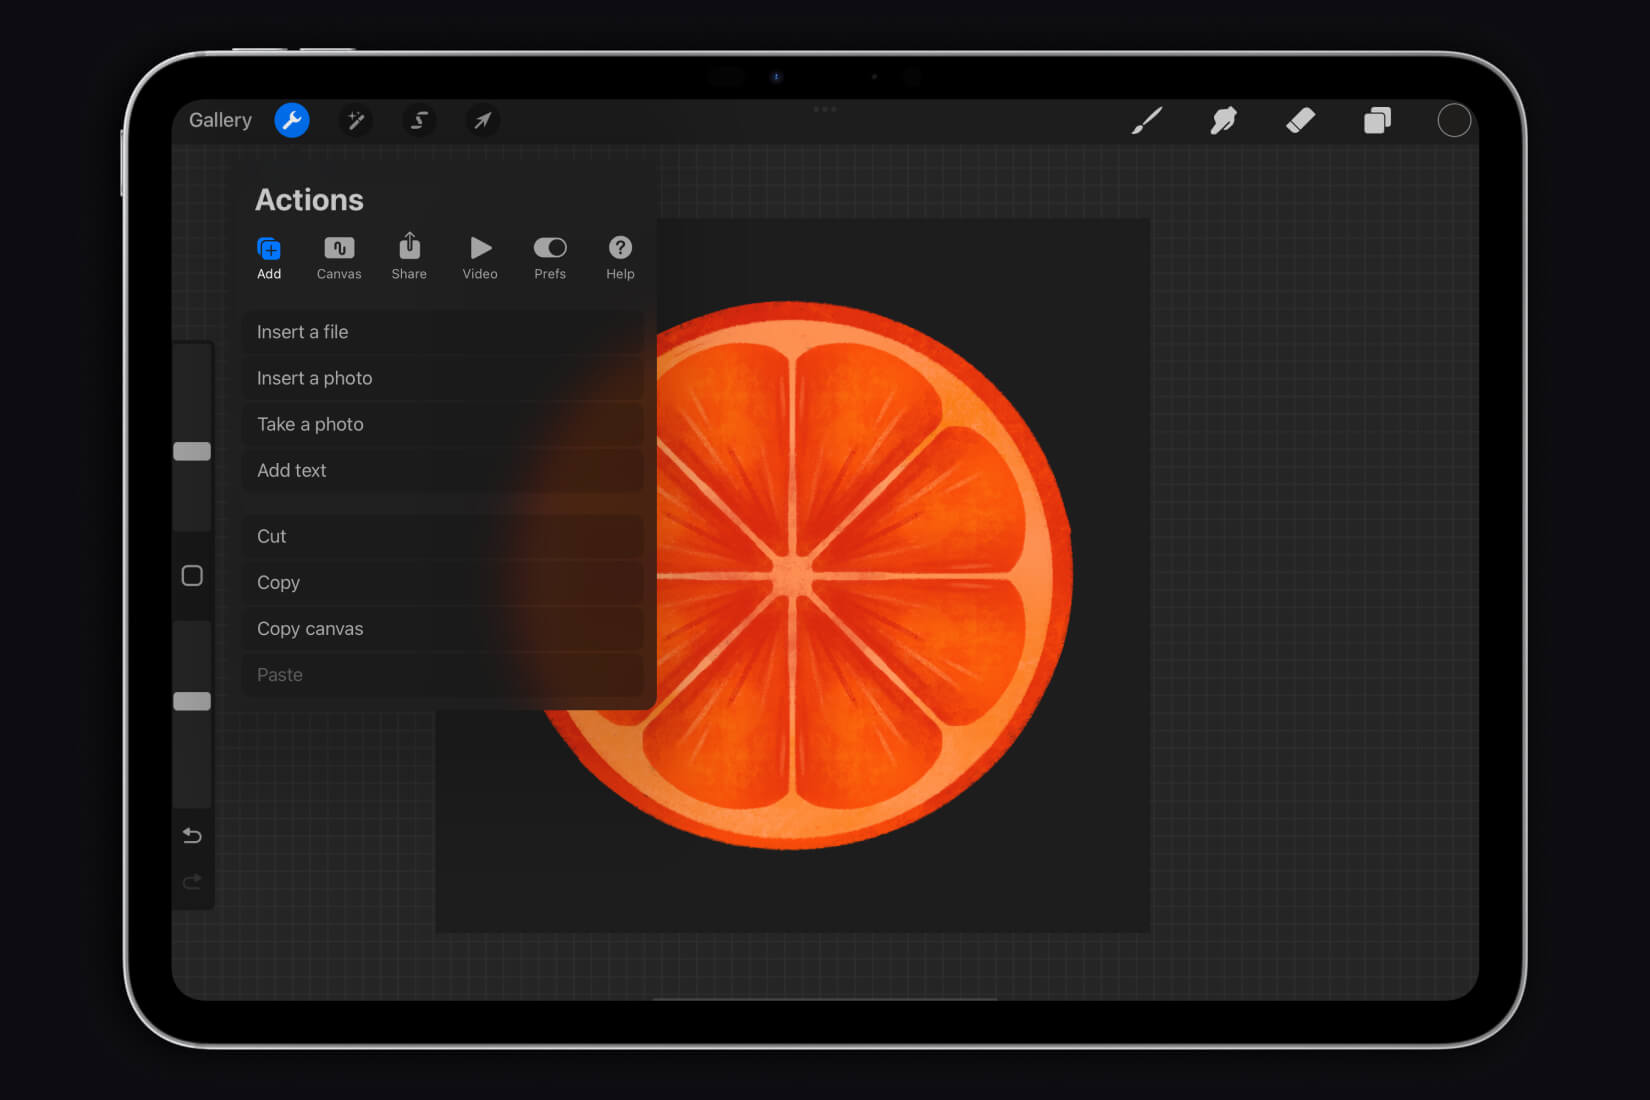
Actions – Access to tool settings, interface appearance, and other main controls
You can add images and text to your works, edit the canvas on the fly, as well as share images and layers. You can record a time-lapse video, customize the interface or touch controls, and explore useful links and information.
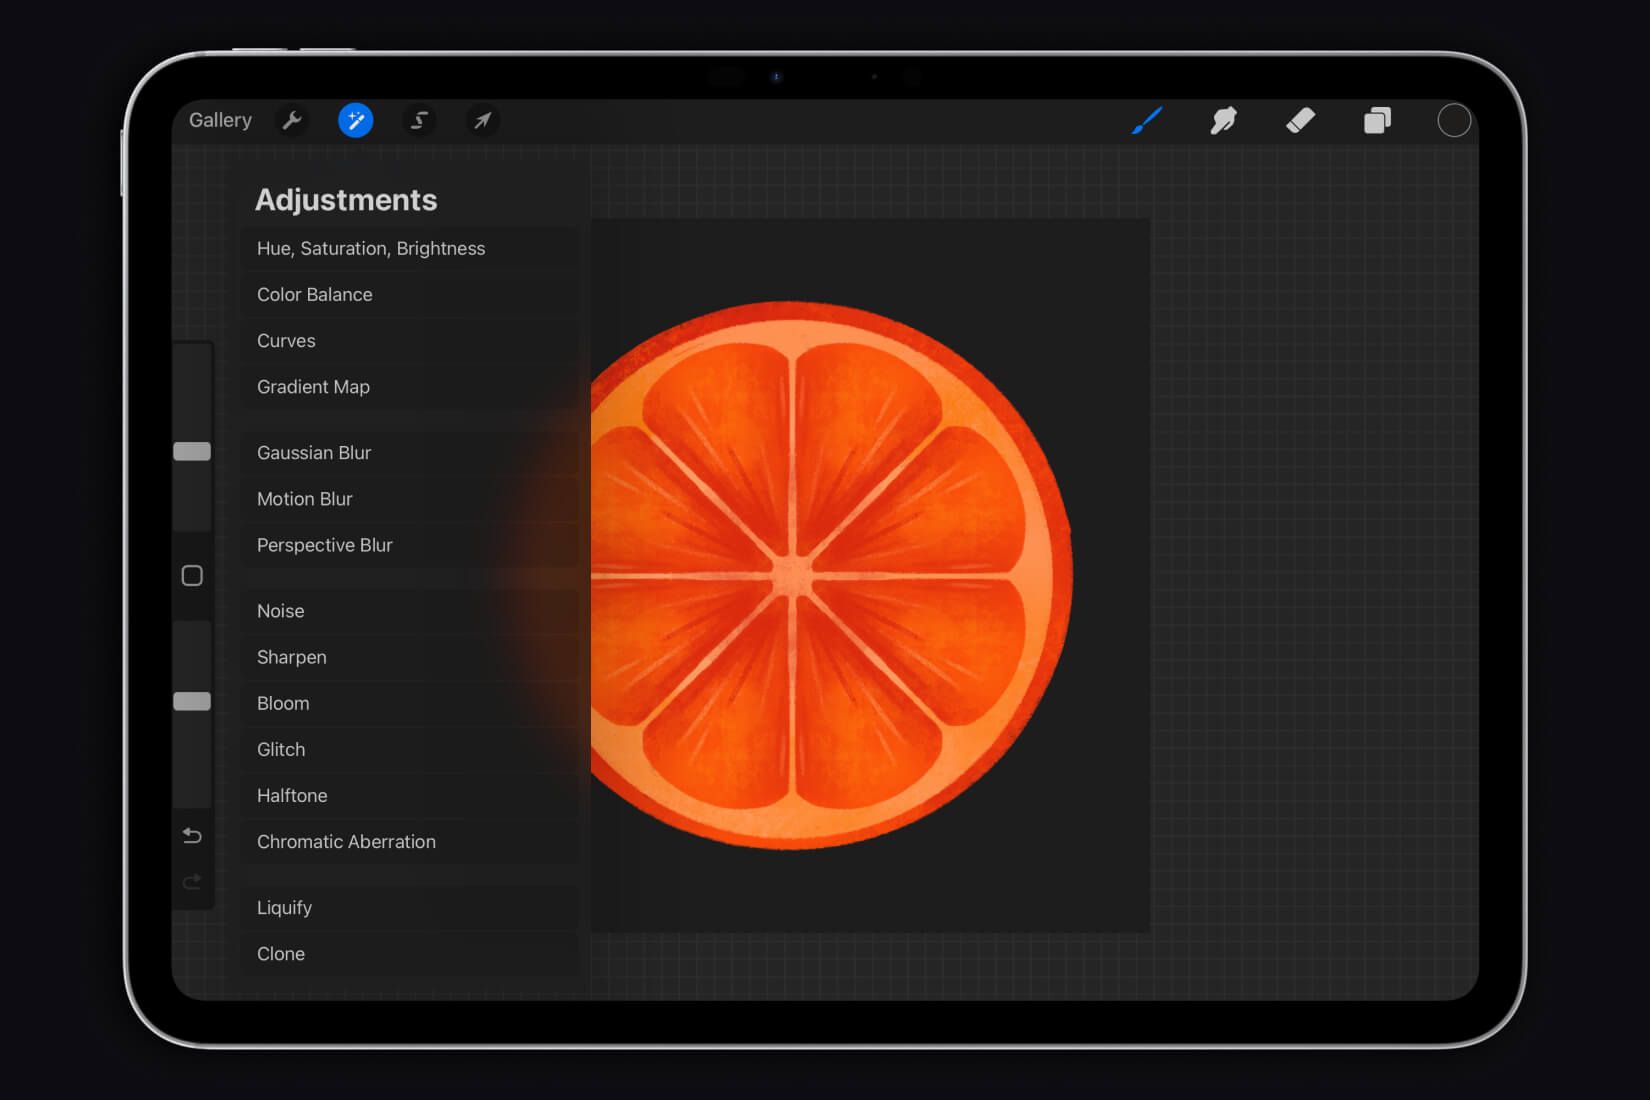
Adjustments – Filters and effects for your project
In the menu, there are two types of adjustments available: “Adjustments” and “Filters.” “Adjustments” regulate the color in your image, while filters affect your image through pixel manipulation and special effects.
Selections – Active selection tool
Selections allow you to make a series of changes to an isolated area of your project. You can draw, smudge, erase, fill, and transform selected areas without affecting anything outside them.

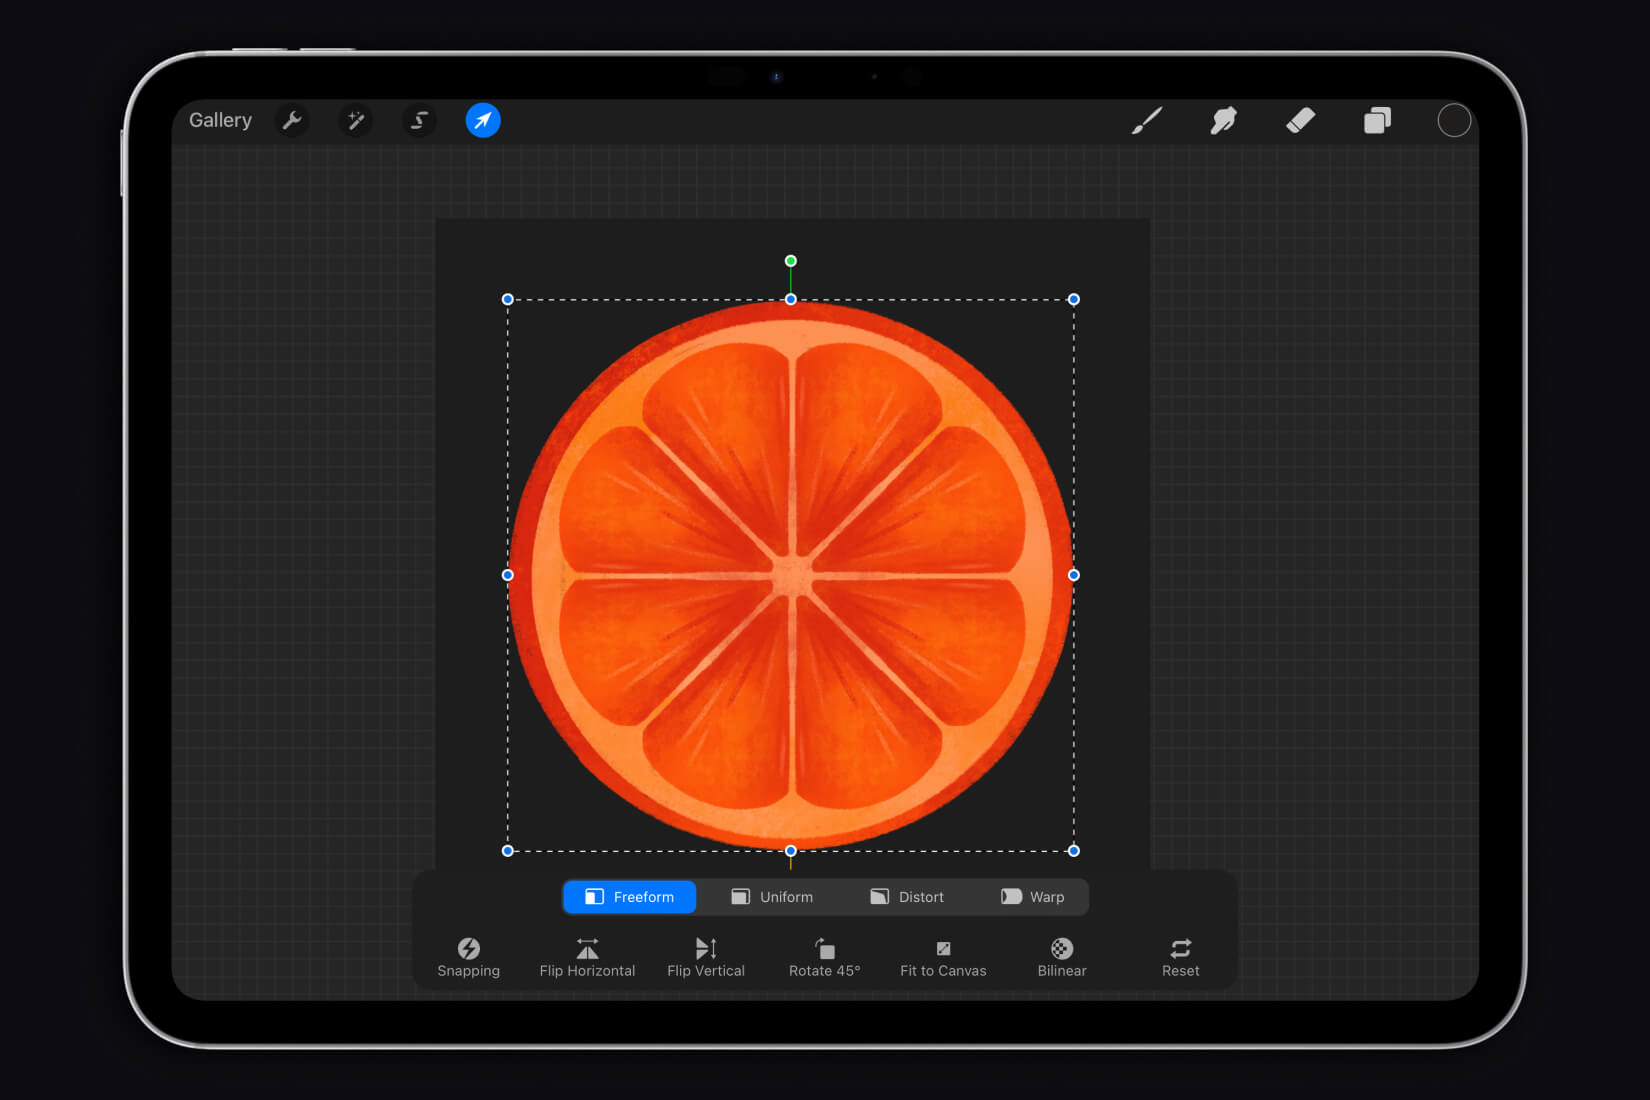
Transform – Resizing, shaping, and repositioning an object with simple touch controls
You can choose various transformation methods and actions, as well as move the selected area of the image.
Working with Layers
Creating and managing layers
Procreate supports layer work, allowing you to create multi-layered compositions and navigate your project more effectively.
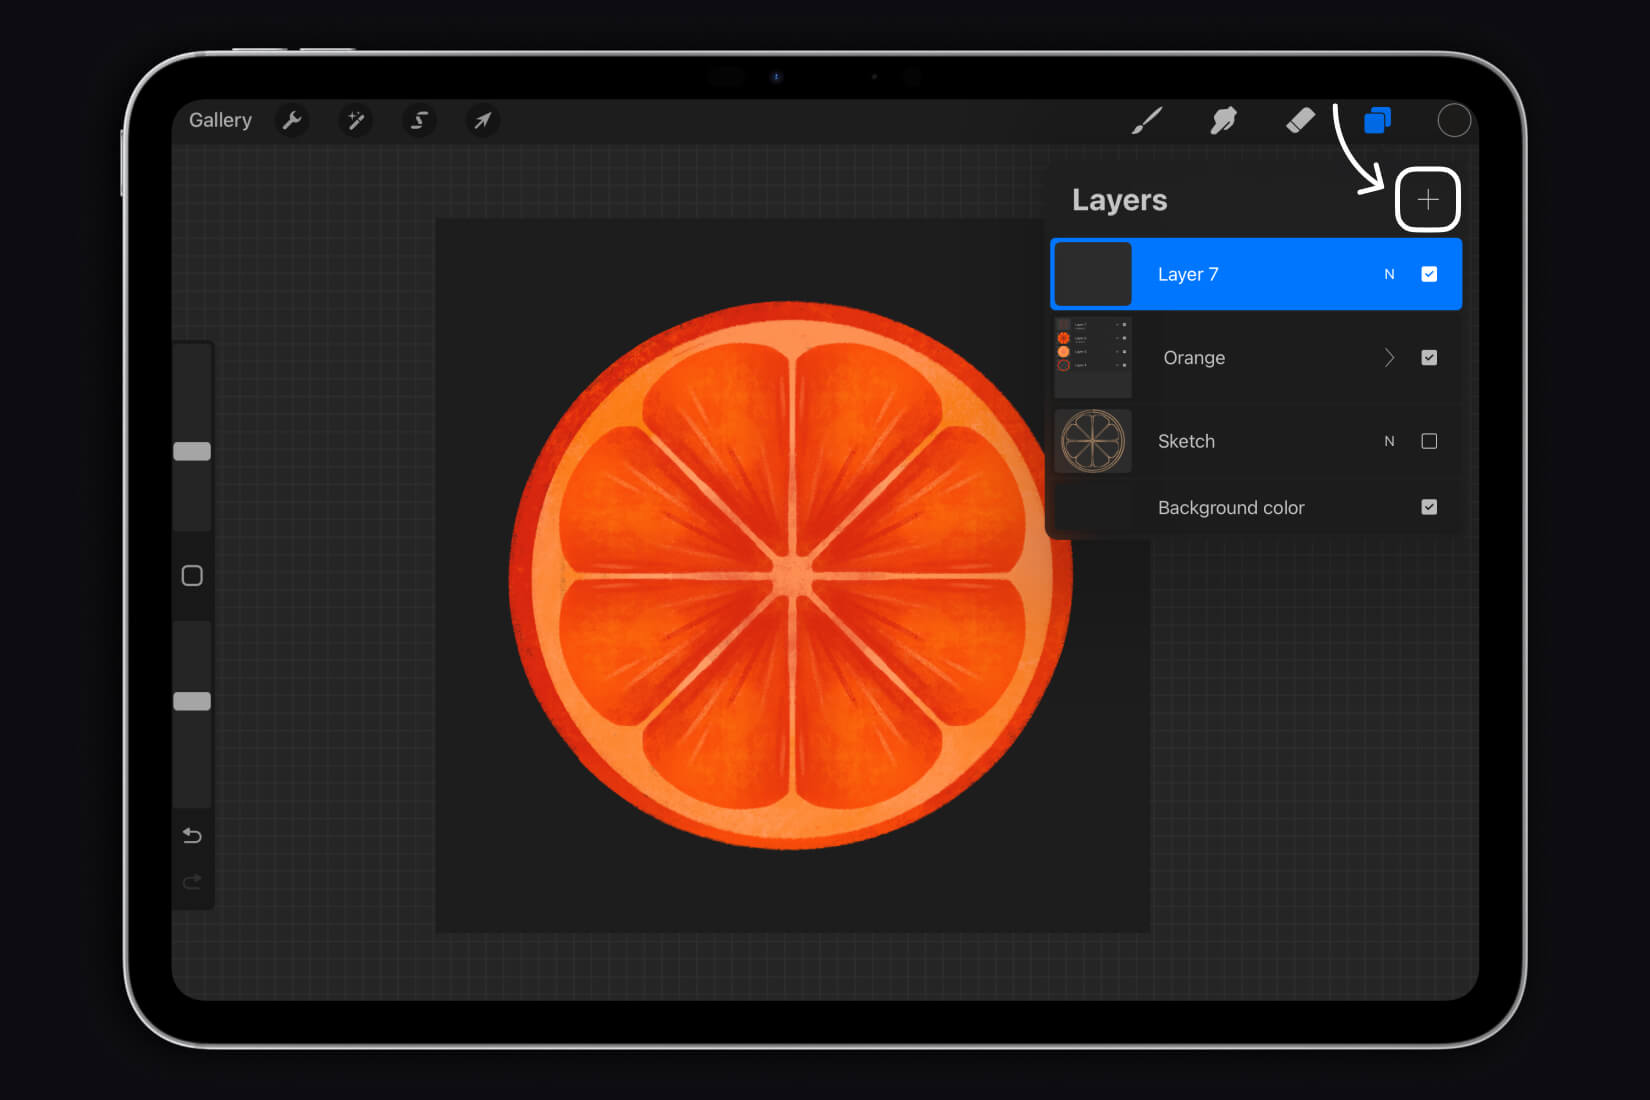
Creating a new layer: Tap the “+” icon on the layers panel. This will allow you to add a new layer for drawing.
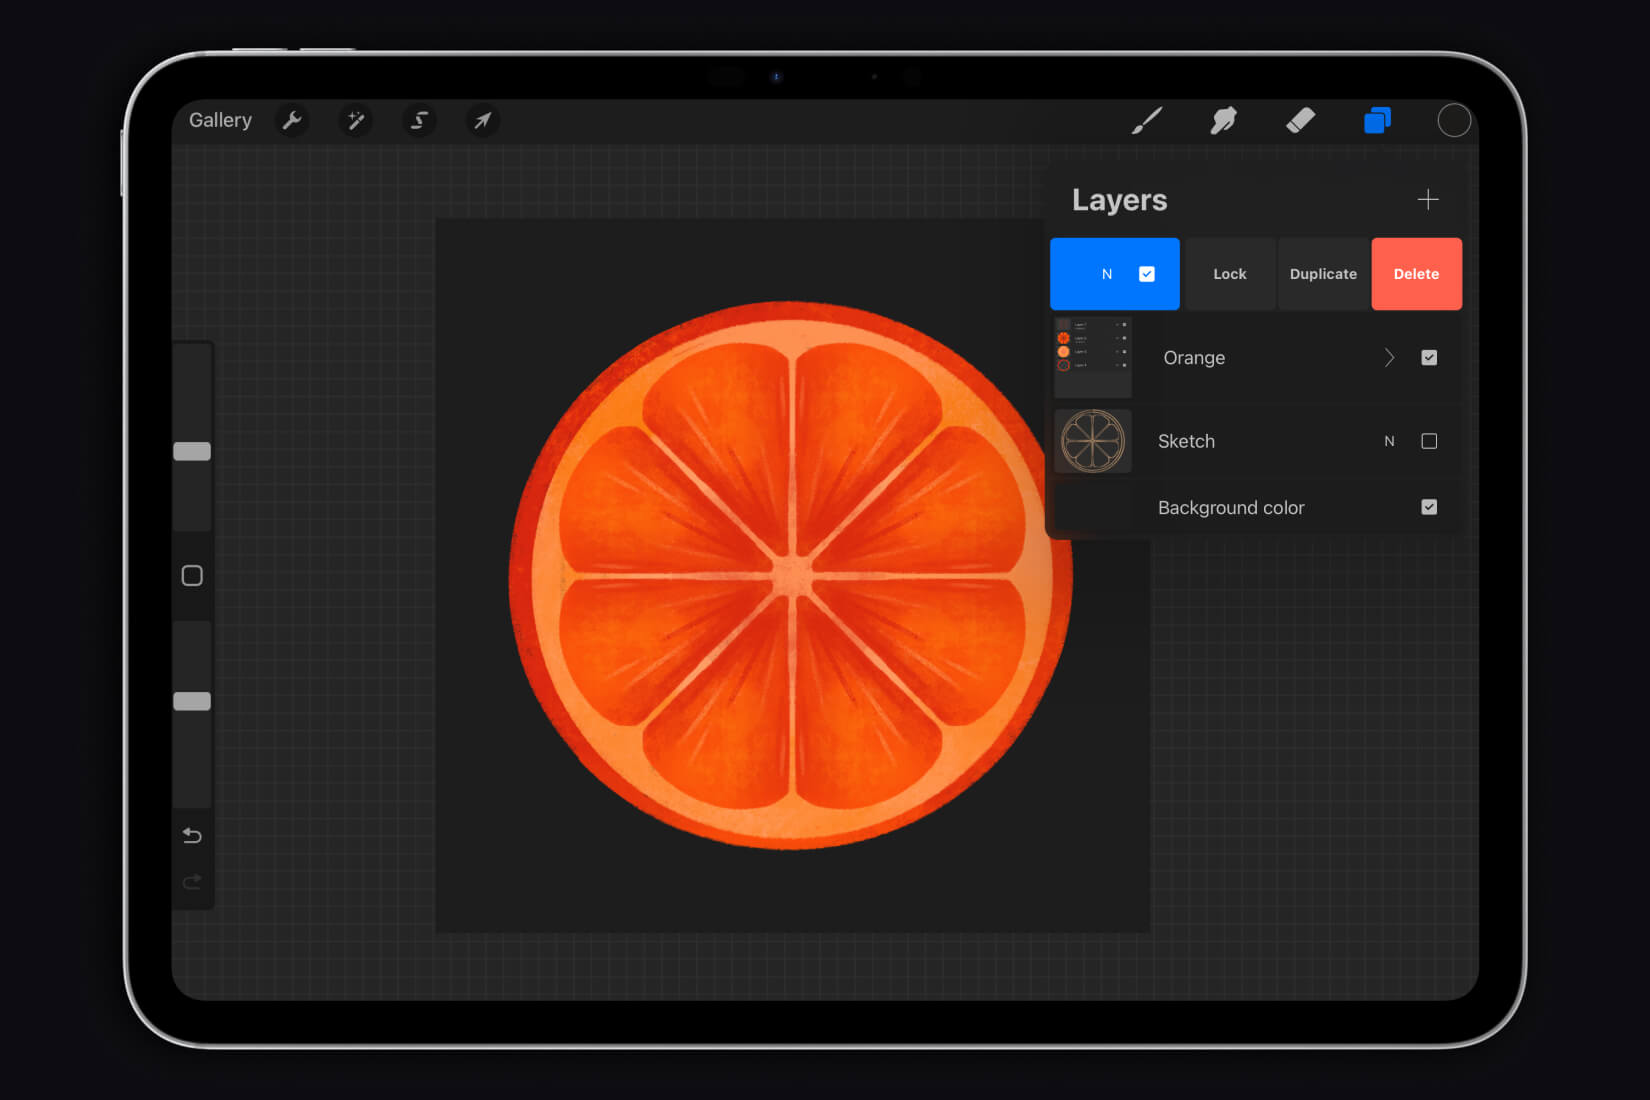
Deleting a layer: Swipe left on the layer and select “Clear.” This will delete the layer and all its contents.
Duplicating a layer: Swipe left on the layer and select “Duplicate.” The selected layer will be duplicated above.
Locking a layer: Swipe left on the layer and select “Lock.” The selected layer will be locked and a lock icon will appear. While the layer is locked, you cannot alter or move it in any way. To unlock the layer, press the “Unlock” button.
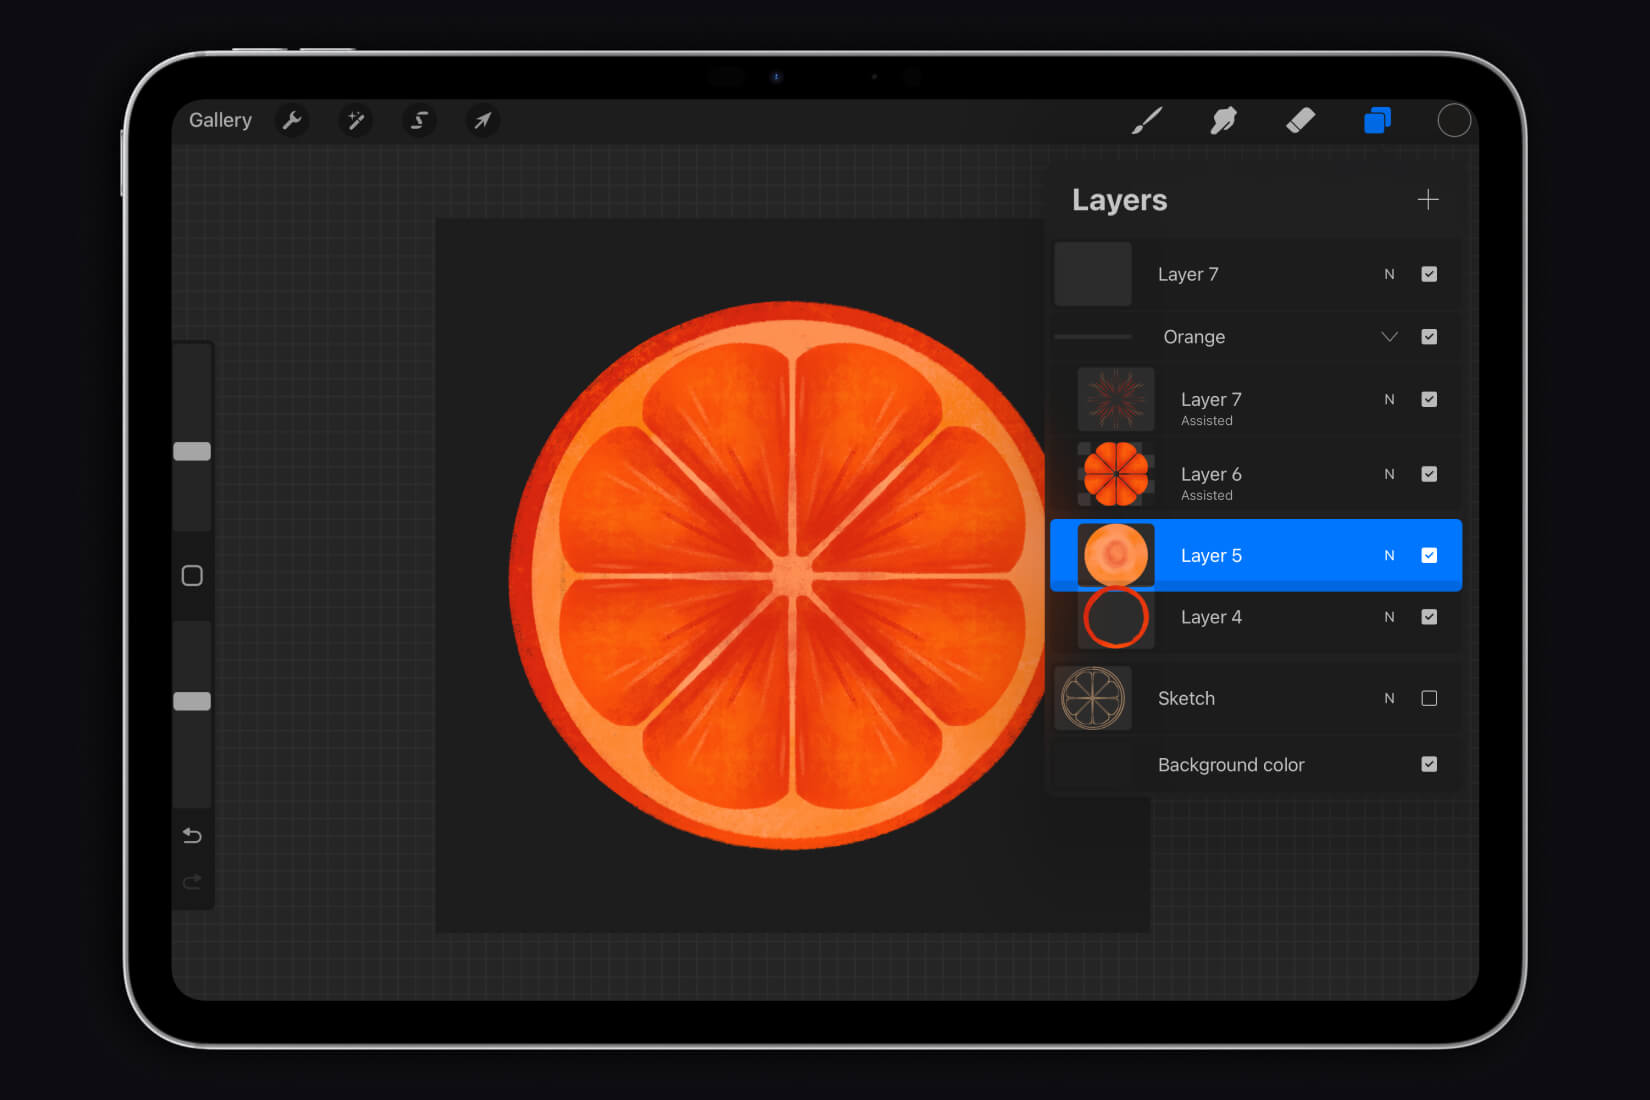
Merging layers: In Procreate, merging layers can be done in a couple of actions. To do this, press and hold on the iPad screen on the top and bottom layers, then pinch your fingers together.
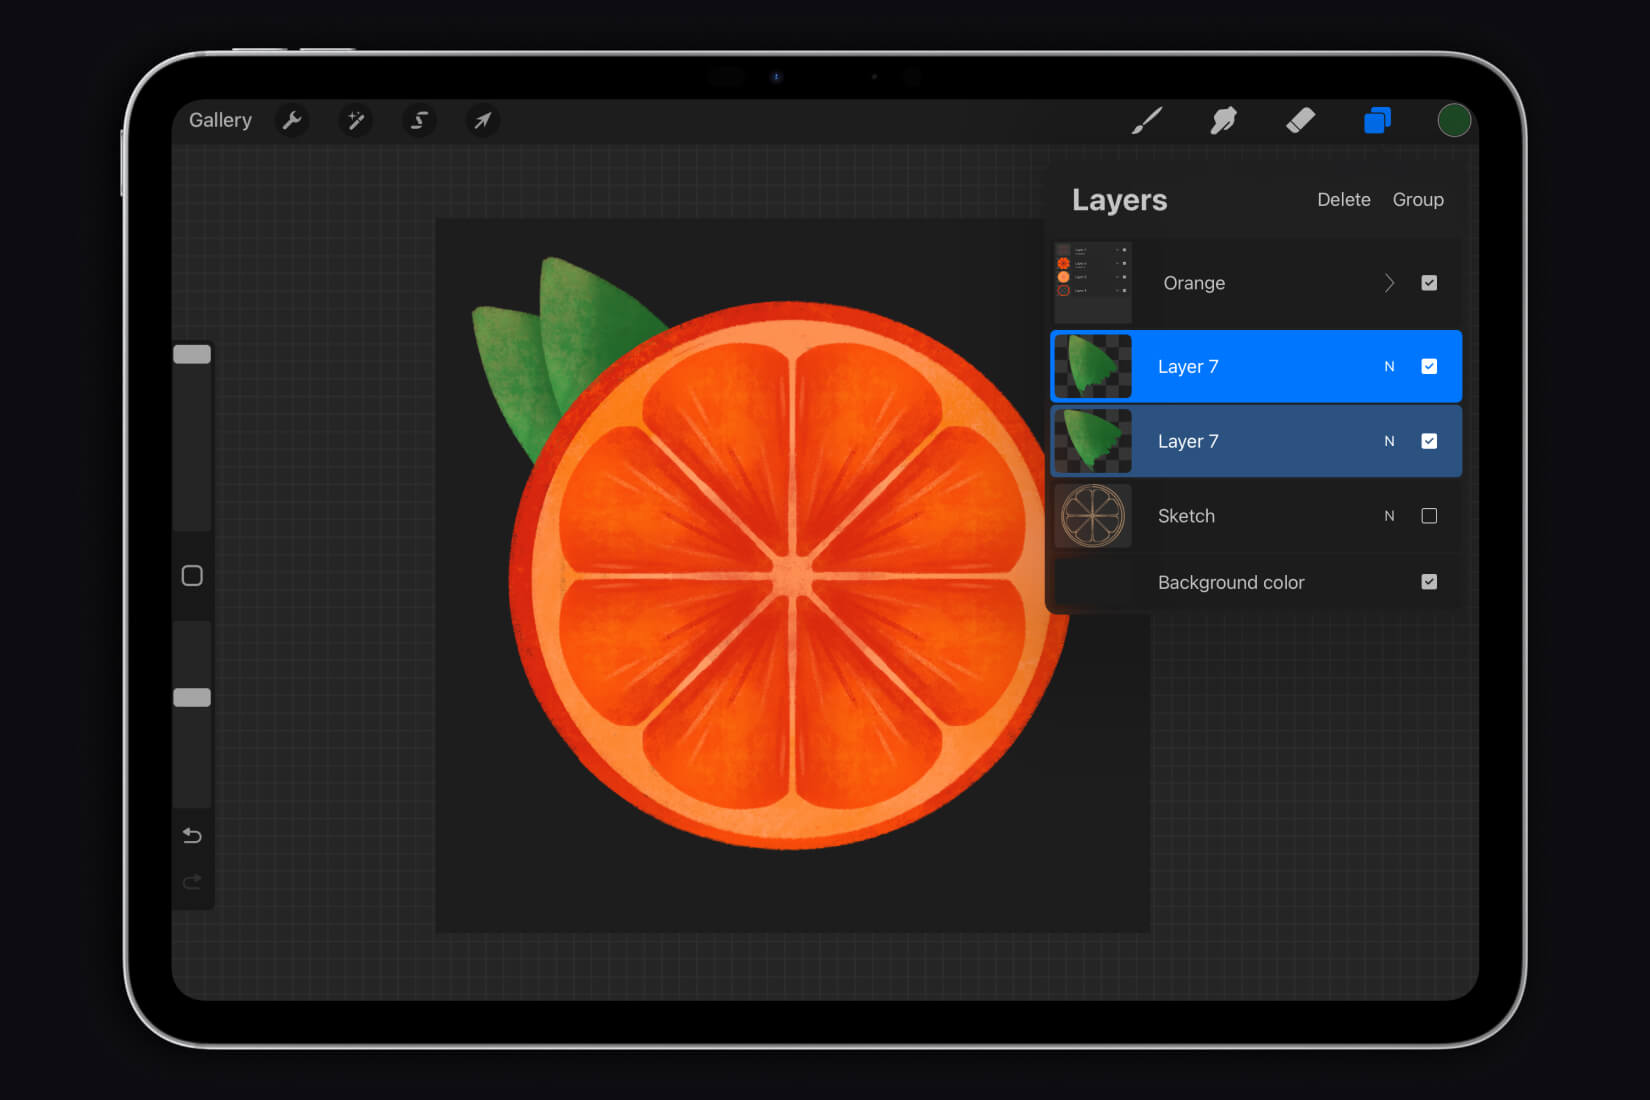
Grouping layers: To group layers, you need to select the layers you want to combine into one group. Swipe each layer from left to right, then tap the “Group” button.
Hiding a layer: To hide a layer, you need to tap the checkmark to the right of the layer name. To show the layer again, tap the empty checkbox to make the checkmark appear.
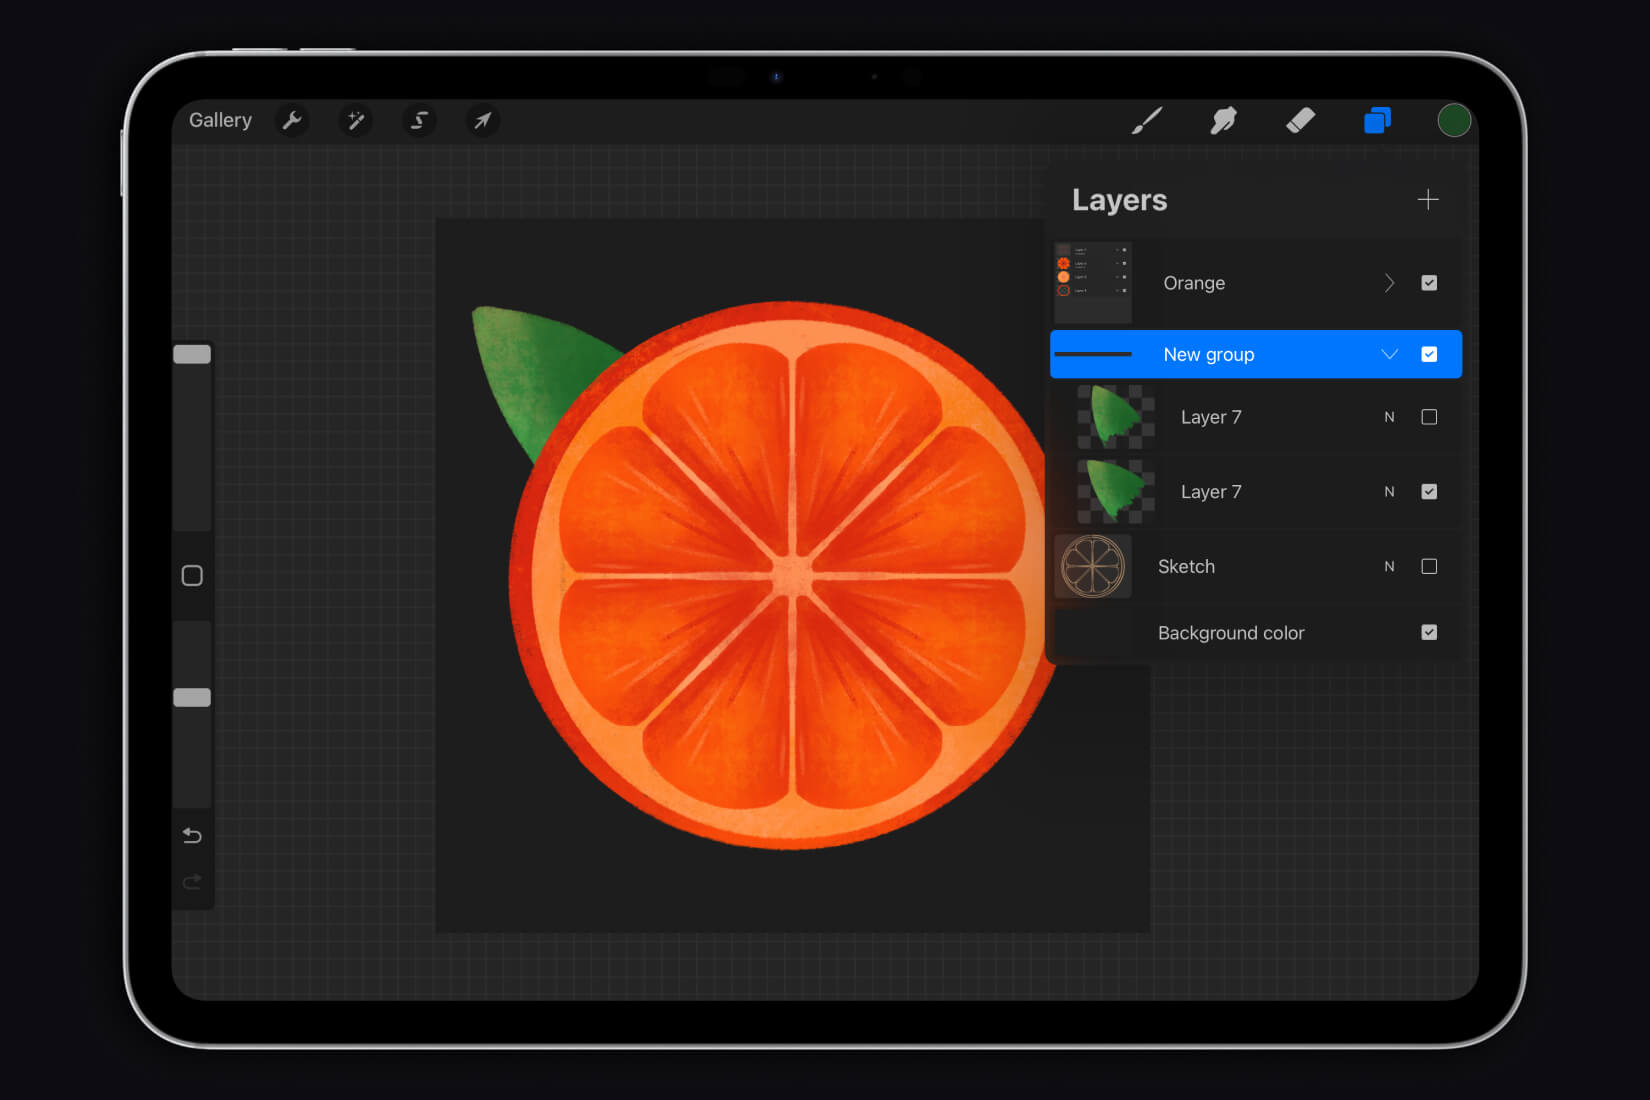
When tapping on the selected layer, a panel will open on the left with functions for managing layers:
Rename: Allows you to change the name of the selected layer for easier organization of elements in your work.
Select: This function allows you to isolate the contents of a layer to work with them separately, such as moving, modifying, or copying only selected parts.
Copy: Copies the contents of the selected layer for later pasting onto the same or a different layer. This is convenient for duplicating elements.
Fill Layer: Fills the entire selected layer with color.
Clear: Deletes all content from the selected layer, leaving it empty.
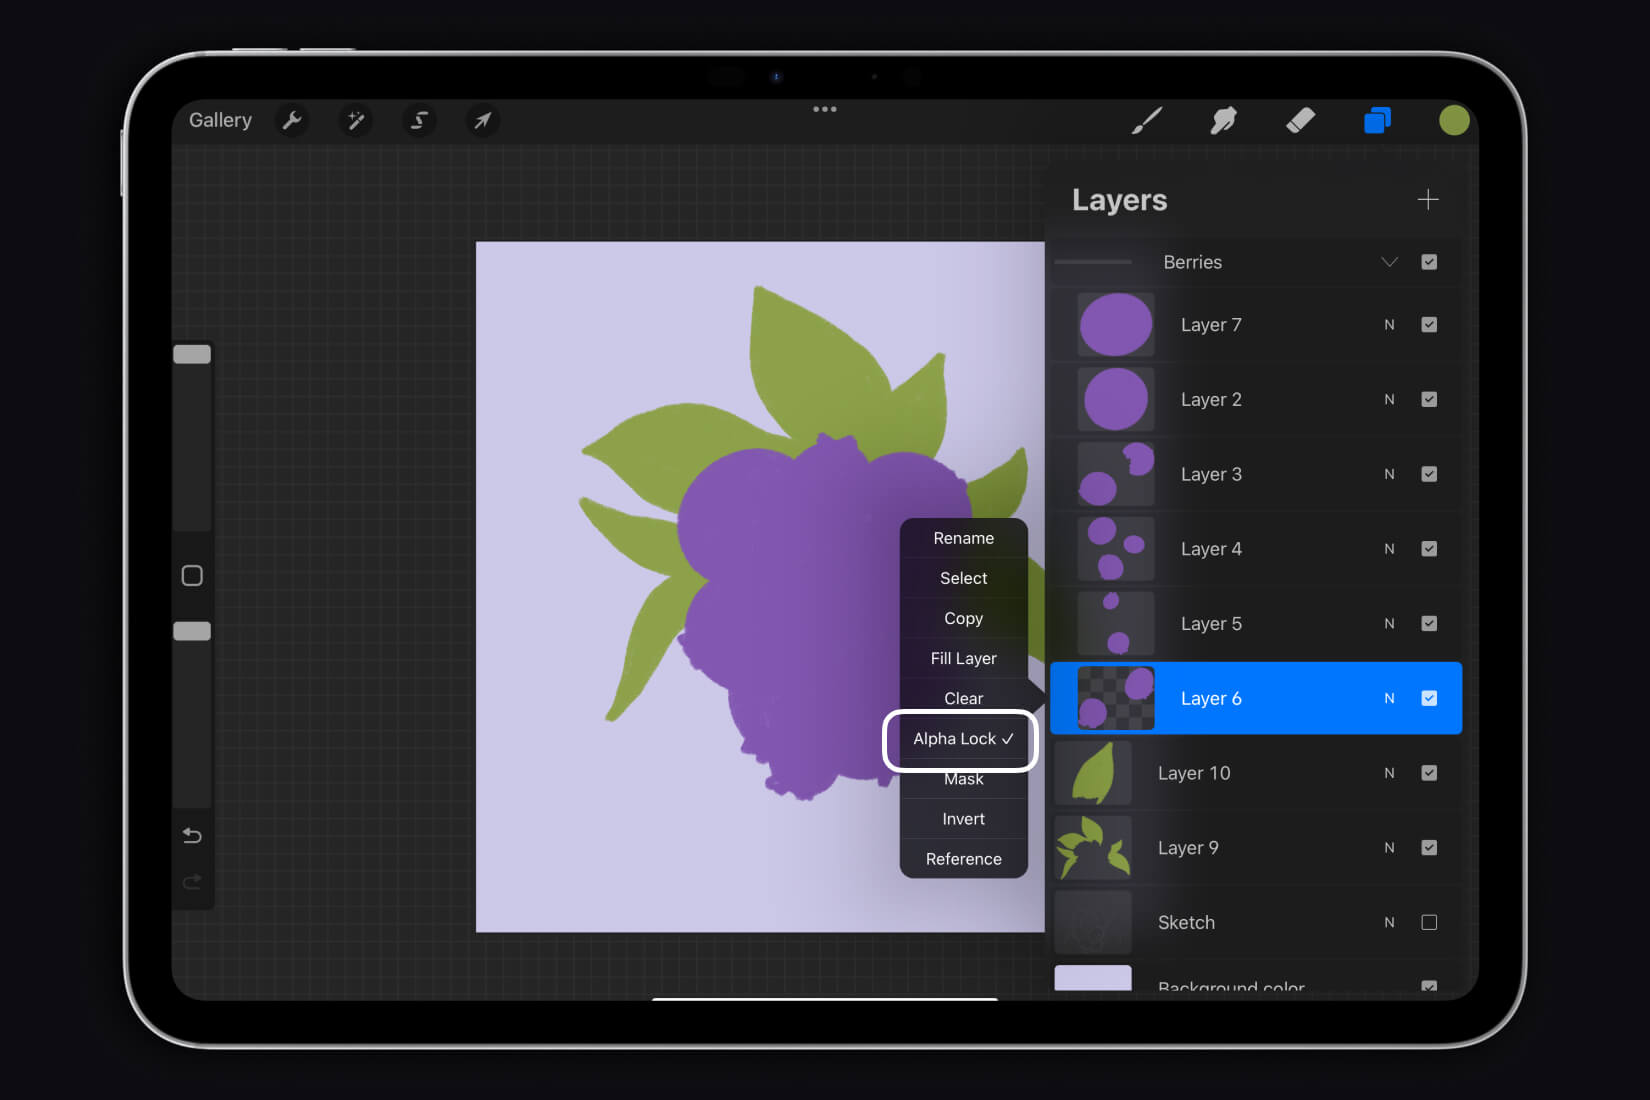
Alpha Lock: Allows you to change color or add details without going outside the existing elements of the selected layer.
Mask: Allows you to hide or show certain areas of a layer using a black or white brush. Using a layer mask can help preserve the original content for further editing.
Invert: Swaps the colors of the layer to their opposites (black becomes white, and white becomes black).
Reference: Lets you use the contents of one layer as a reference for other layers. This is useful for maintaining consistency in details while drawing.
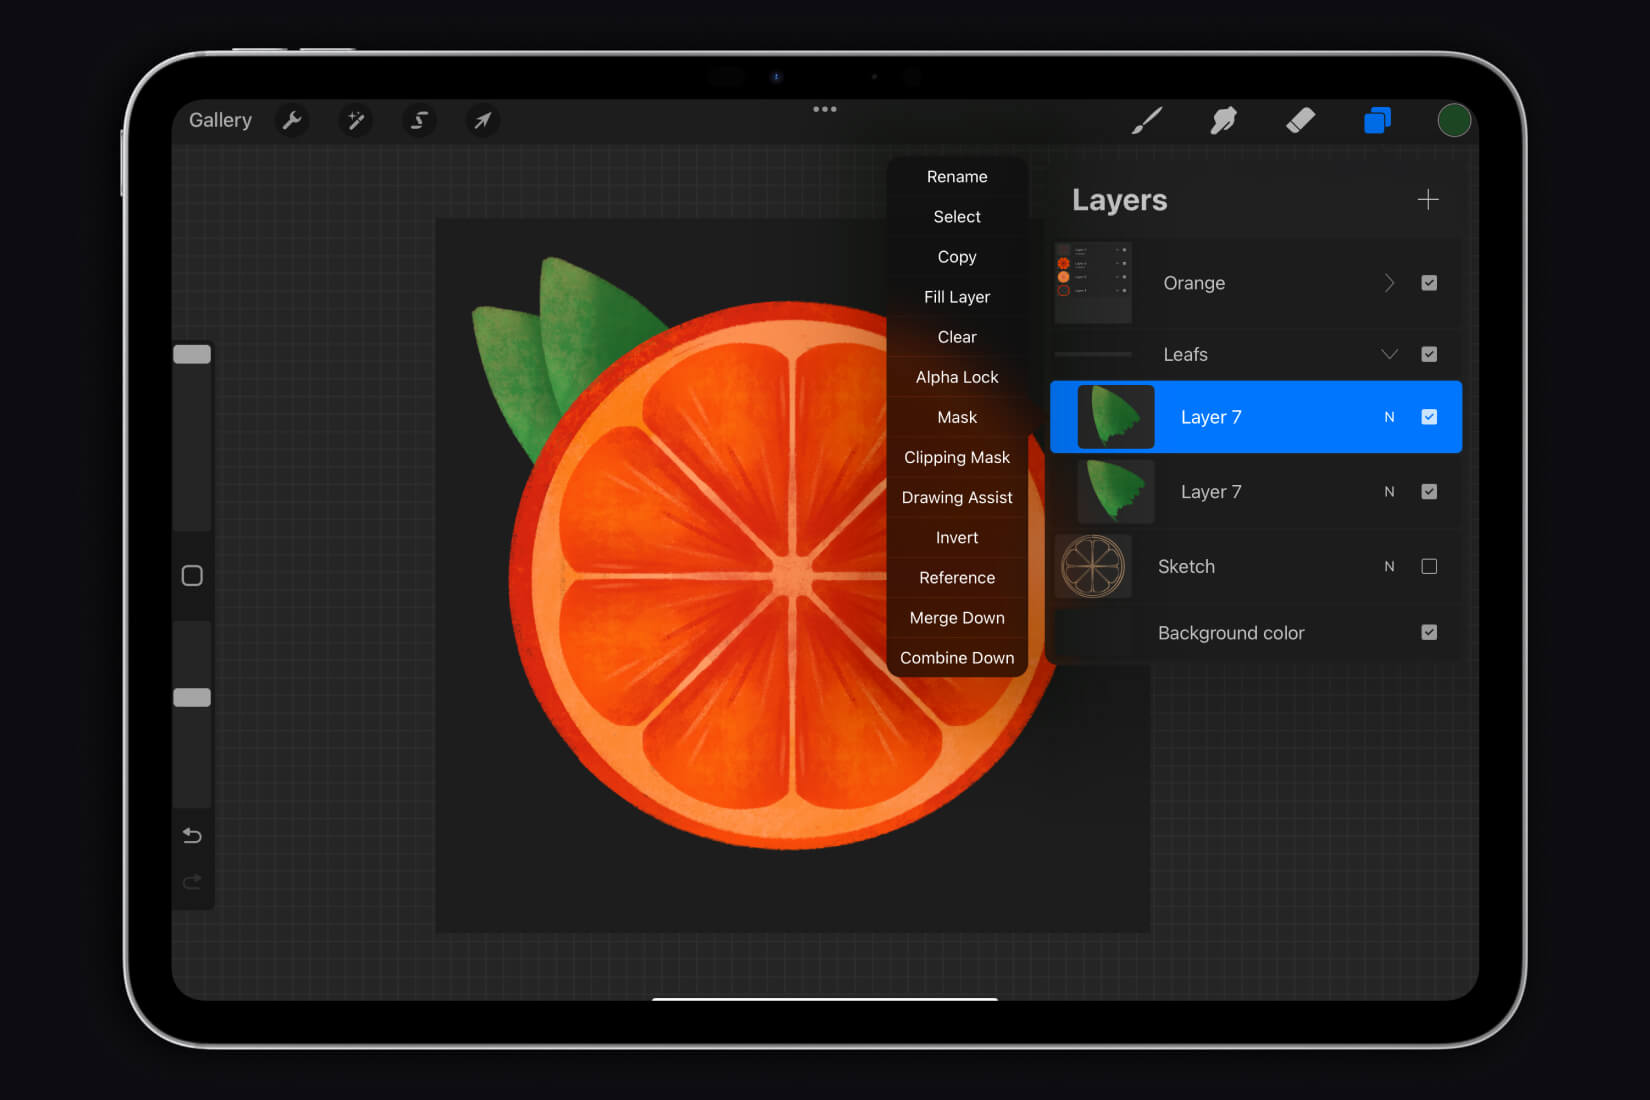
Blending Modes and Opacity
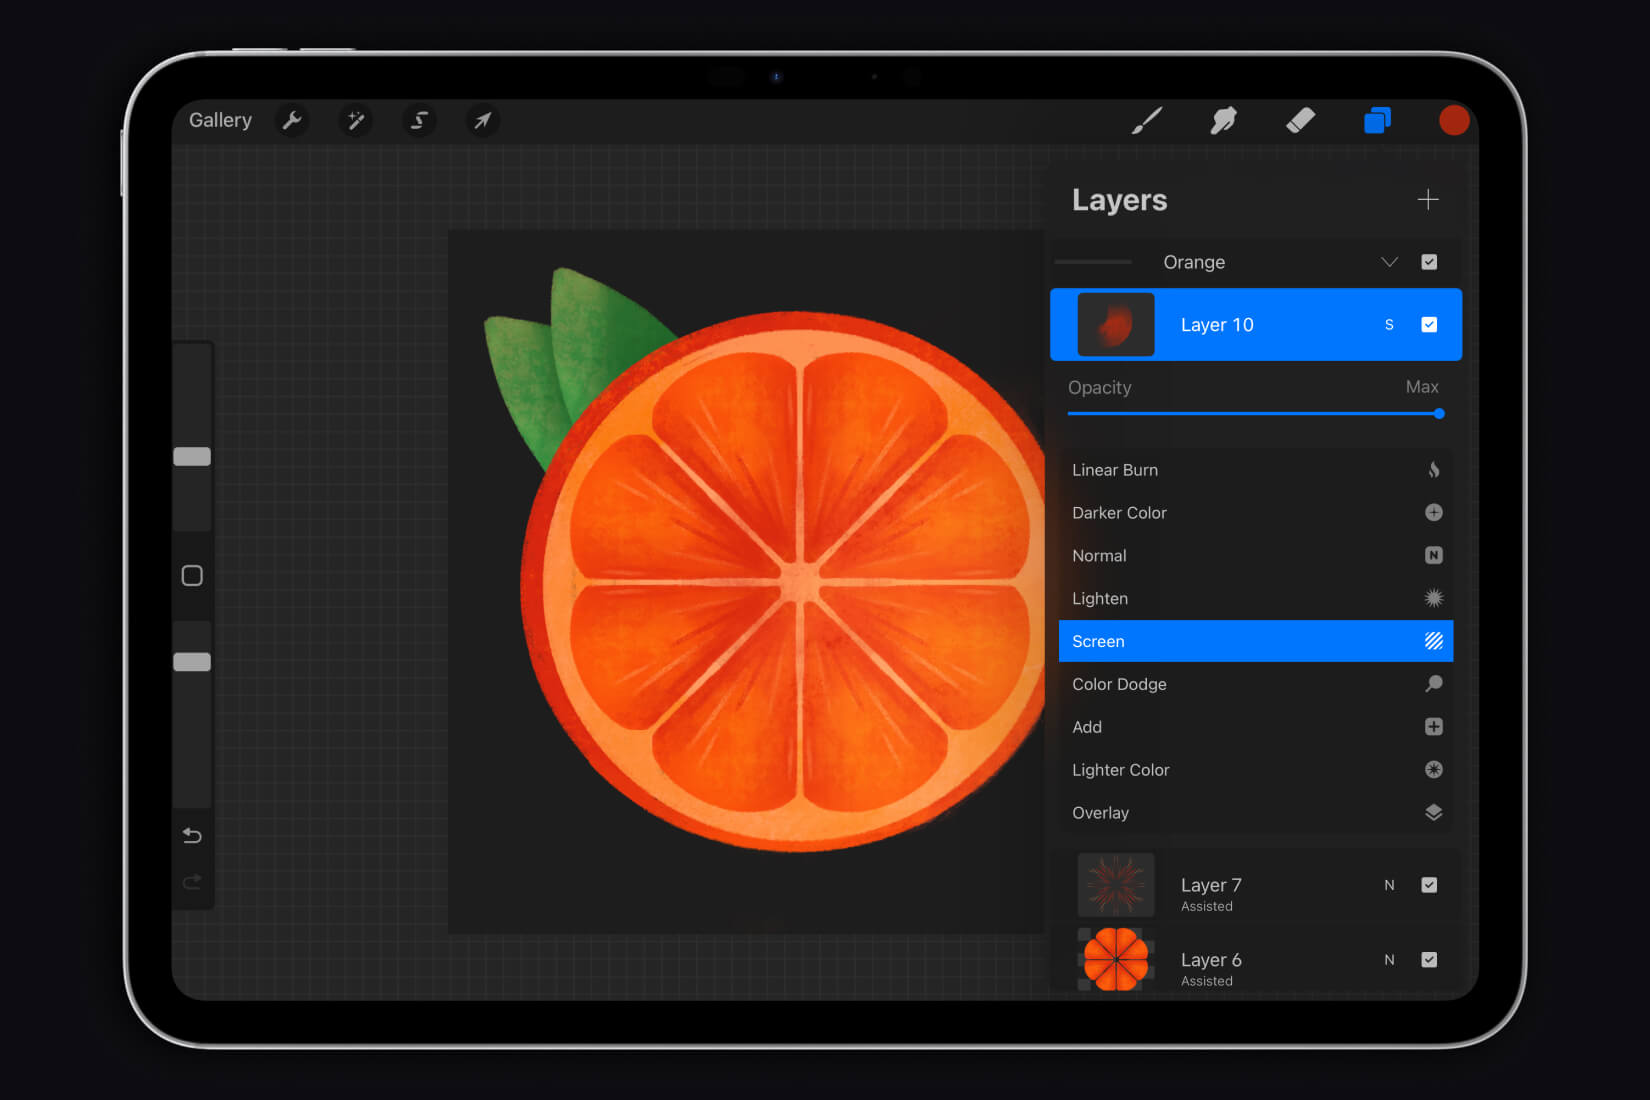
In Procreate, layers have blending modes which allow you to create interesting visual effects. To open this panel, you need to tap on the letter “N,” located to the left of the layer hide button. The letter may change depending on the selected blending mode.
Normal: The standard blending mode. Colors on the top layer overlap colors on the bottom layer.
Multiply: Multiplies colors resulting in a darkening effect. Useful for creating shadows and depth.
Screen: Lightens colors. Used for creating bright and vibrant effects.
Overlay: This mode combines the effects of multiplication and lightening. Bright areas of the top layer make the bottom layer lighter, while dark areas make it darker. Creates a bright and rich effect.
Color: Keeps the brightness of the bottom layer while replacing it with the colors of the top layer. Ideal for changing the colors of objects while maintaining their texture.
Hue: Alters only the hue of the bottom layer based on the hue of the top layer, without affecting brightness and saturation.
Saturation: This mode changes the saturation of the bottom layer according to the saturated spectrum of the top layer, making colors more vibrant or muted.
Luminosity: Allows the top layer to define the brightness of the bottom one, while keeping its color. This is useful for tonal adjustment.
The opacity of a layer can be adjusted by changing the “Opacity” setting in the layer settings. This allows you to make layers more transparent or opaque, which is helpful for creating various effects.

Let’s look at an effect using the Screen mode.
These are the primary blending modes that you may find useful, try using them to fully understand the purpose of eac
Working with Brushes
Basic Settings
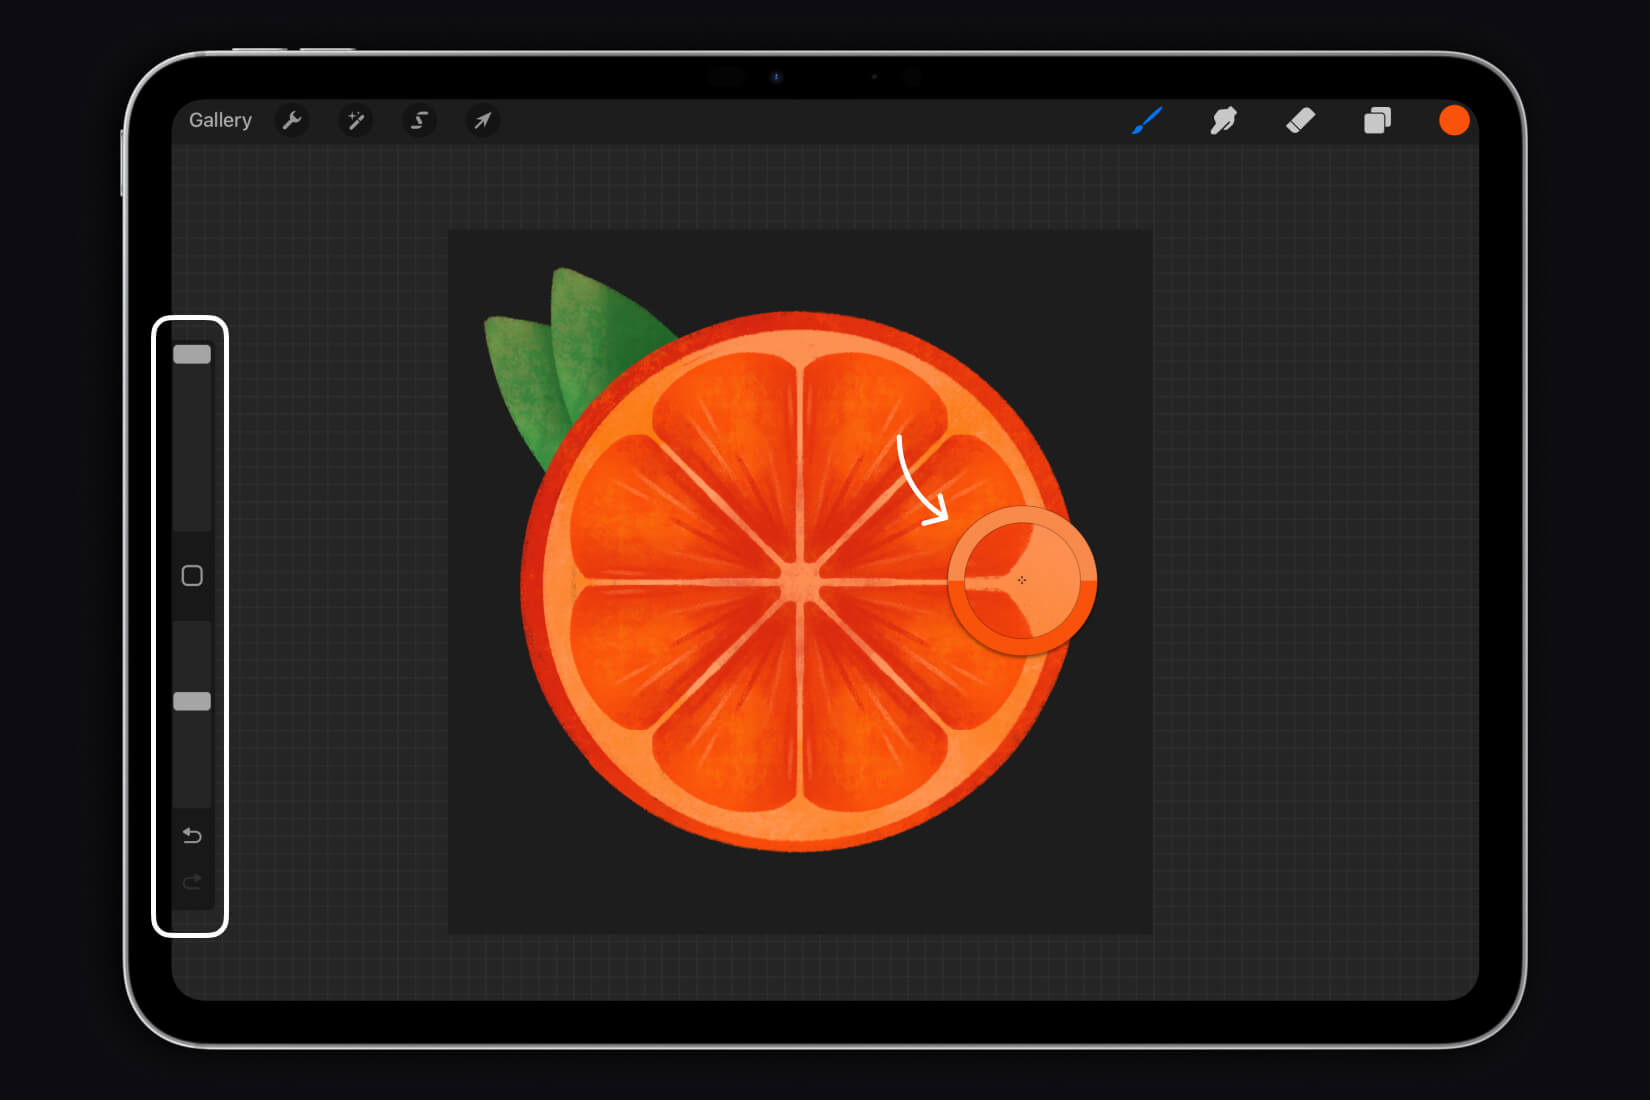
On the left panel, you will find sliders that control the main settings of the brush you’re using.
Size: Move the slider up or down to increase or decrease the brush size.
Opacity: Move the slider up or down to increase or decrease the brush opacity.
Eyedropper: The square between these sliders activates the eyedropper tool. To select a color from the canvas, you need to tap on this square. A circle will appear, which you can move around the canvas until you choose the desired color.
Undo and Redo Actions: Tap the top arrow to undo the last action. Tap the bottom arrow to redo it. A notification will appear at the top of the interface indicating what action your Undo or Redo affected. You can undo up to 250 actions.
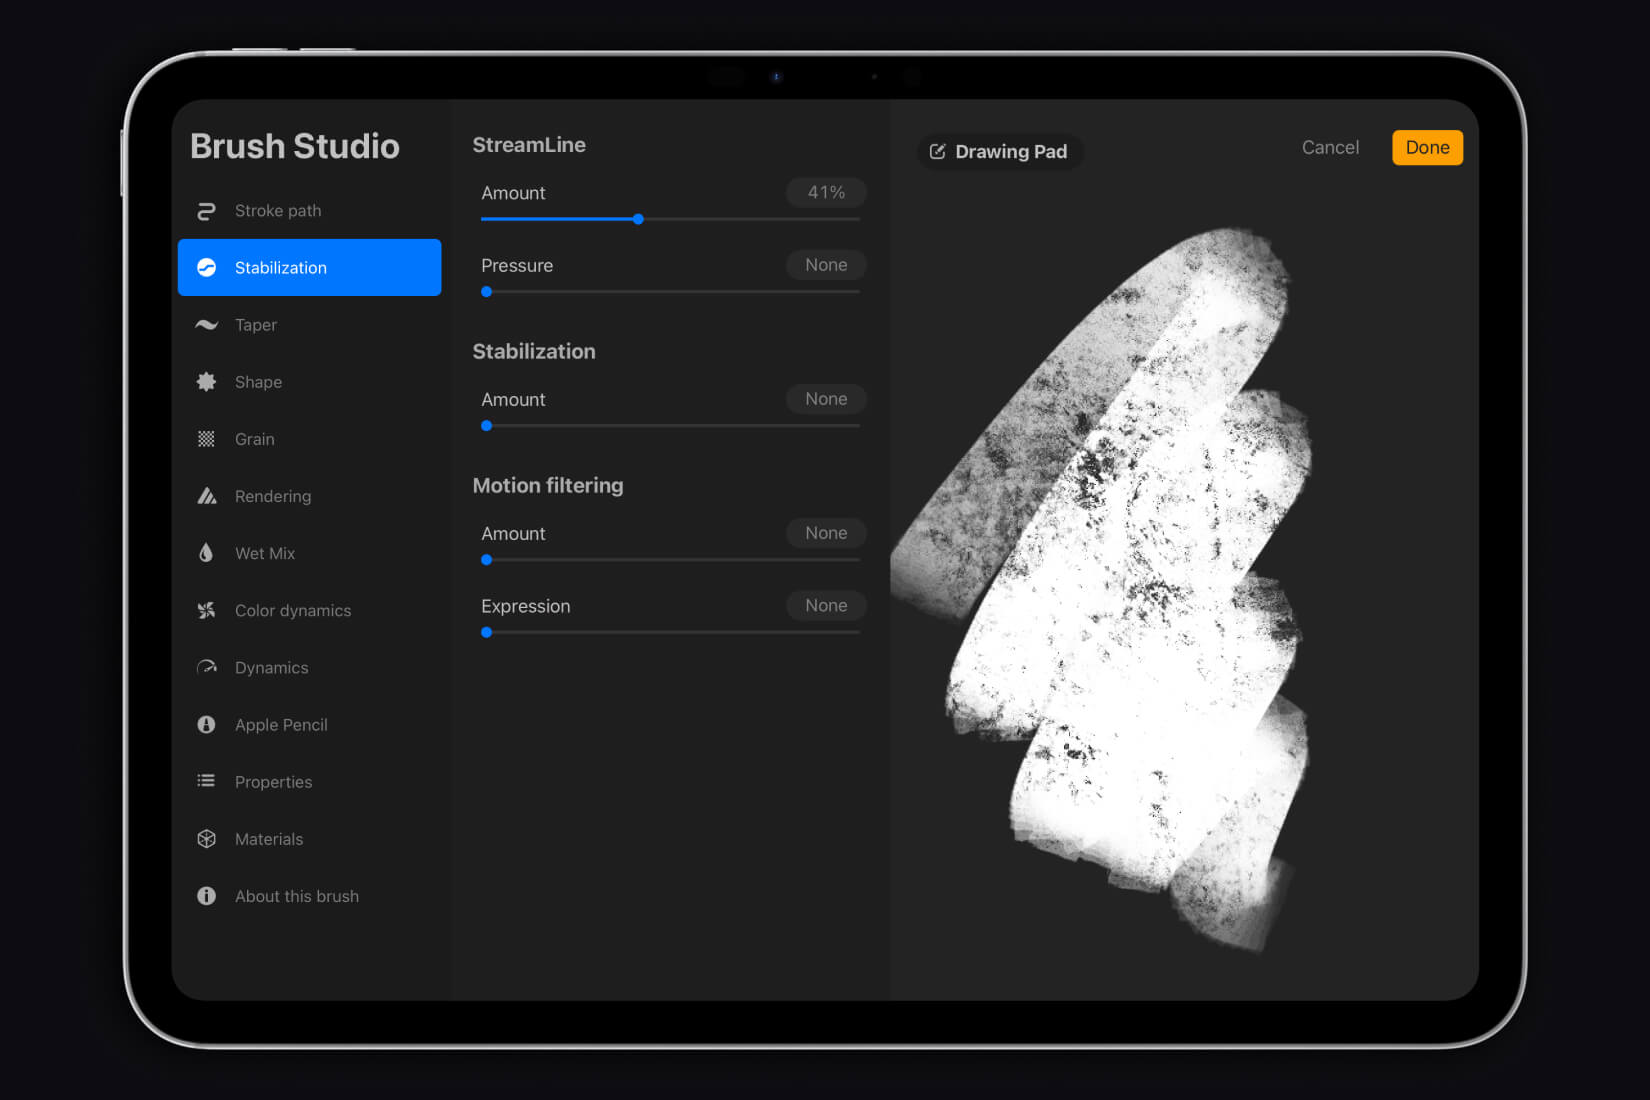
StreamLine: This smooths out the lines while drawing. Keep in mind that when the feature is activated, the line from the iPad stylus will appear with a slight delay. To enable StreamLine on the selected brush, tap on the brush to open its settings. Then, in the Stabilization tab, adjust the sliders to a comfortable value for you. You can test the brush with the new settings in the same window.
Straightening Geometric Shapes
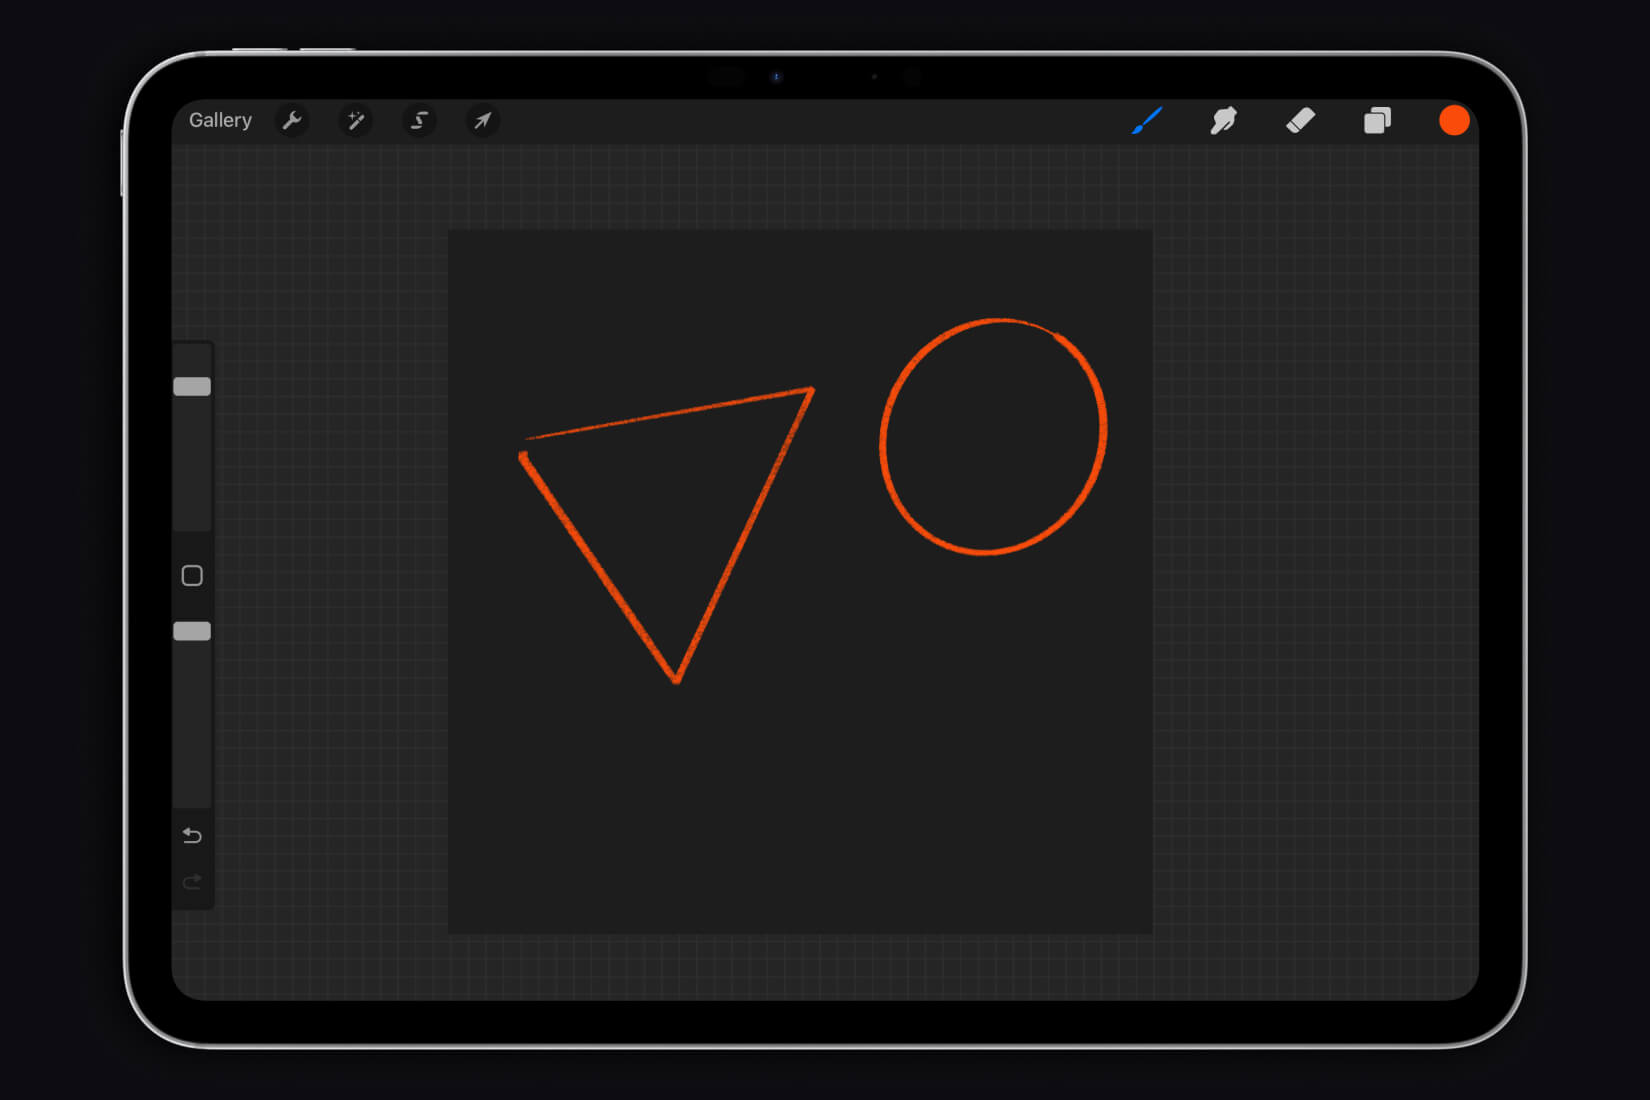
Triangles, circles, rectangles, and other geometric shapes can be straightened without lifting your stylus from the page. Draw the desired shape freehand and hold the stylus on the screen for two seconds. You can also straighten lines in the same way.
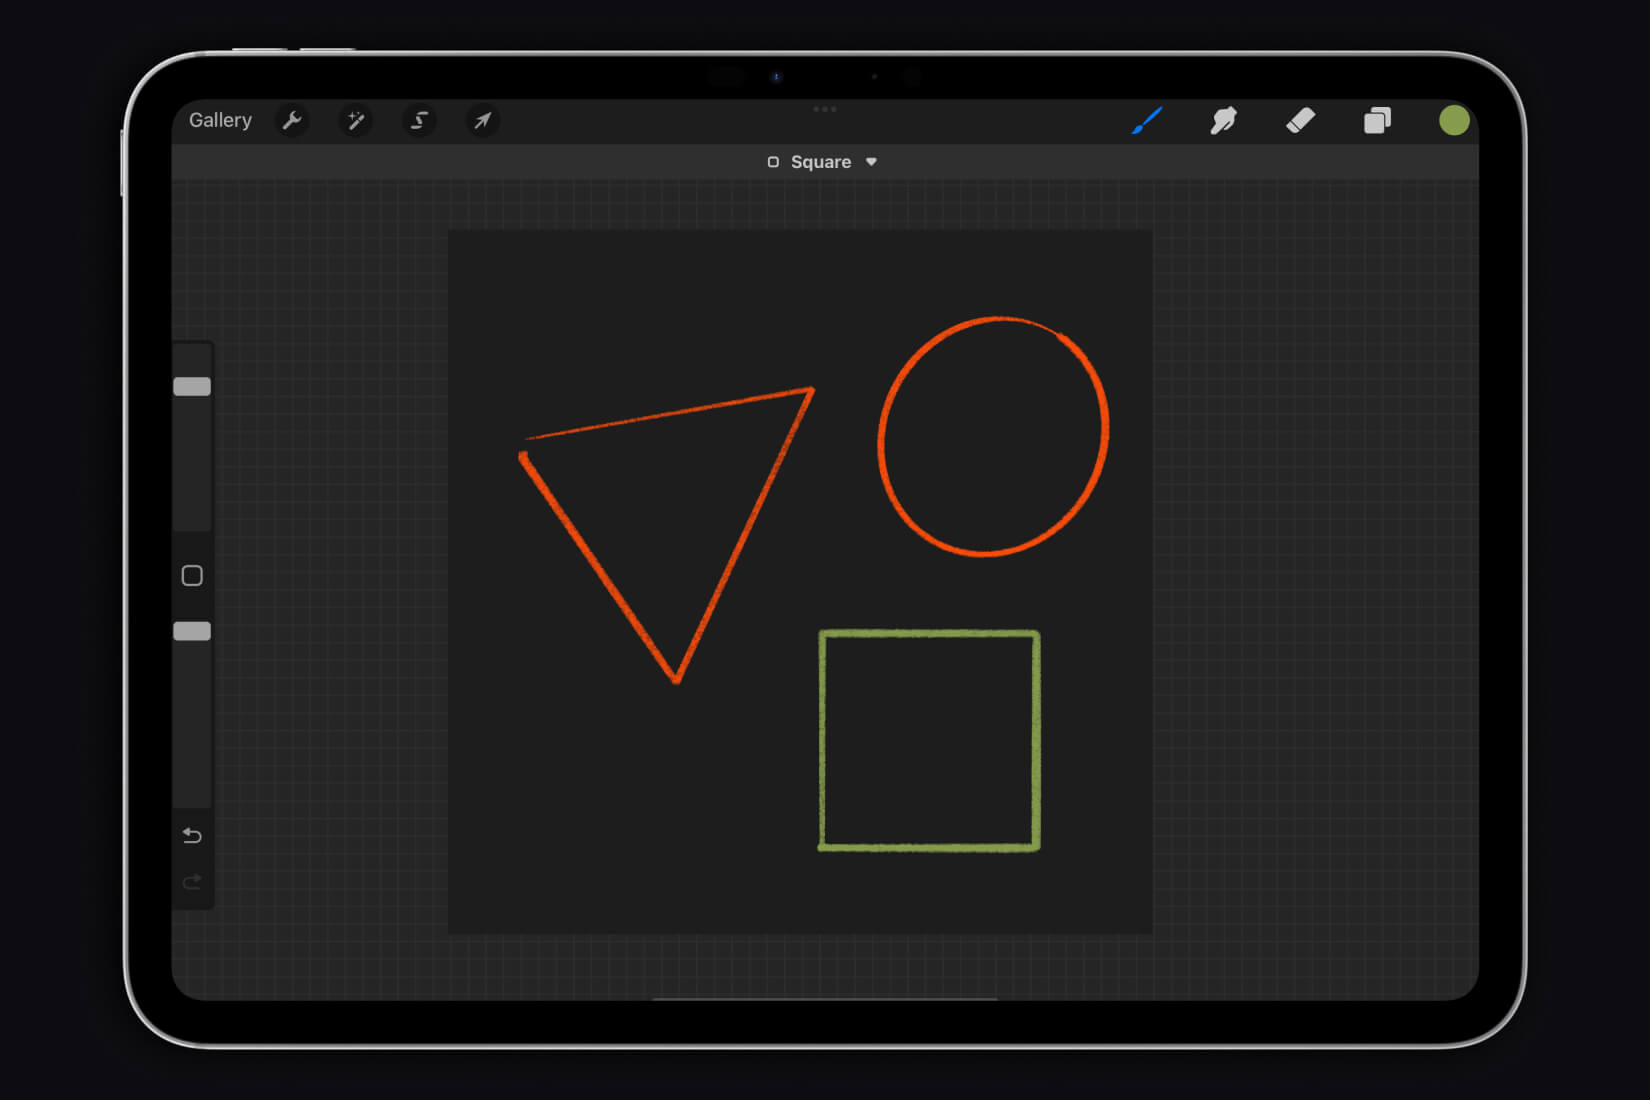
In the application, you can draw equilateral geometric shapes as well. To do this, hold the stylus on the screen, and then touch the screen with your finger.
Working with Color
Procreate offers several ways to choose colors:
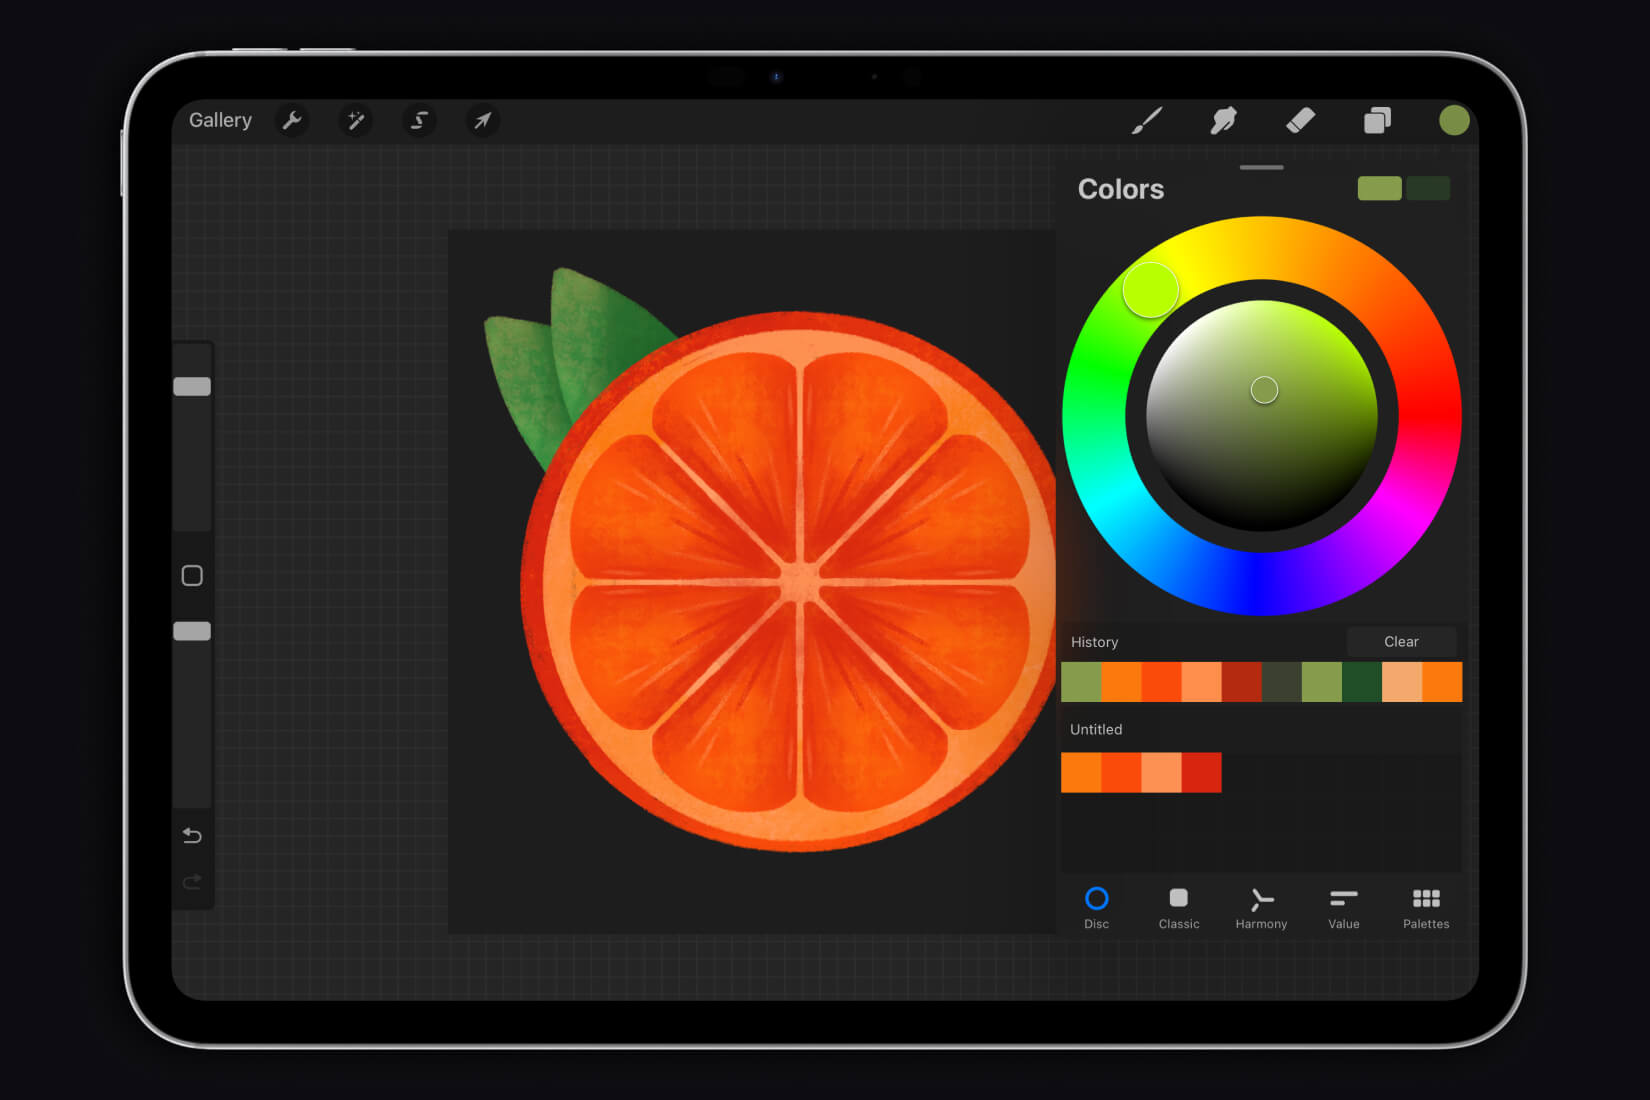
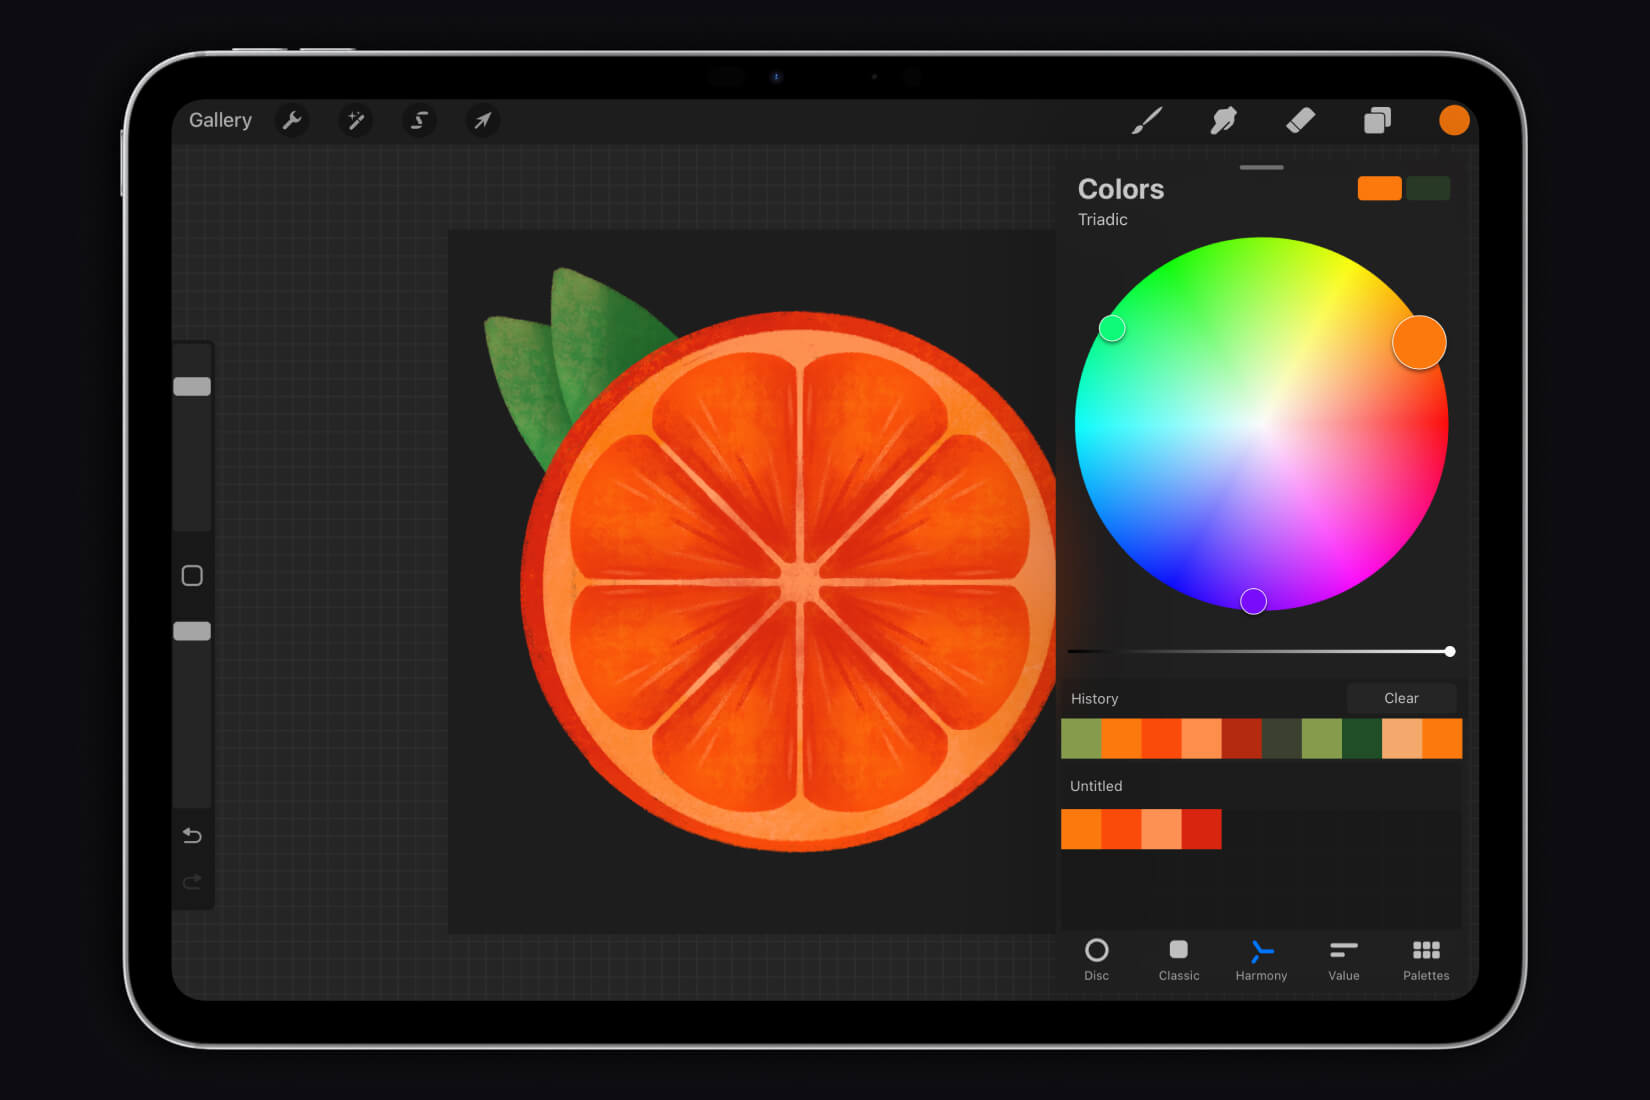
Color Wheel: One of the fastest and most intuitive ways to pick a color. The color wheel allows users to easily navigate between colors and select shades using sliders.
Harmony: Here you can select the desired color scheme, such as Triadic, and the program will automatically suggest a template that you can move within the wheel to choose the desired shades.
Palettes:
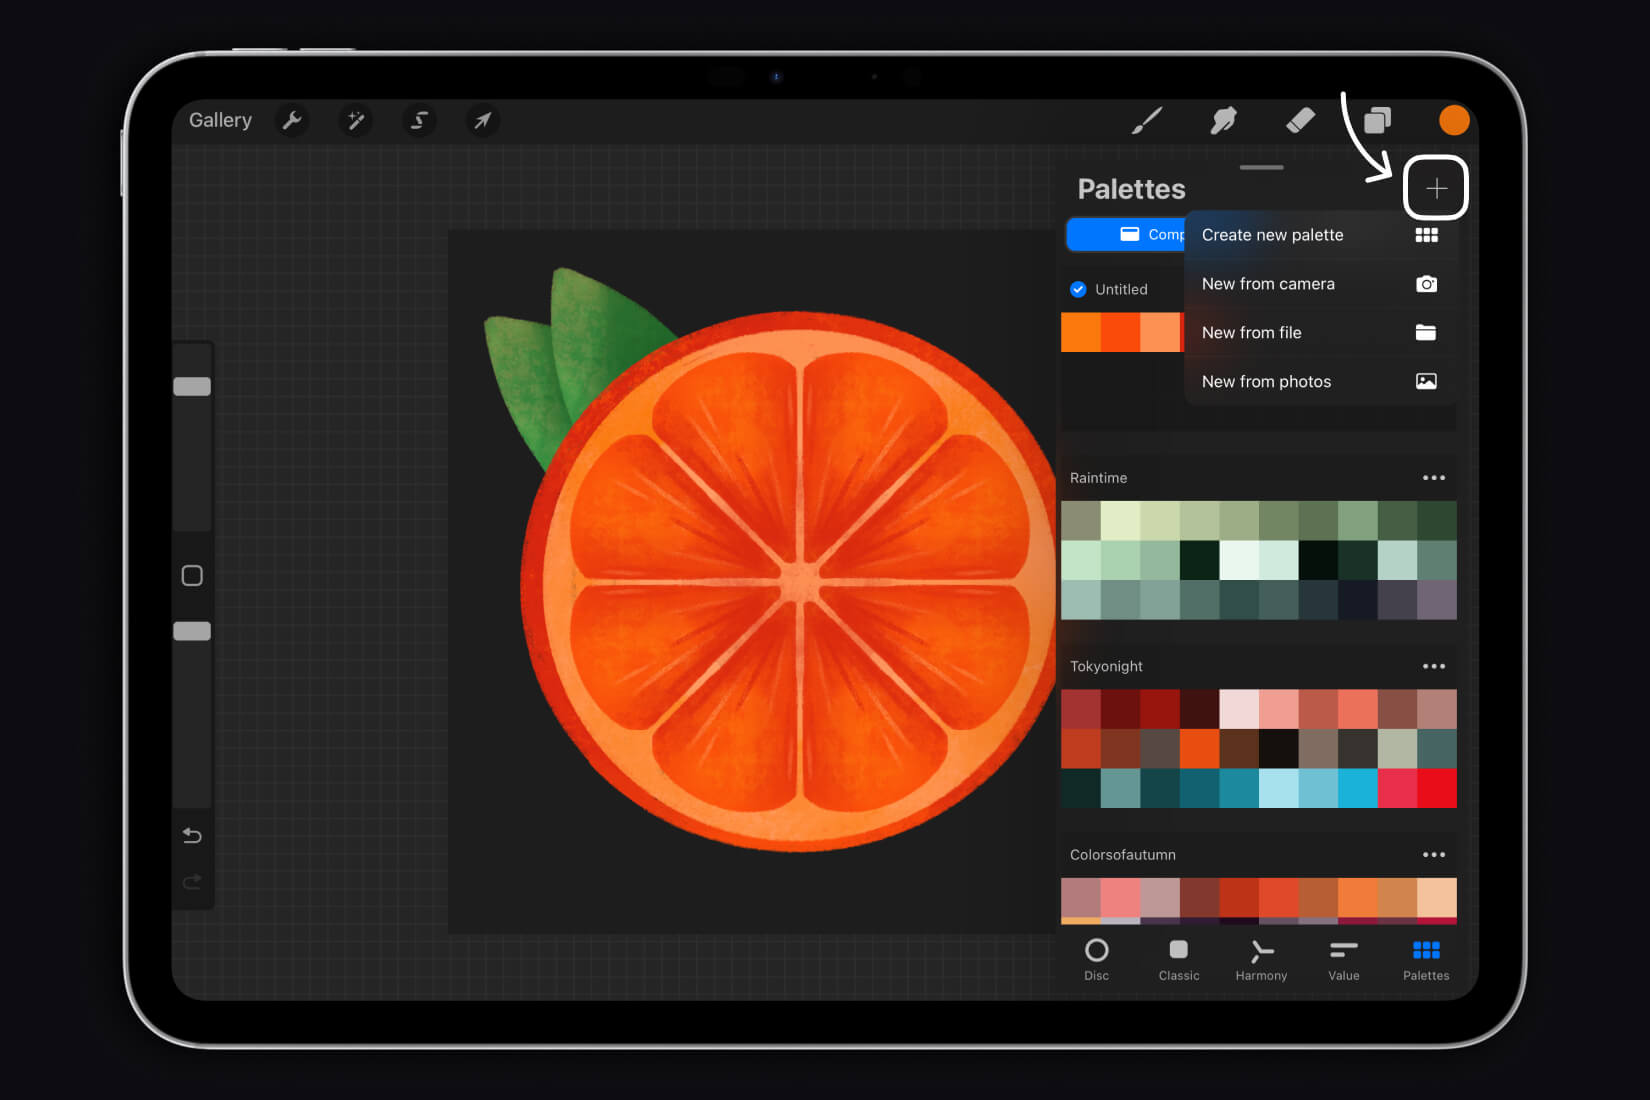
Procreate already includes several basic palettes, but you can also create your own. To create a custom palette, tap the “+” button, then select the “Create new palette” option. The template will appear in the Disc tab, where you can add new colors to the palette cells. They will be saved automatically.
You can also create a palette automatically. For this, you need any image you like. In the Palettes tab, tap the “+” button, then select “New from photos.” Next, choose the desired image from your gallery, and it will be automatically converted into a palette.
Quick Fill: Procreate has a quick fill function—drag the palette icon into a closed shape, and everything inside will be filled with the selected color.
Gestures and Hotkeys
Double Tap with Two Fingers: Undo the last action. This is a convenient way to quickly fix mistakes.
Triple Tap with Two Fingers: Redo the last action. Useful if you accidentally undid an action and want to return it.
Swipe Down with Three Fingers: Bring up the “Copy/Paste” menu. This menu allows you to quickly copy, paste, and duplicate elements on your canvas.
Exporting and Importing
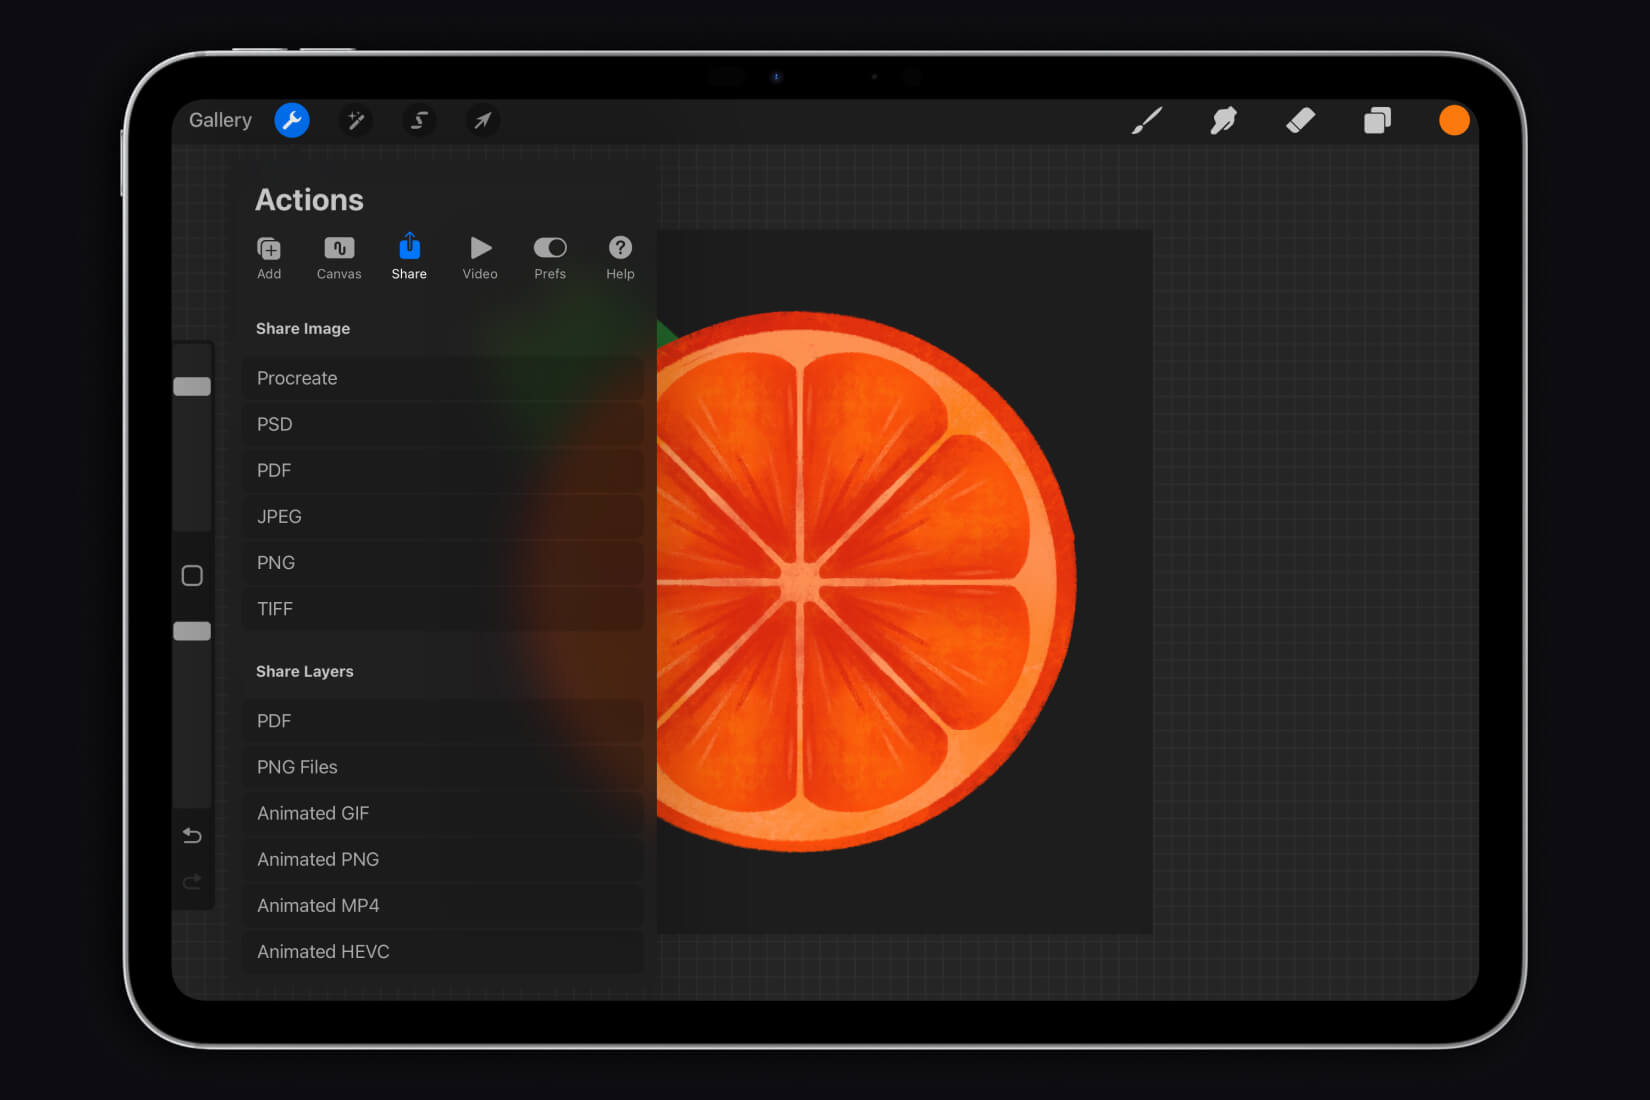
Export: To share an image, go to the “Actions” section and then tap the “Share” button. After that, choose one of the suggested formats and the platform where you want to send your drawing. You can also send the drawing to yourself on your computer or another device.
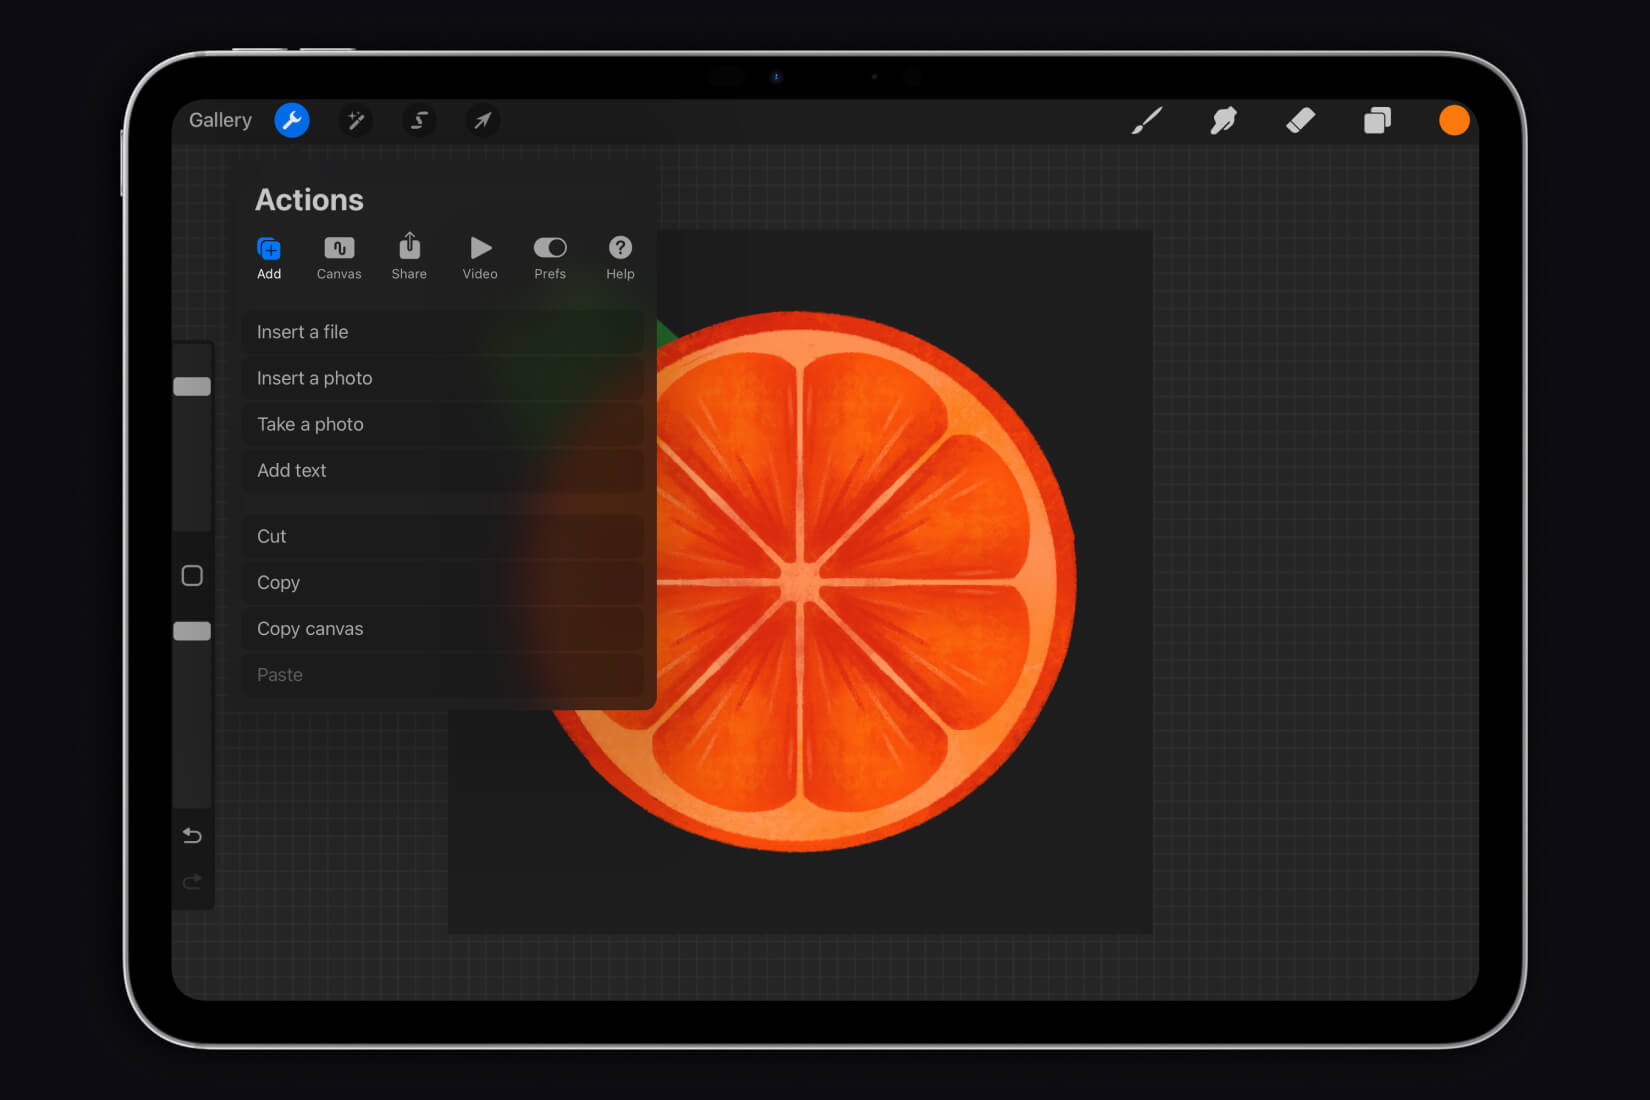
Import: To add a photo, tile, or text, go to the “Actions” section, then tap the “Add” button. Then choose the desired action.
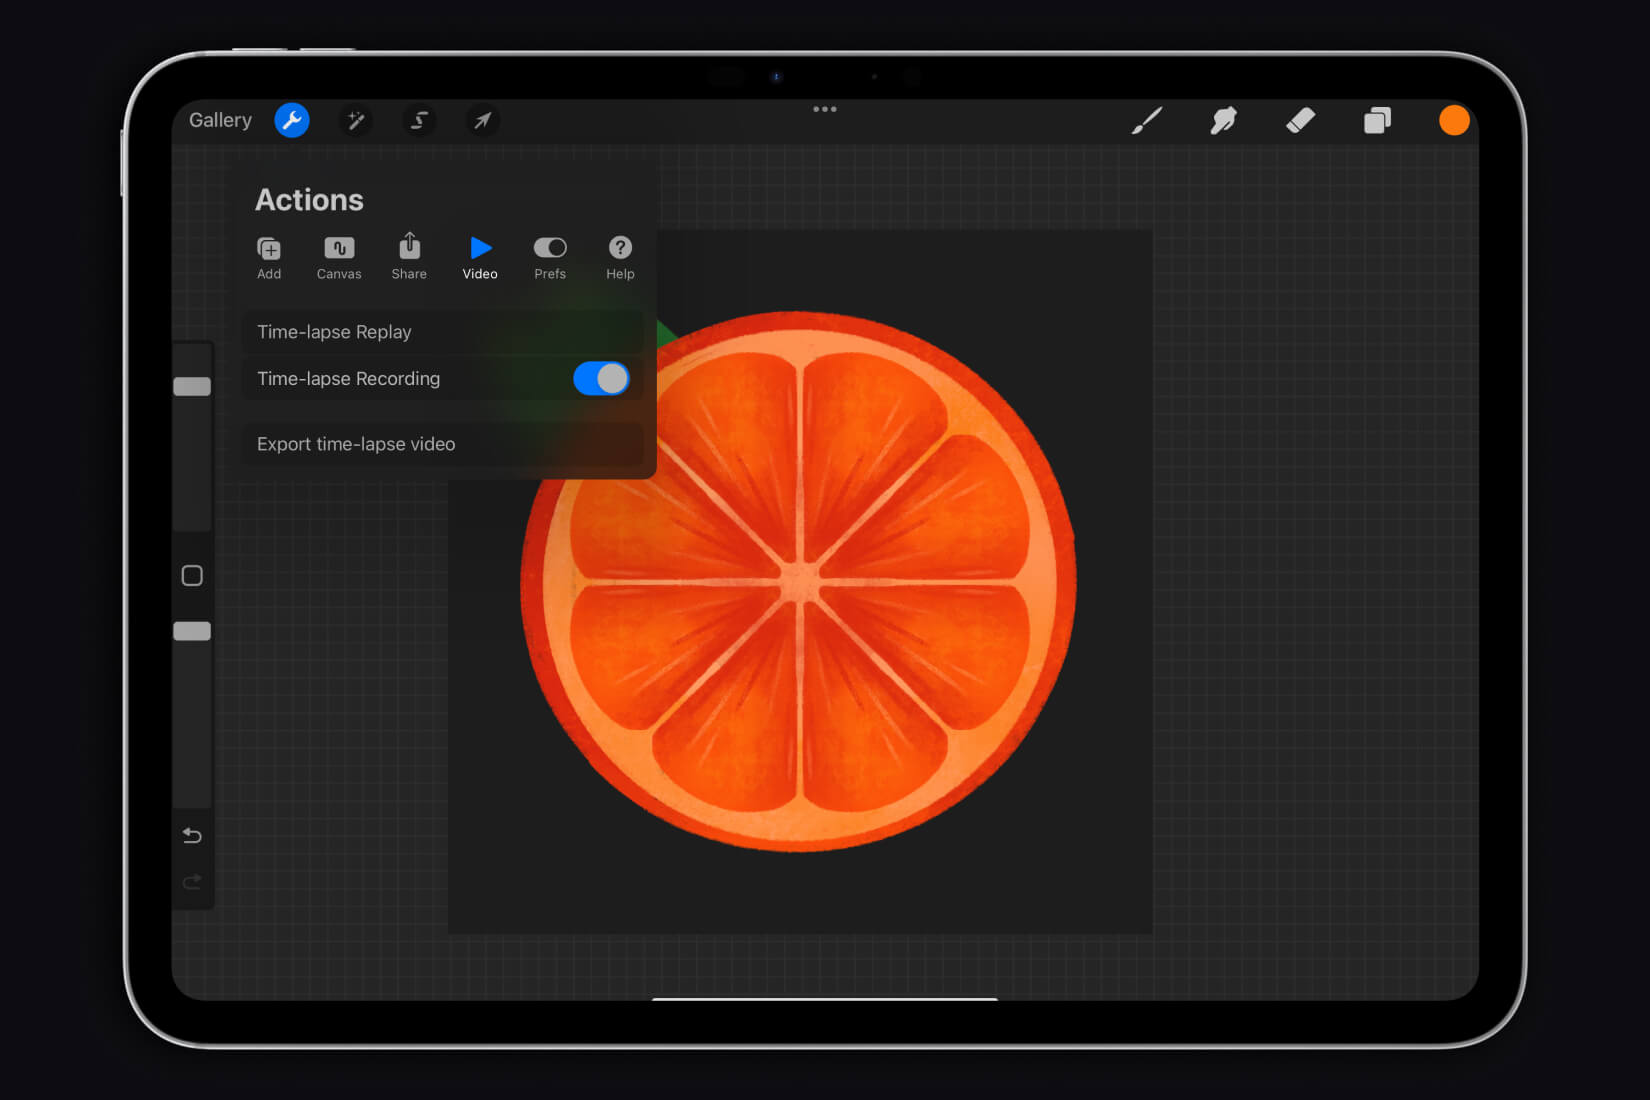
Time-lapse Video: Procreate can record a video of your drawing process. To enable this feature and then export the video, go to the “Actions” section and then tap the “Video” button. To start recording, activate the Time-lapse Recording button. To export the video, tap the Export time-lapse video button.
Let’s draw
First, you should practice your hand to get used to the tablet. Below we have prepared some exercises that you can perform. You can download the exercises using the button below.
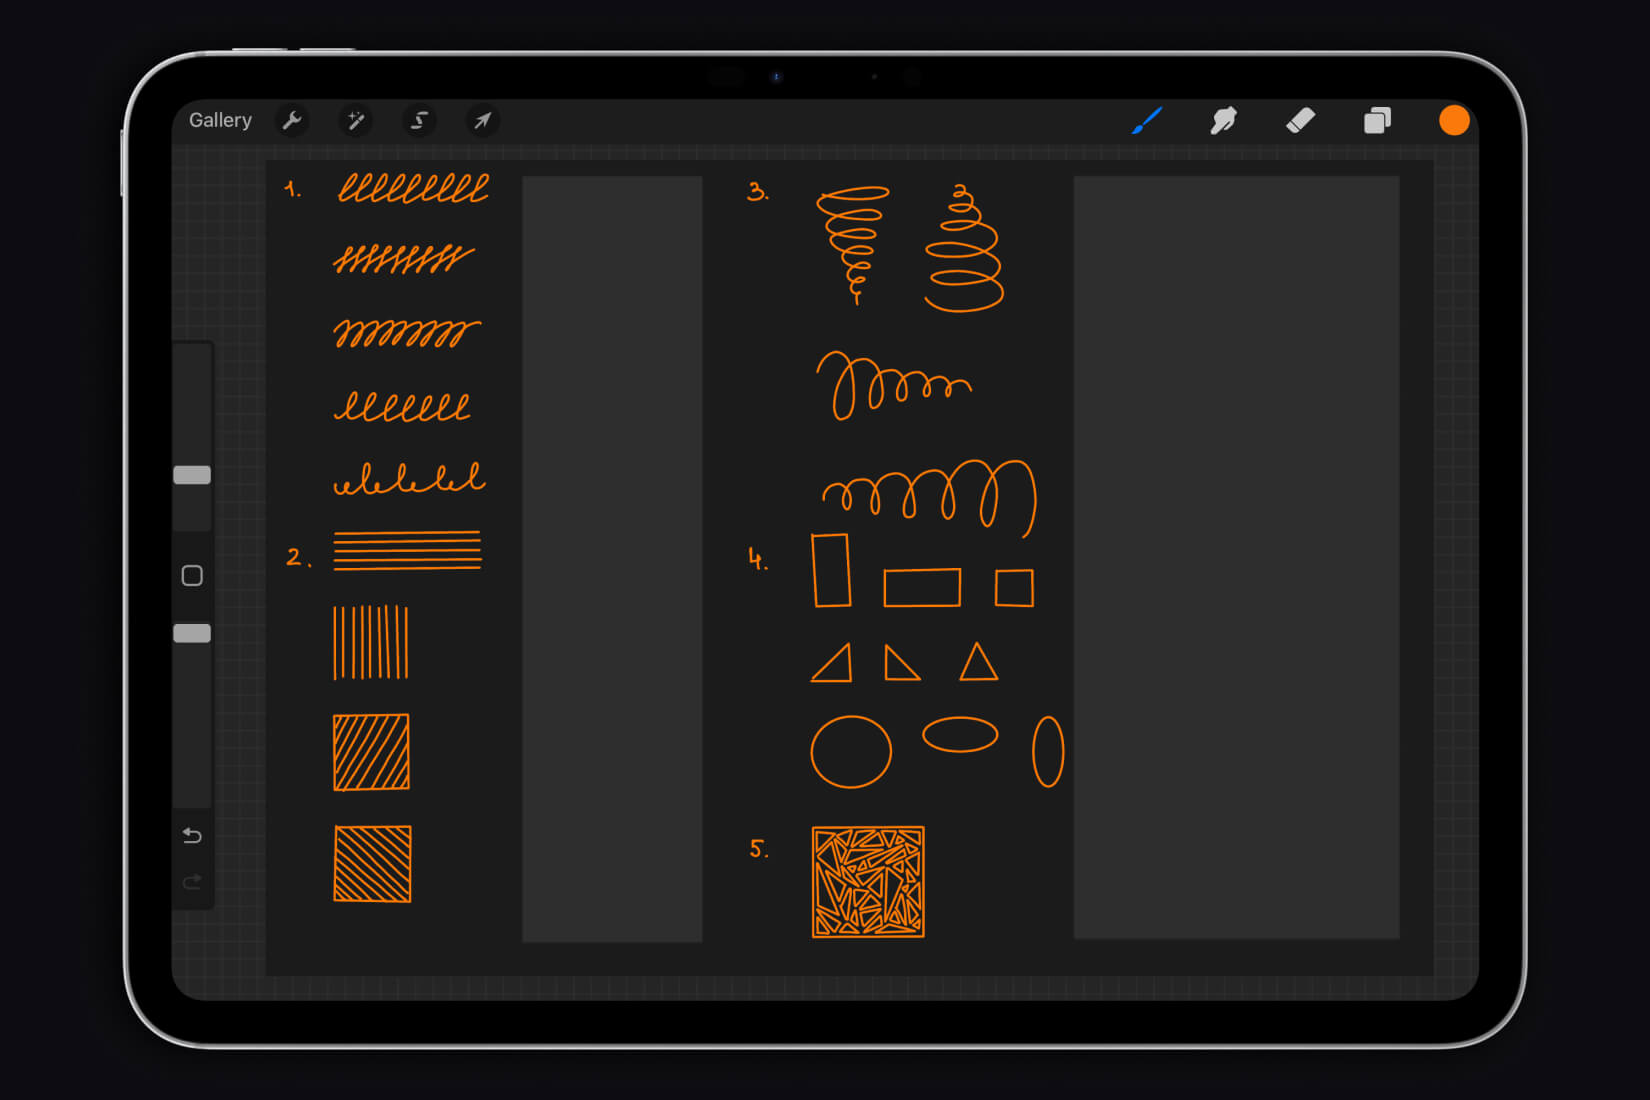
You can download the exercises using the button below.
Now, your hand is ready to conquer creative heights, so let’s draw! Together we will draw berries based on the tutorial from the Mona app.
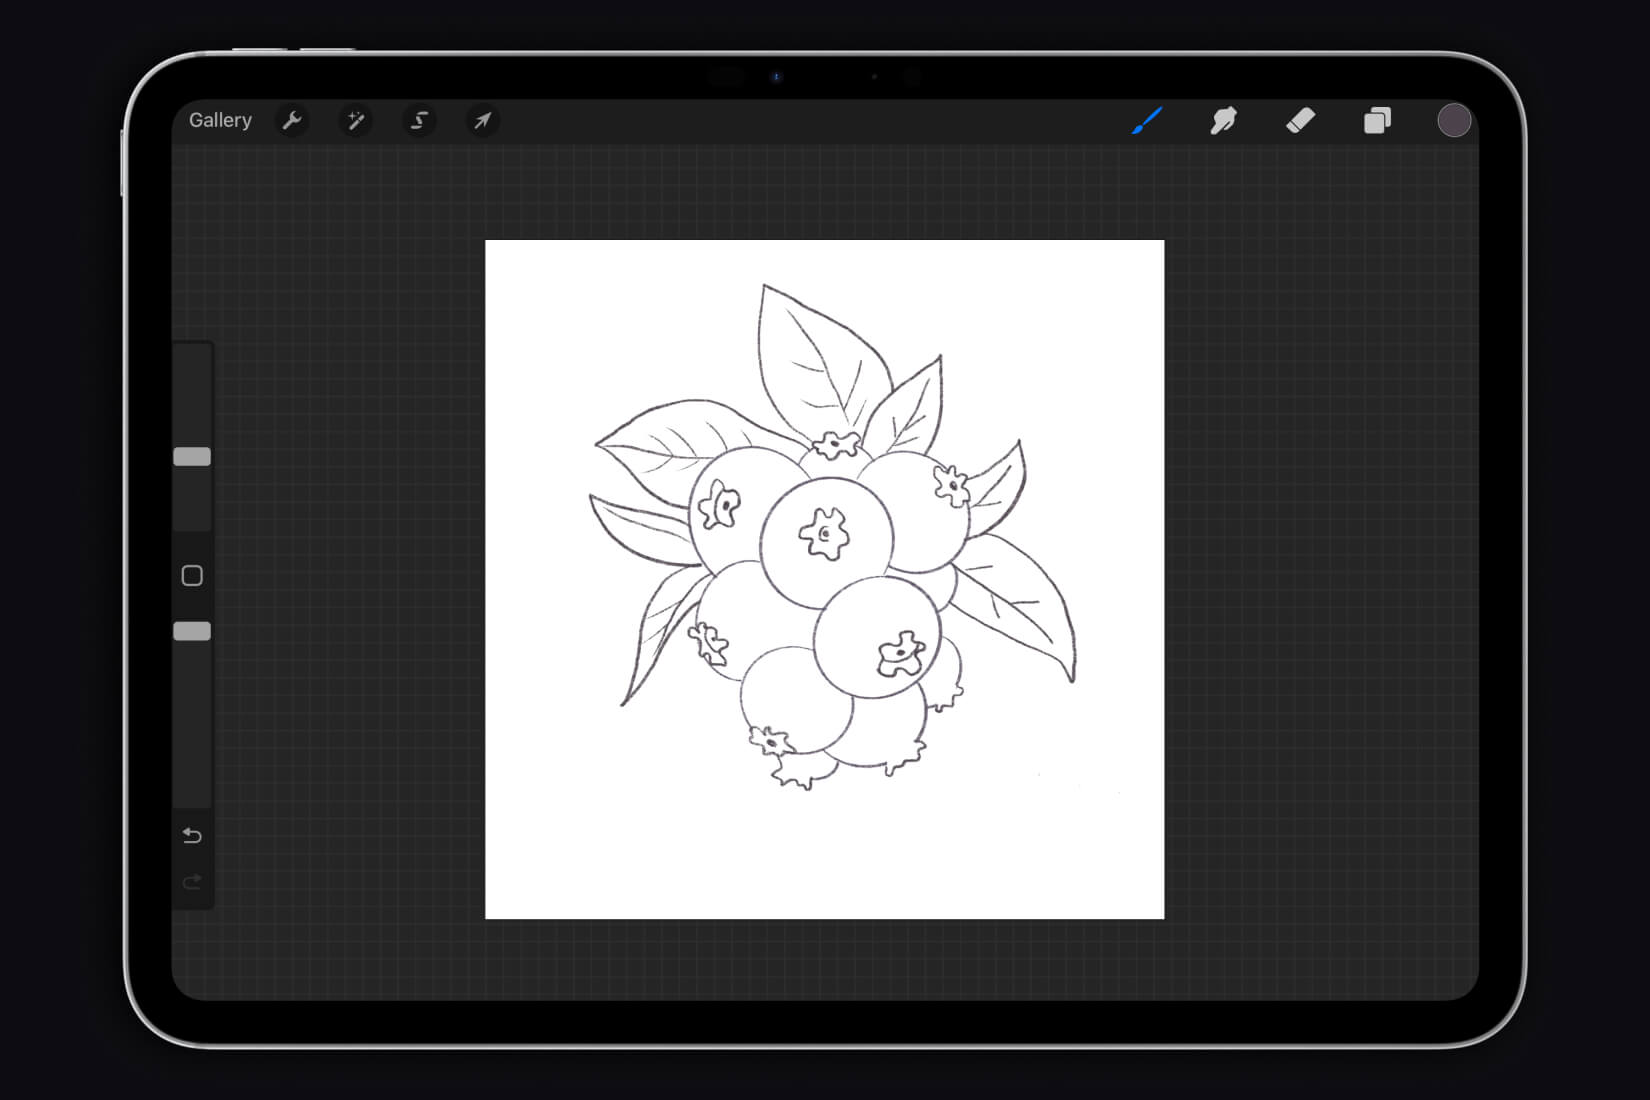
Step 1
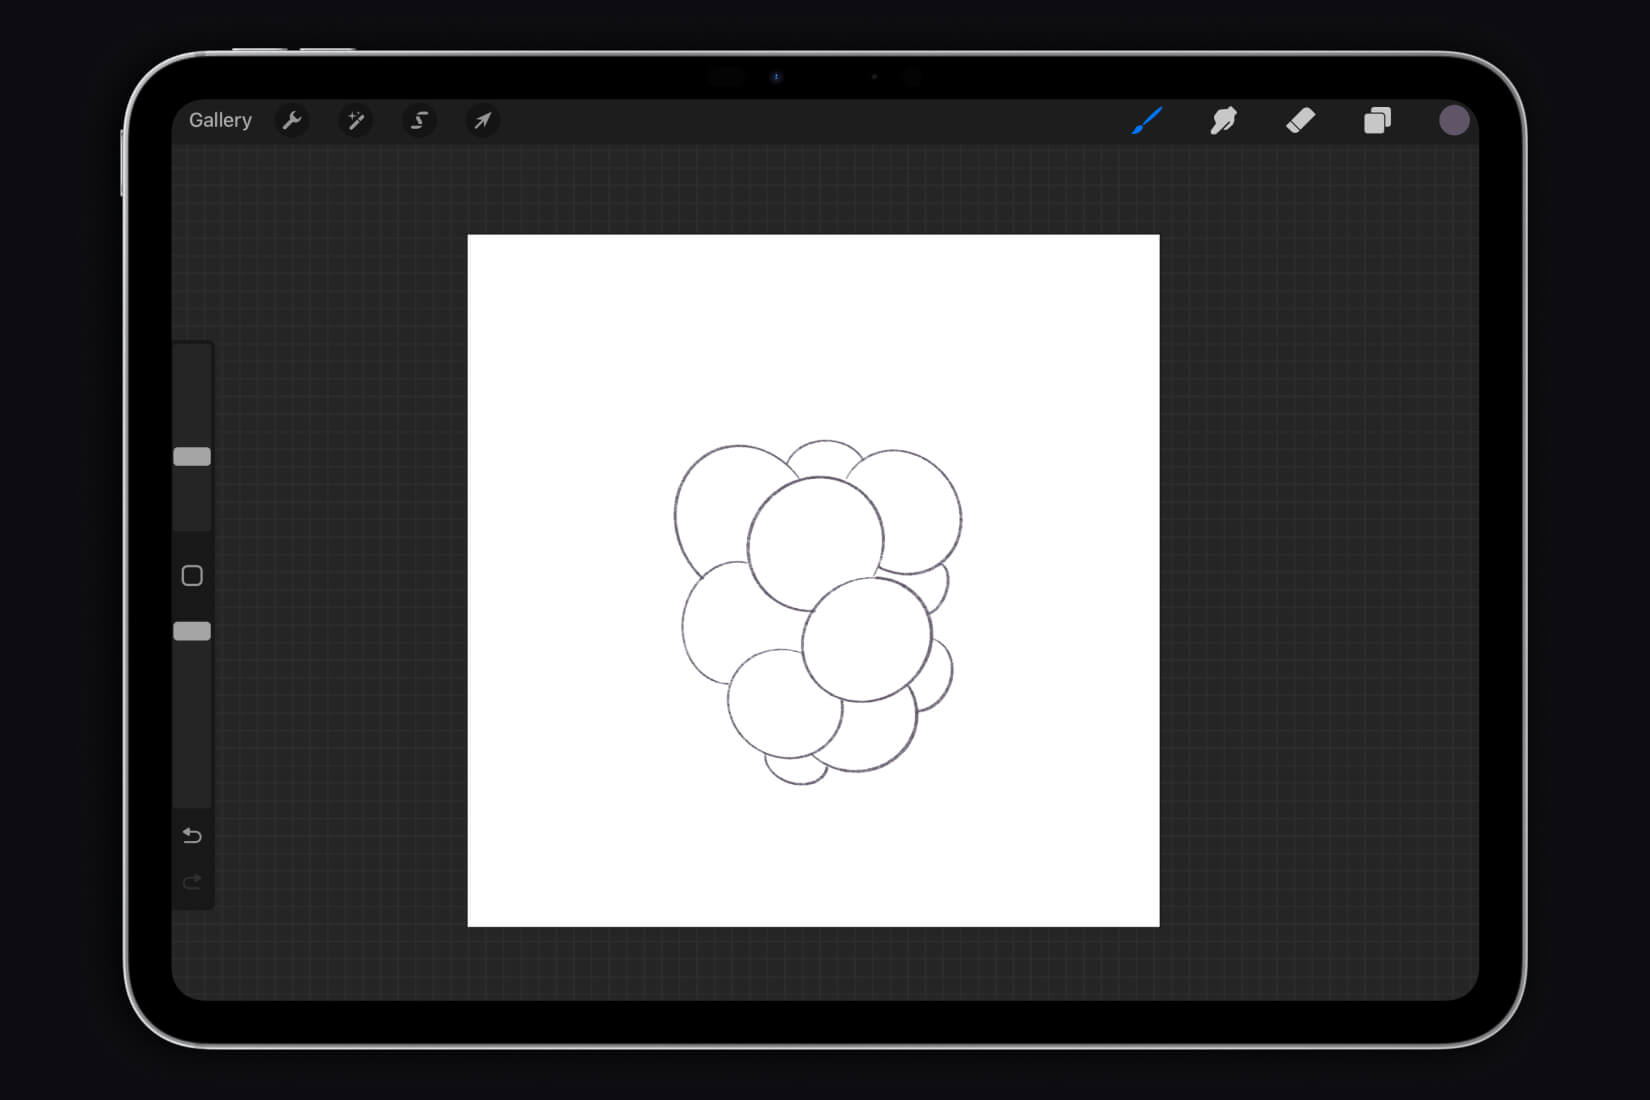
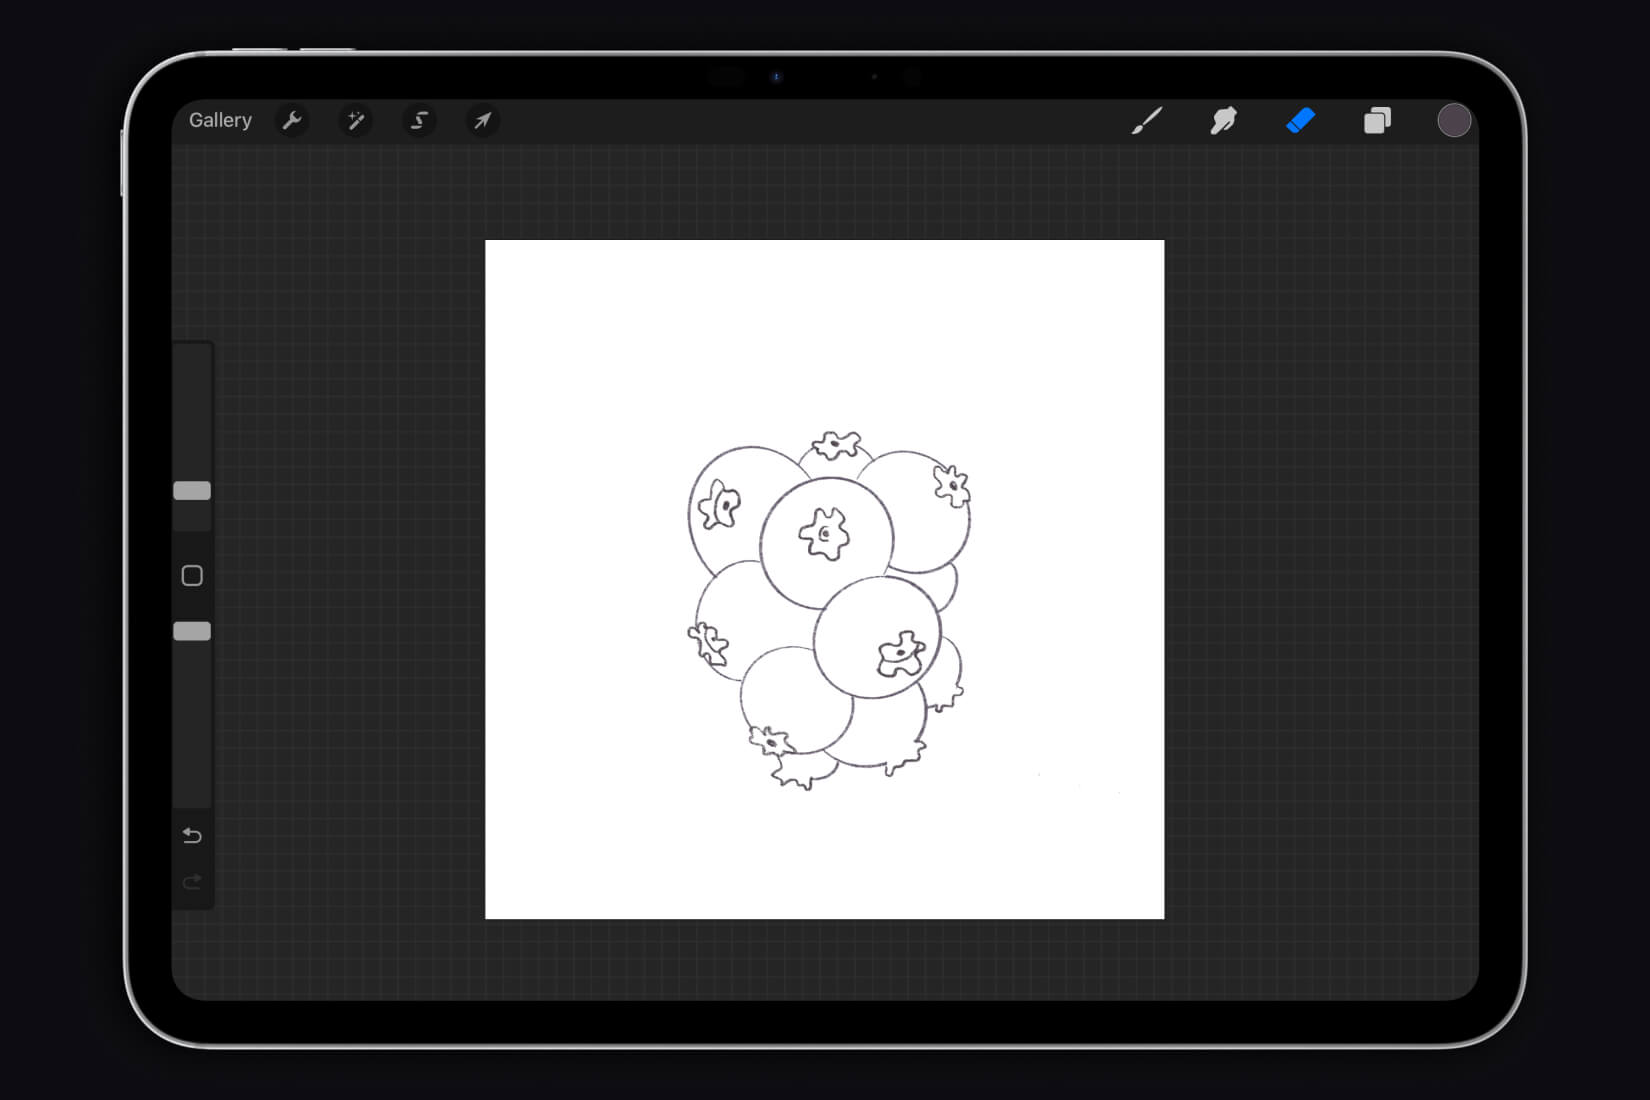
Let’s start with an outline. Draw several circles next to each other, as shown in the picture. Now let’s add some small details to the berries. Don’t forget to draw the leaves.
Step 2
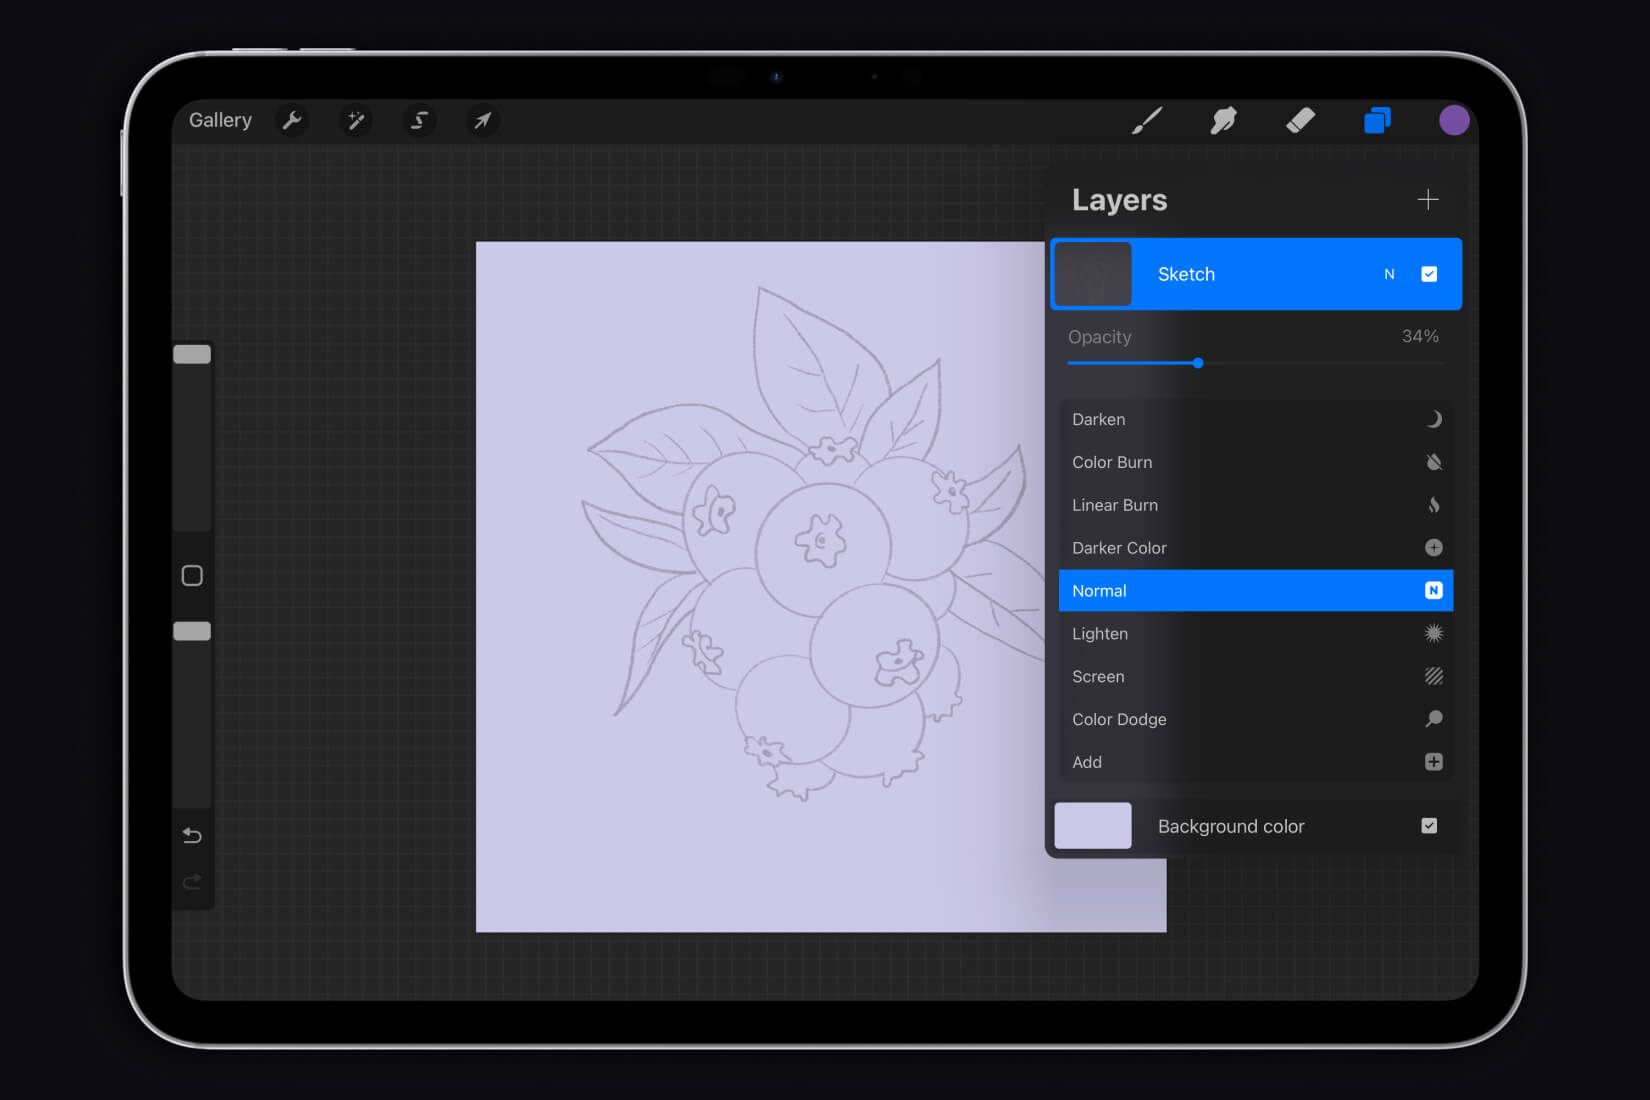
Let’s change the background color to a more appropriate one and reduce the opacity of the layer.
Step 3
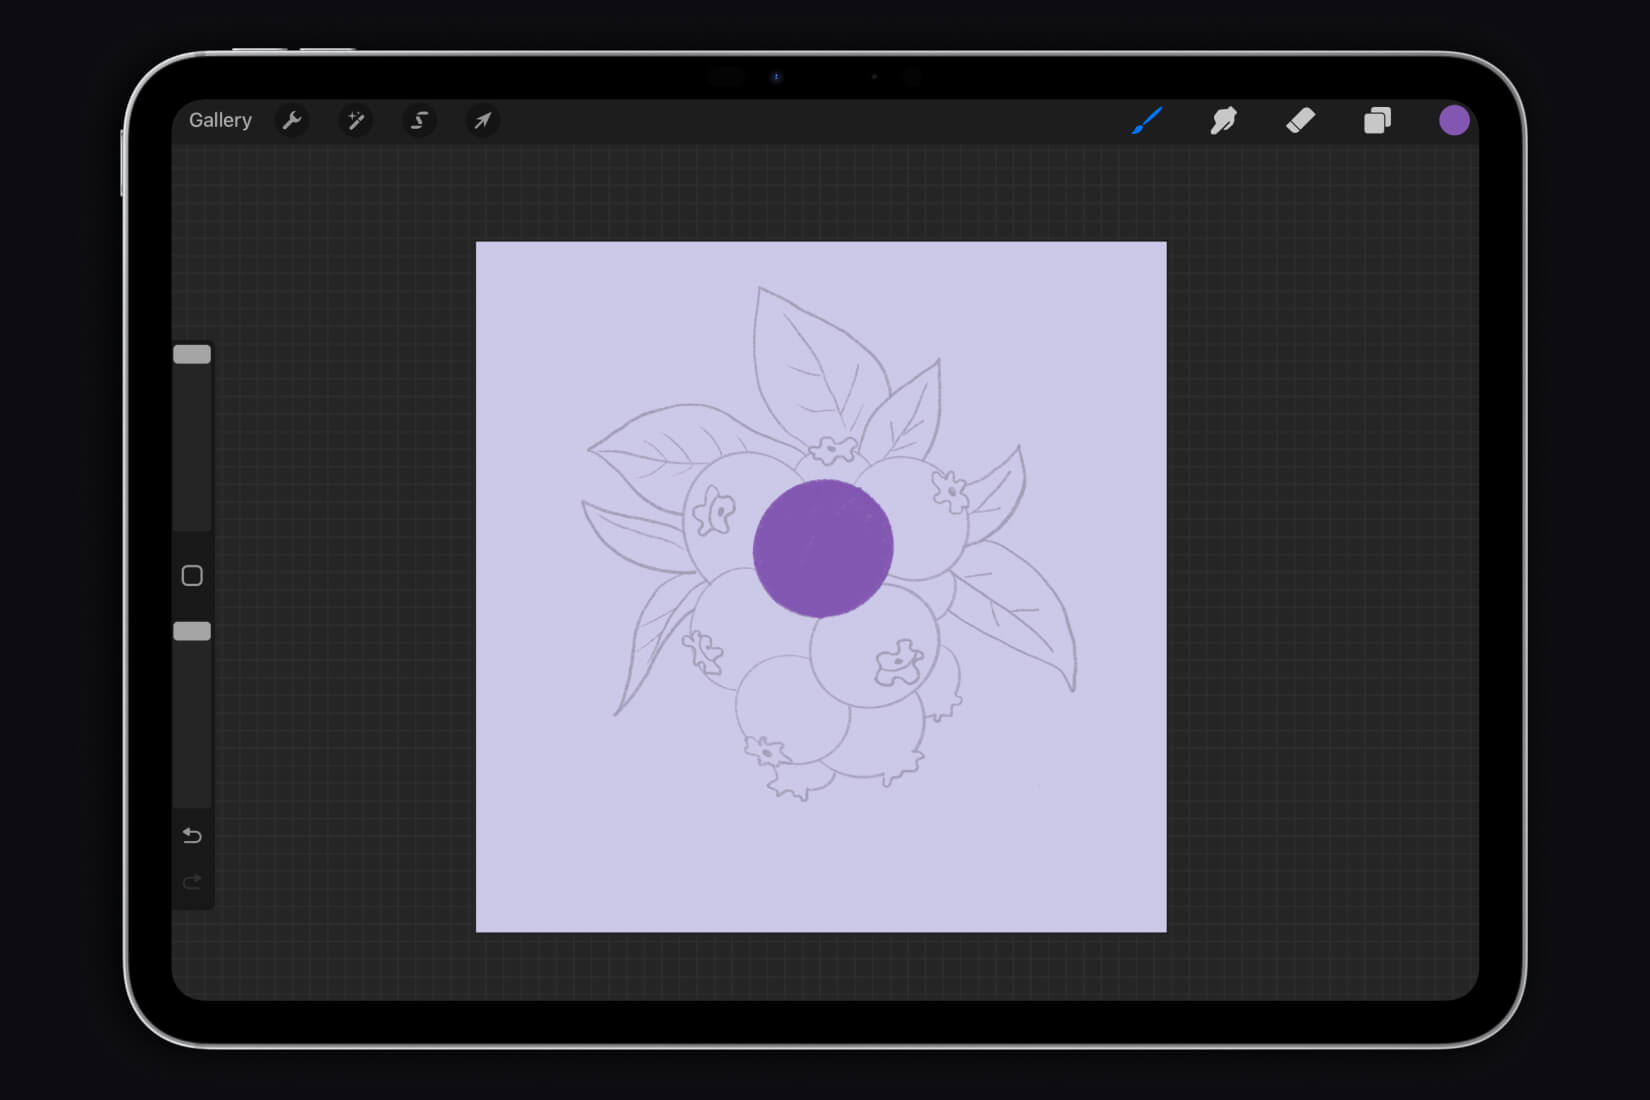
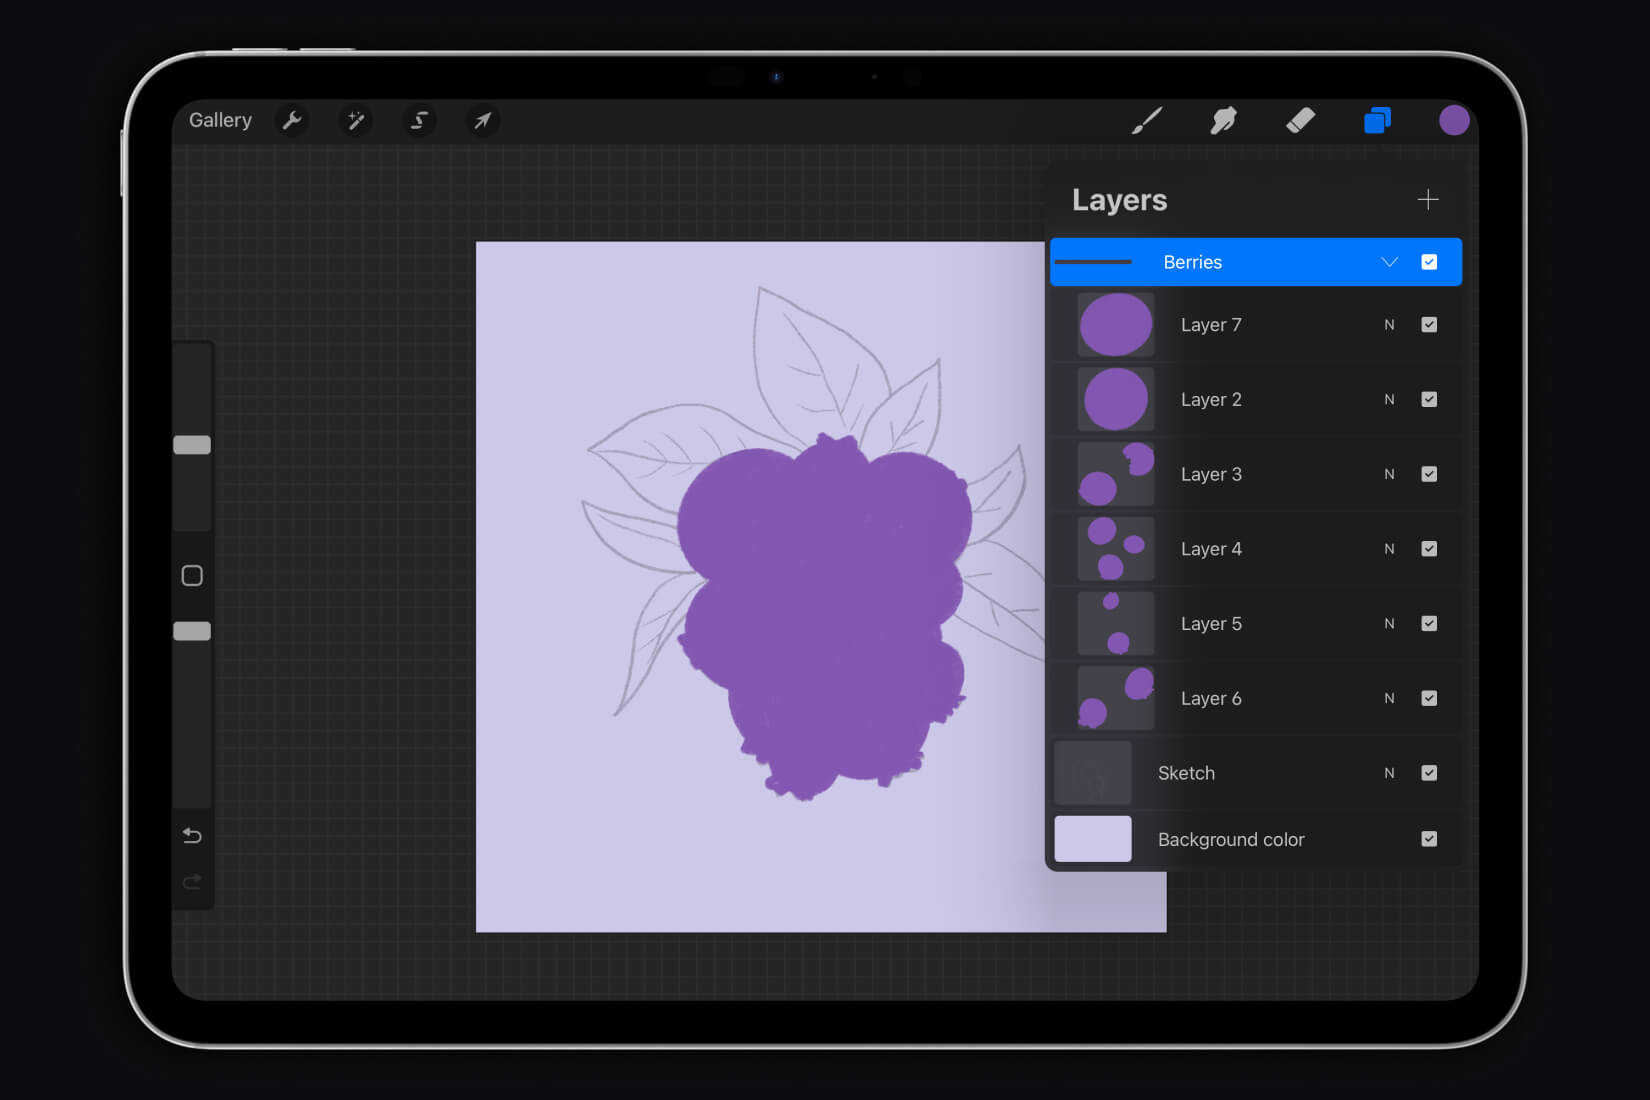
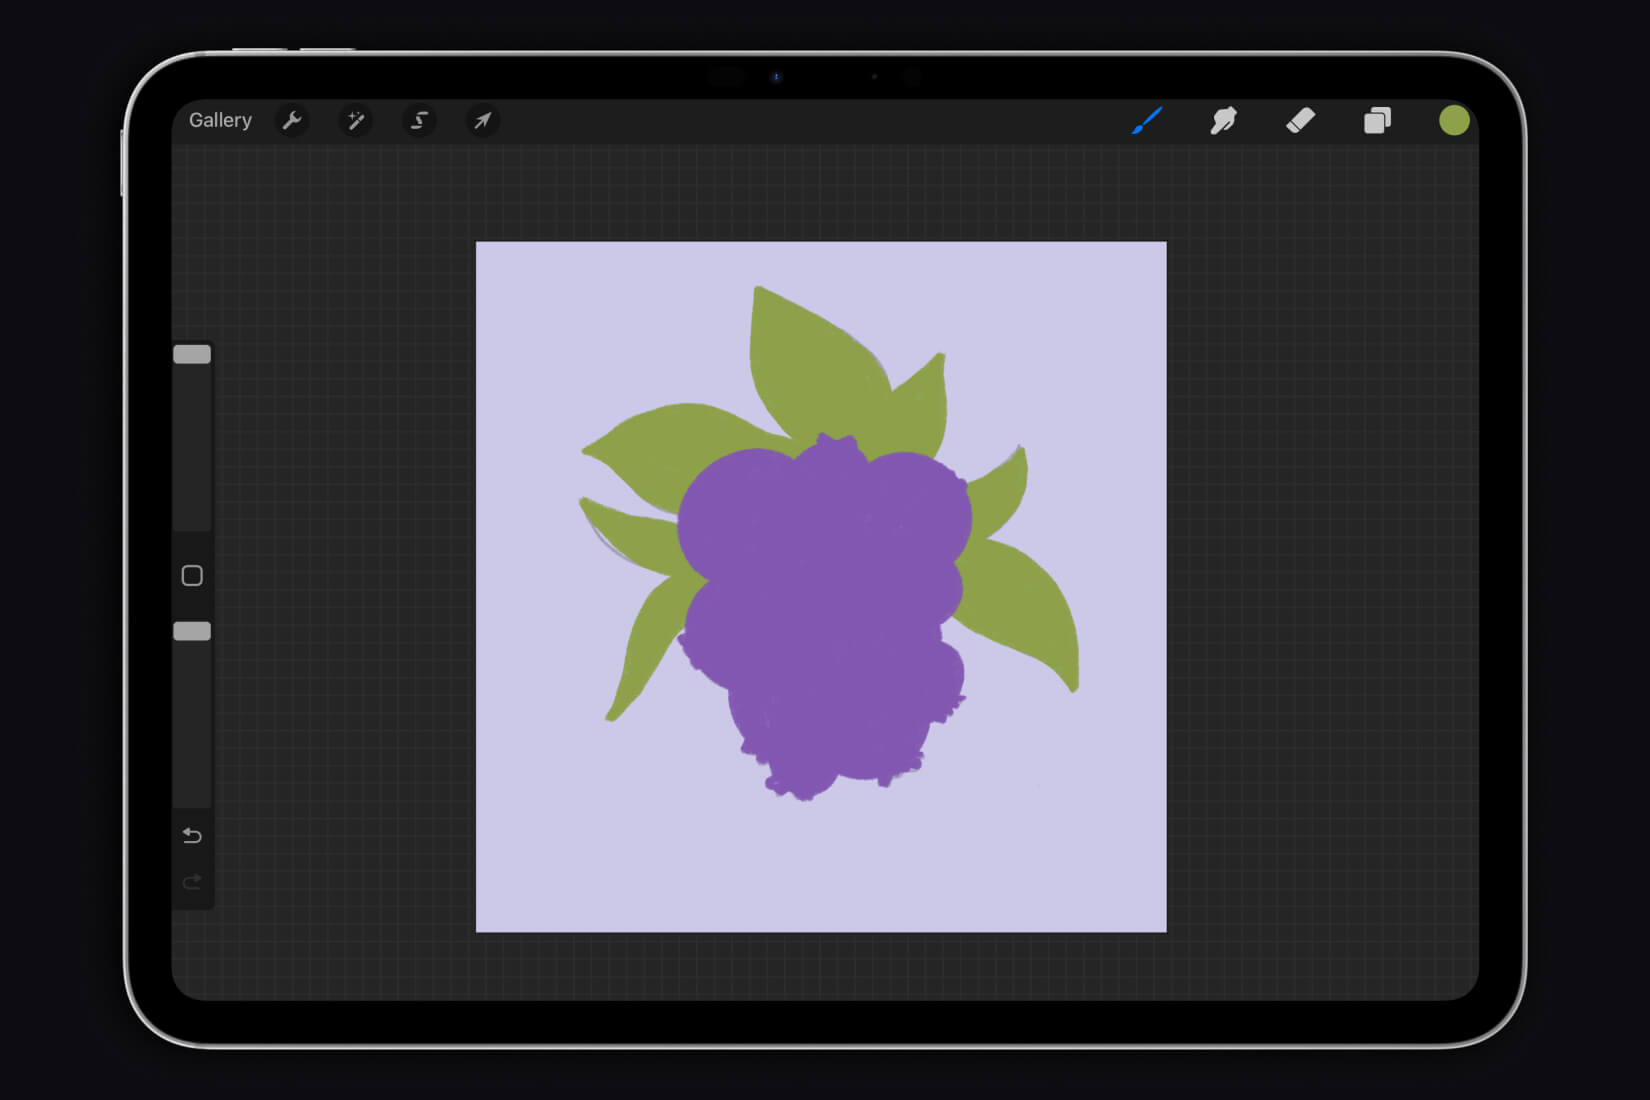
Choose any color you like and shade the berries. Try to arrange each berry on a separate layer. This will make it easier to work with shadows.
Step 3
We do the same with the leaves. You can paint over several leaves on the same layer. It is important to remember that they do not overlap each other.
Step 4
Let’s move on to the shadows. For convenience, block the alpha channel of each layer. This way, when you draw on this layer, you will not go beyond the existing boundaries.
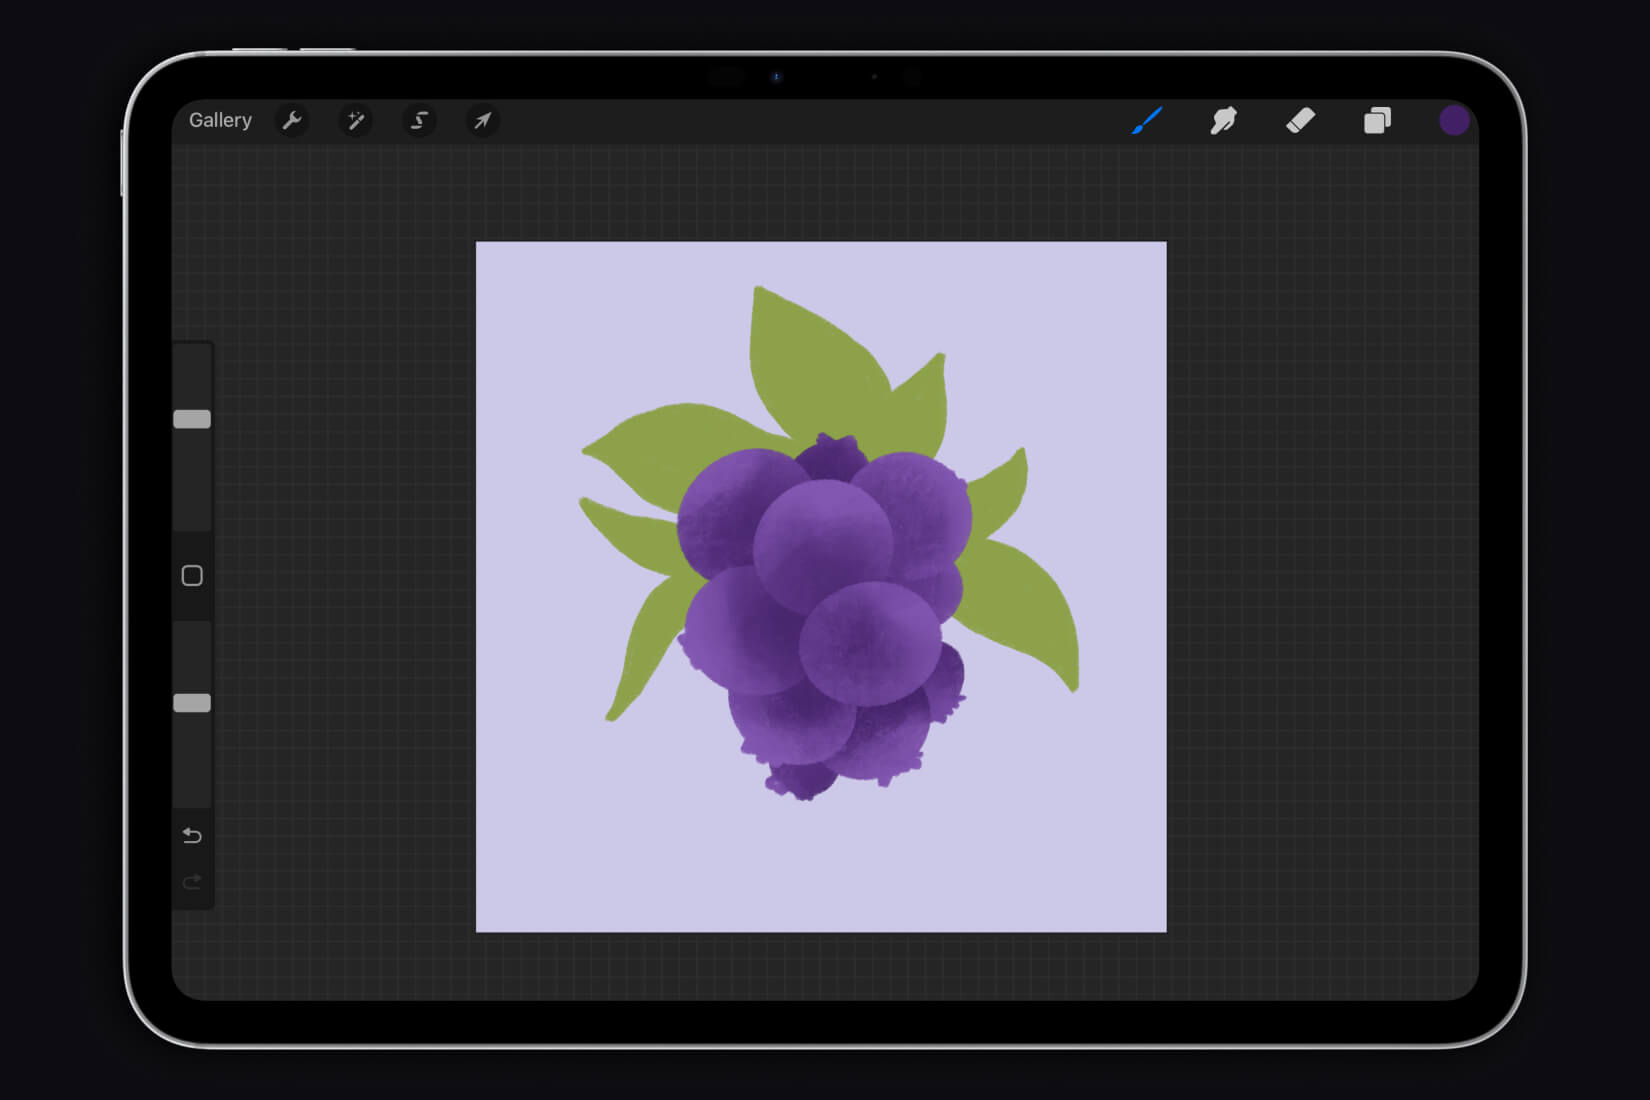
Take a darker color of the same shade that you chose for the berries, and paint over the places where the berries touch.
Step 5
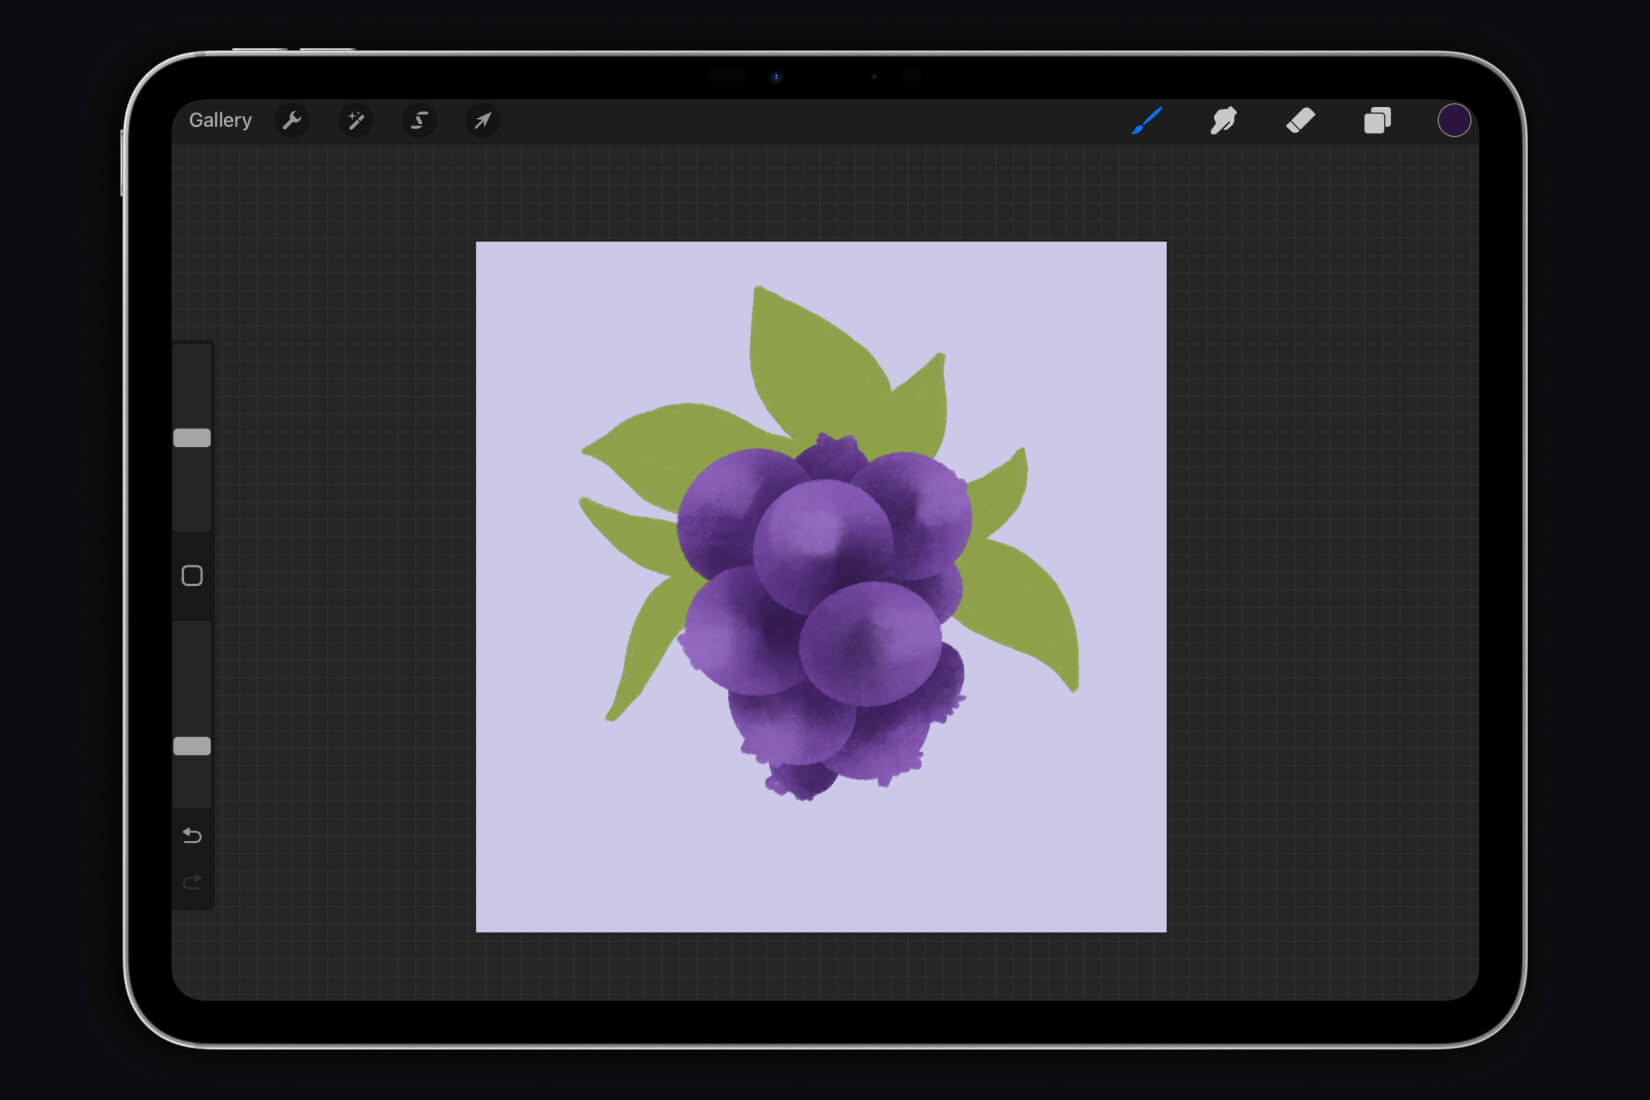
Let’s add light to the berries. To do this, take a lighter color and apply it as shown in the picture. This will add volume to the berries.
Step 6
Repeat the same with the leaves.
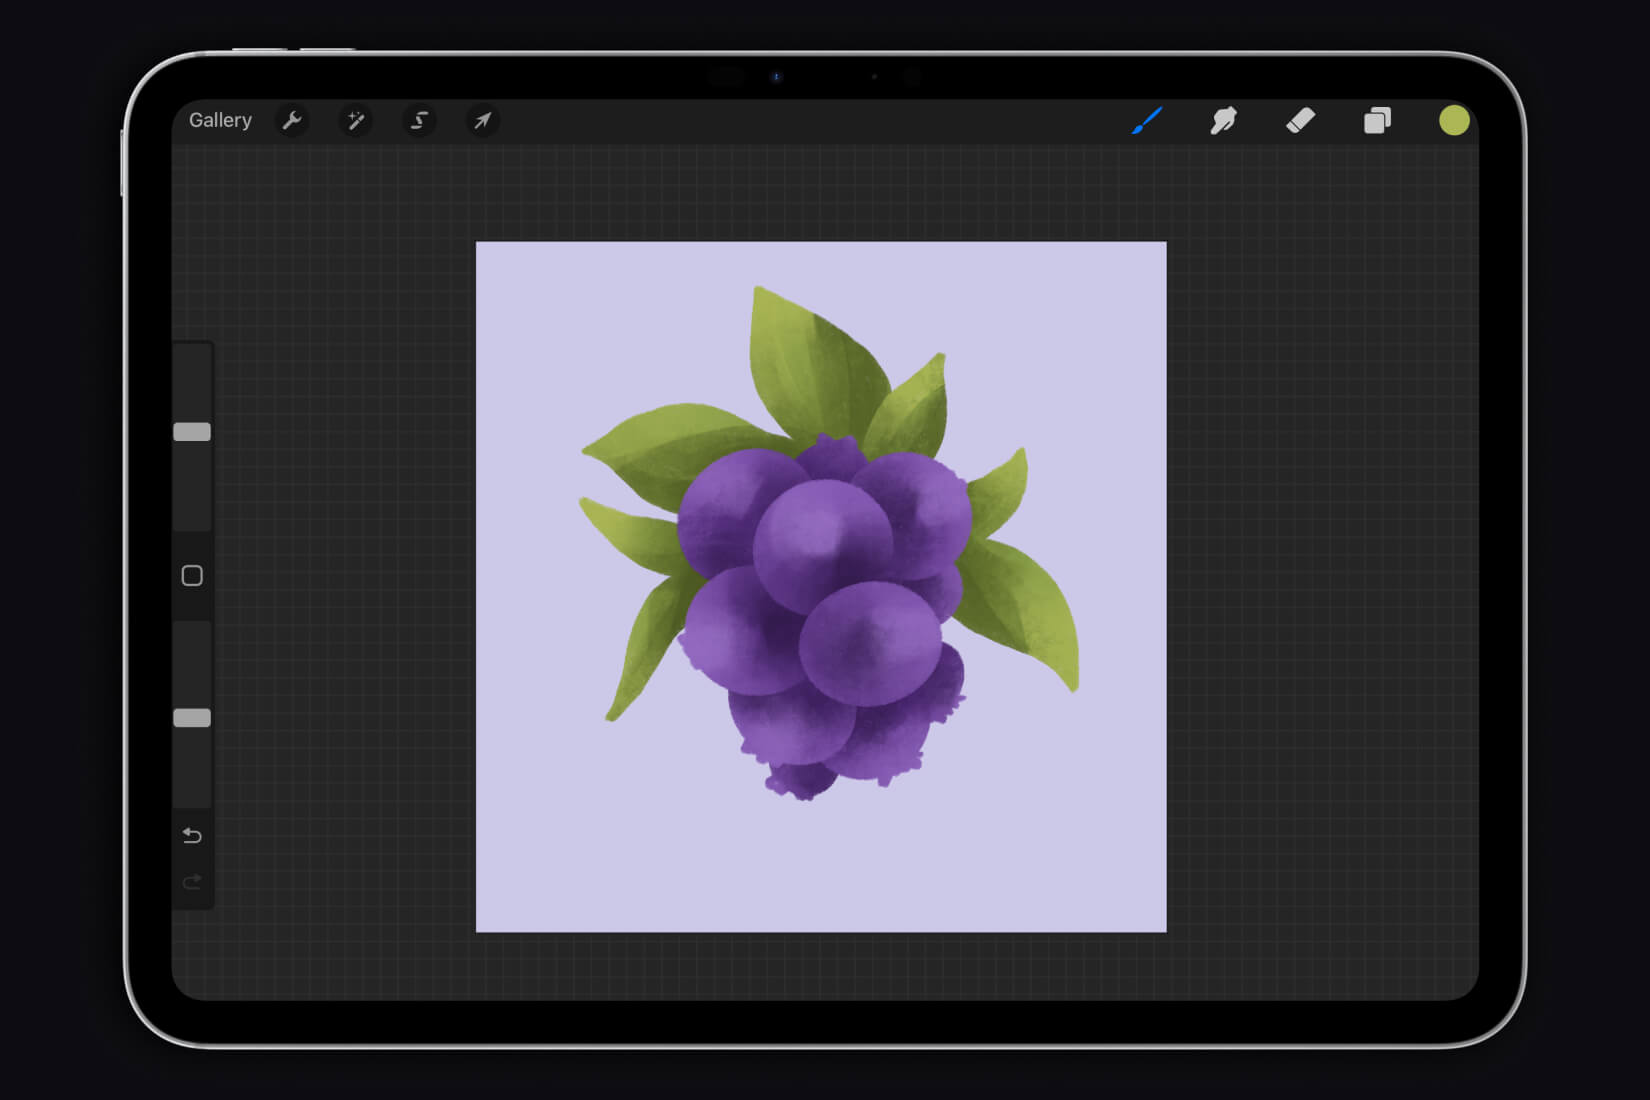
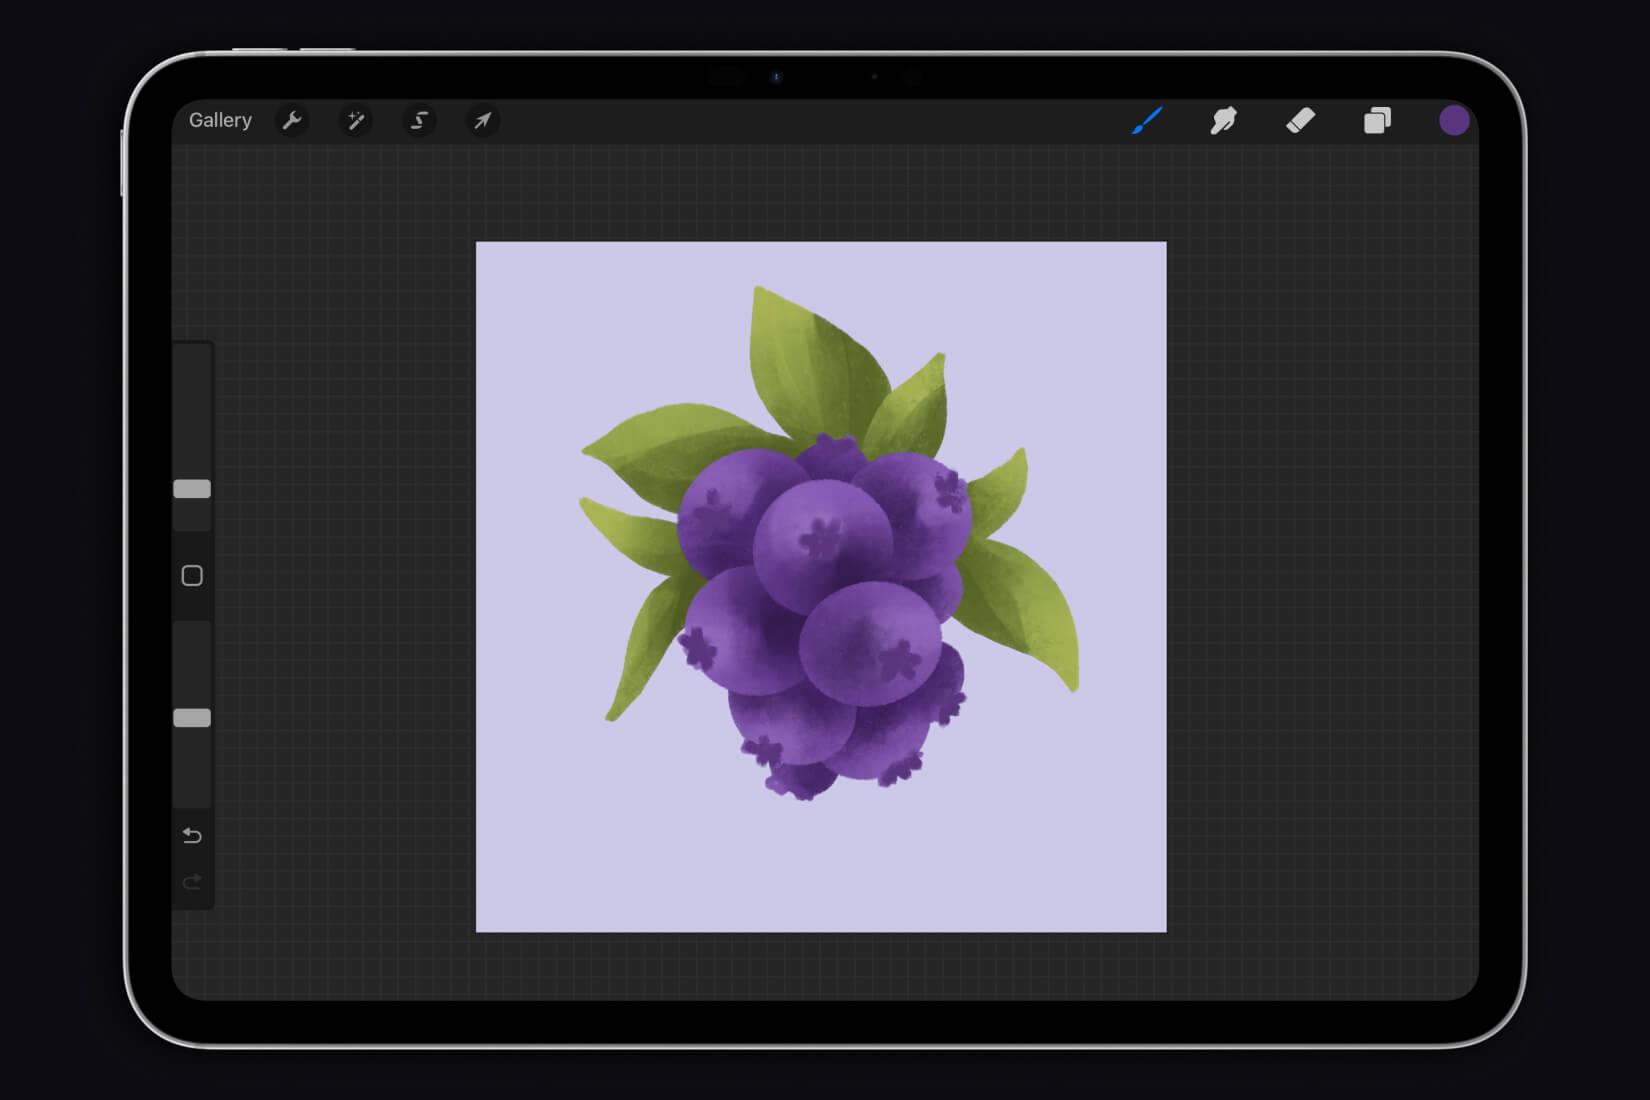
Step 7
Let’s add details to the leaves and berries.
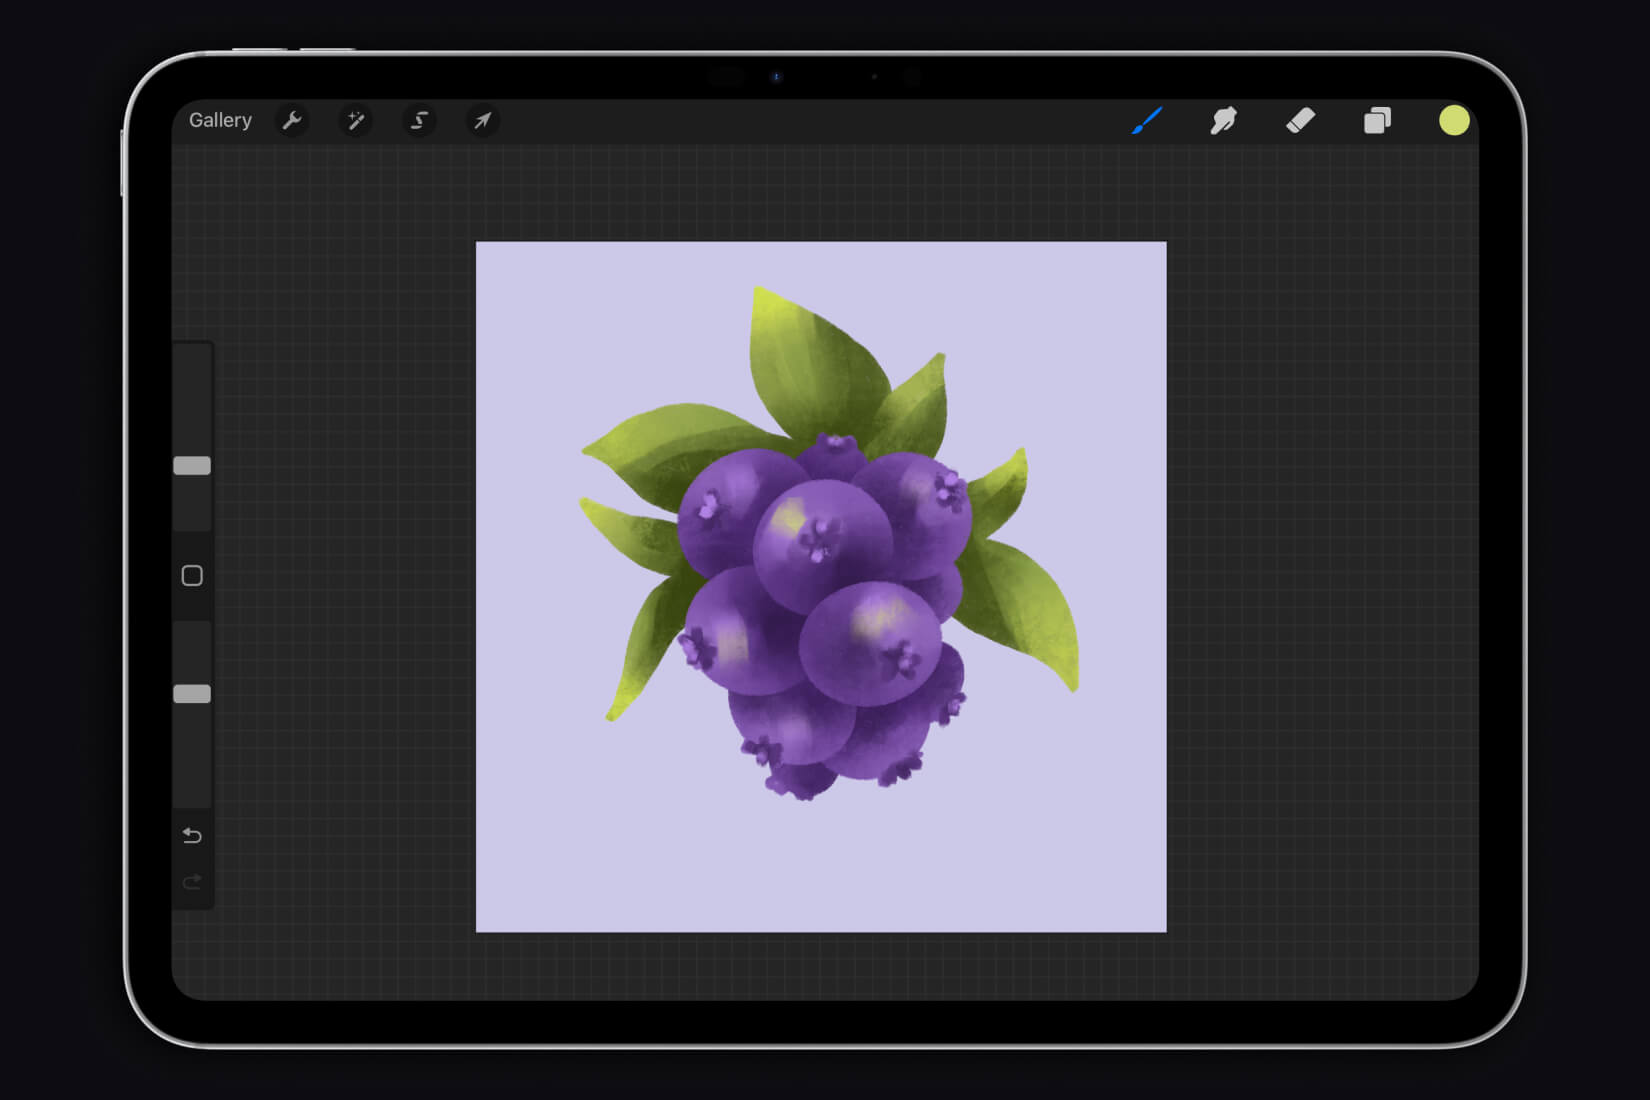
Step 8
Now let’s work on the background a bit. Take any texture brush, choose a large size and make a few light strokes on the background. You can also add a cone coating to the resulting composition.
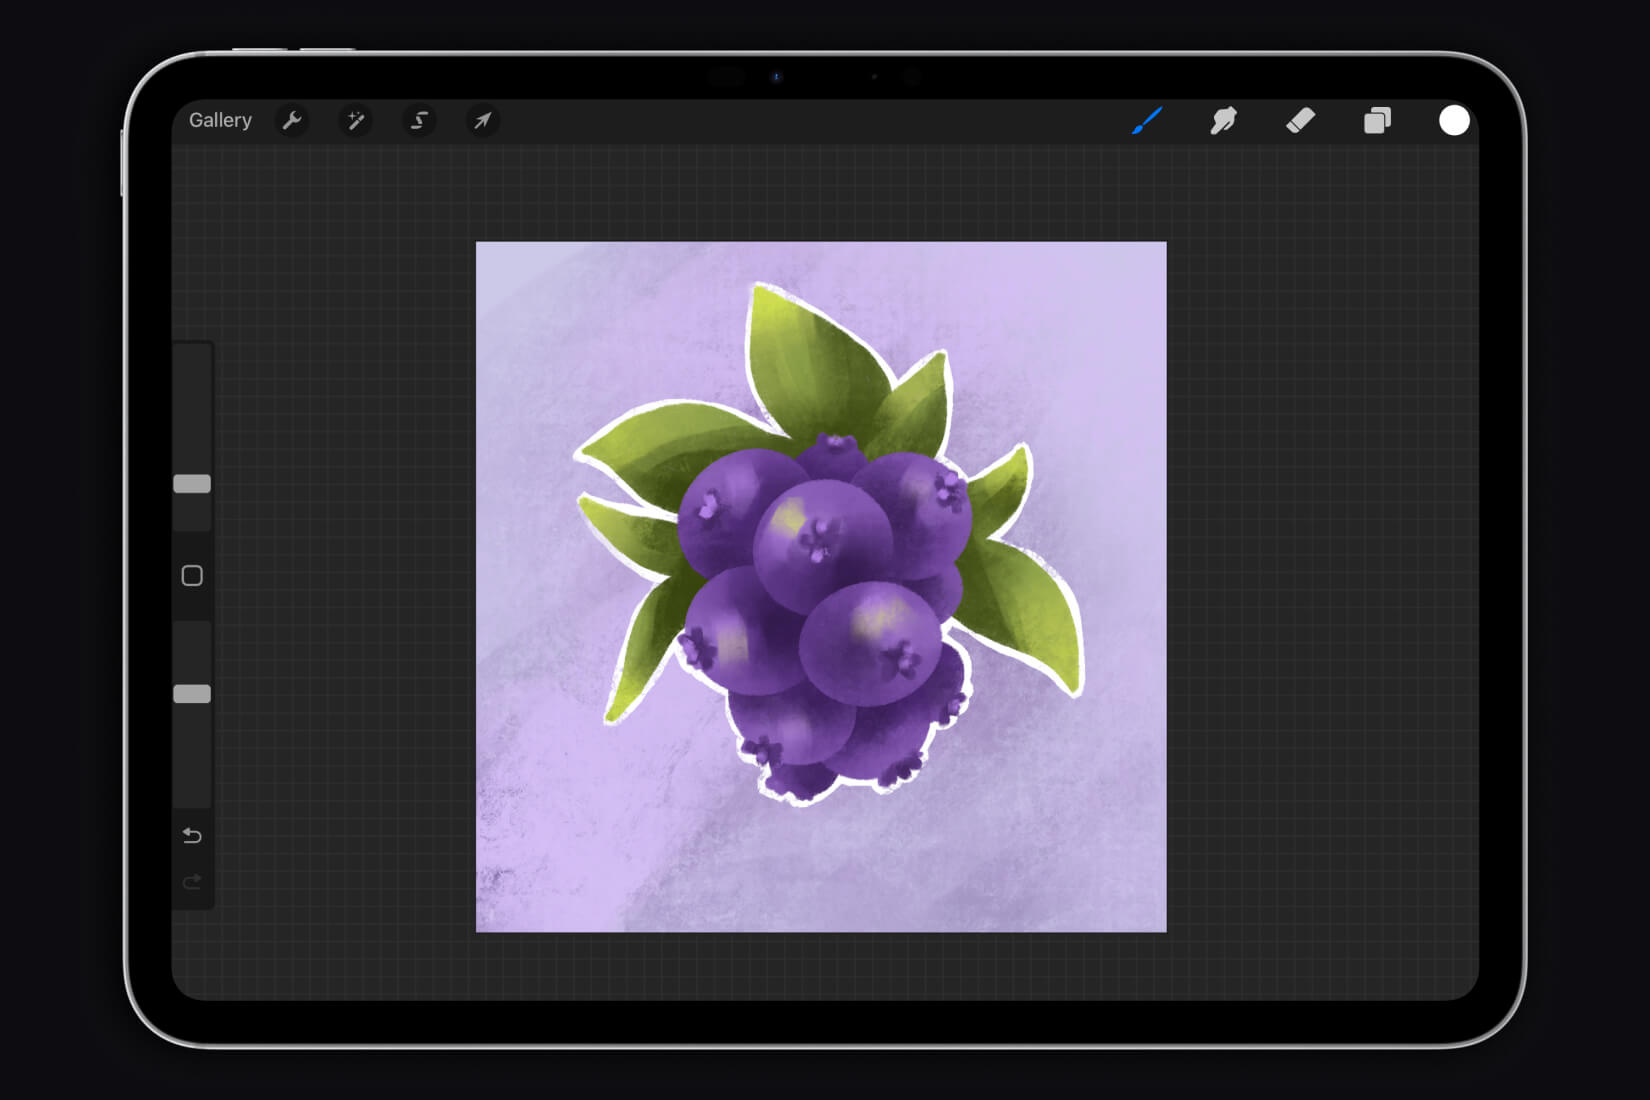
Great job!
Conclusion
Procreate is not only a powerful tool for digital creativity, but also an excellent platform for developing your artistic skills. After familiarizing yourself with the basic tools and buttons, you will be able to effectively use all the features of the application to express your ideas. The step-by-step tutorial provided in the article will be a great start for creating original works. Don’t be afraid to experiment and develop your skills — your creativity in Procreate has no limits!
Our iOS APP with 480+ free Brushes
Download app and install brushes in 2 clicks! Easy as never before! 480+ free brushes with no subscriptions.
2500+ brushes totaly! For iPhones and iPads.
No subscription required for FREE content. No registration. No long onboarding.
Our iOS APP with 480+ free Brushes
Download app and install brushes in 2 clicks! 480+ free brushes and 2500+ brushes totaly! For iPhones and iPads.
No subscription required for FREE content. No registration. No long onboarding.

